I’m excited to make a huge discovery, for those of us who ache when we throw into the landfill big chunks of plastic that could likely be repurposed into something else. The North Face stores will take not only your old clothes, shoes, and outdoor gear like backpacks and tents, but they’ll also take your old ski boots! Please read this article by my husband that tells you all about this great initiative.
By Pete Athans
Living on an island means we don’t have access to a lot of services and conveniences. We like that.
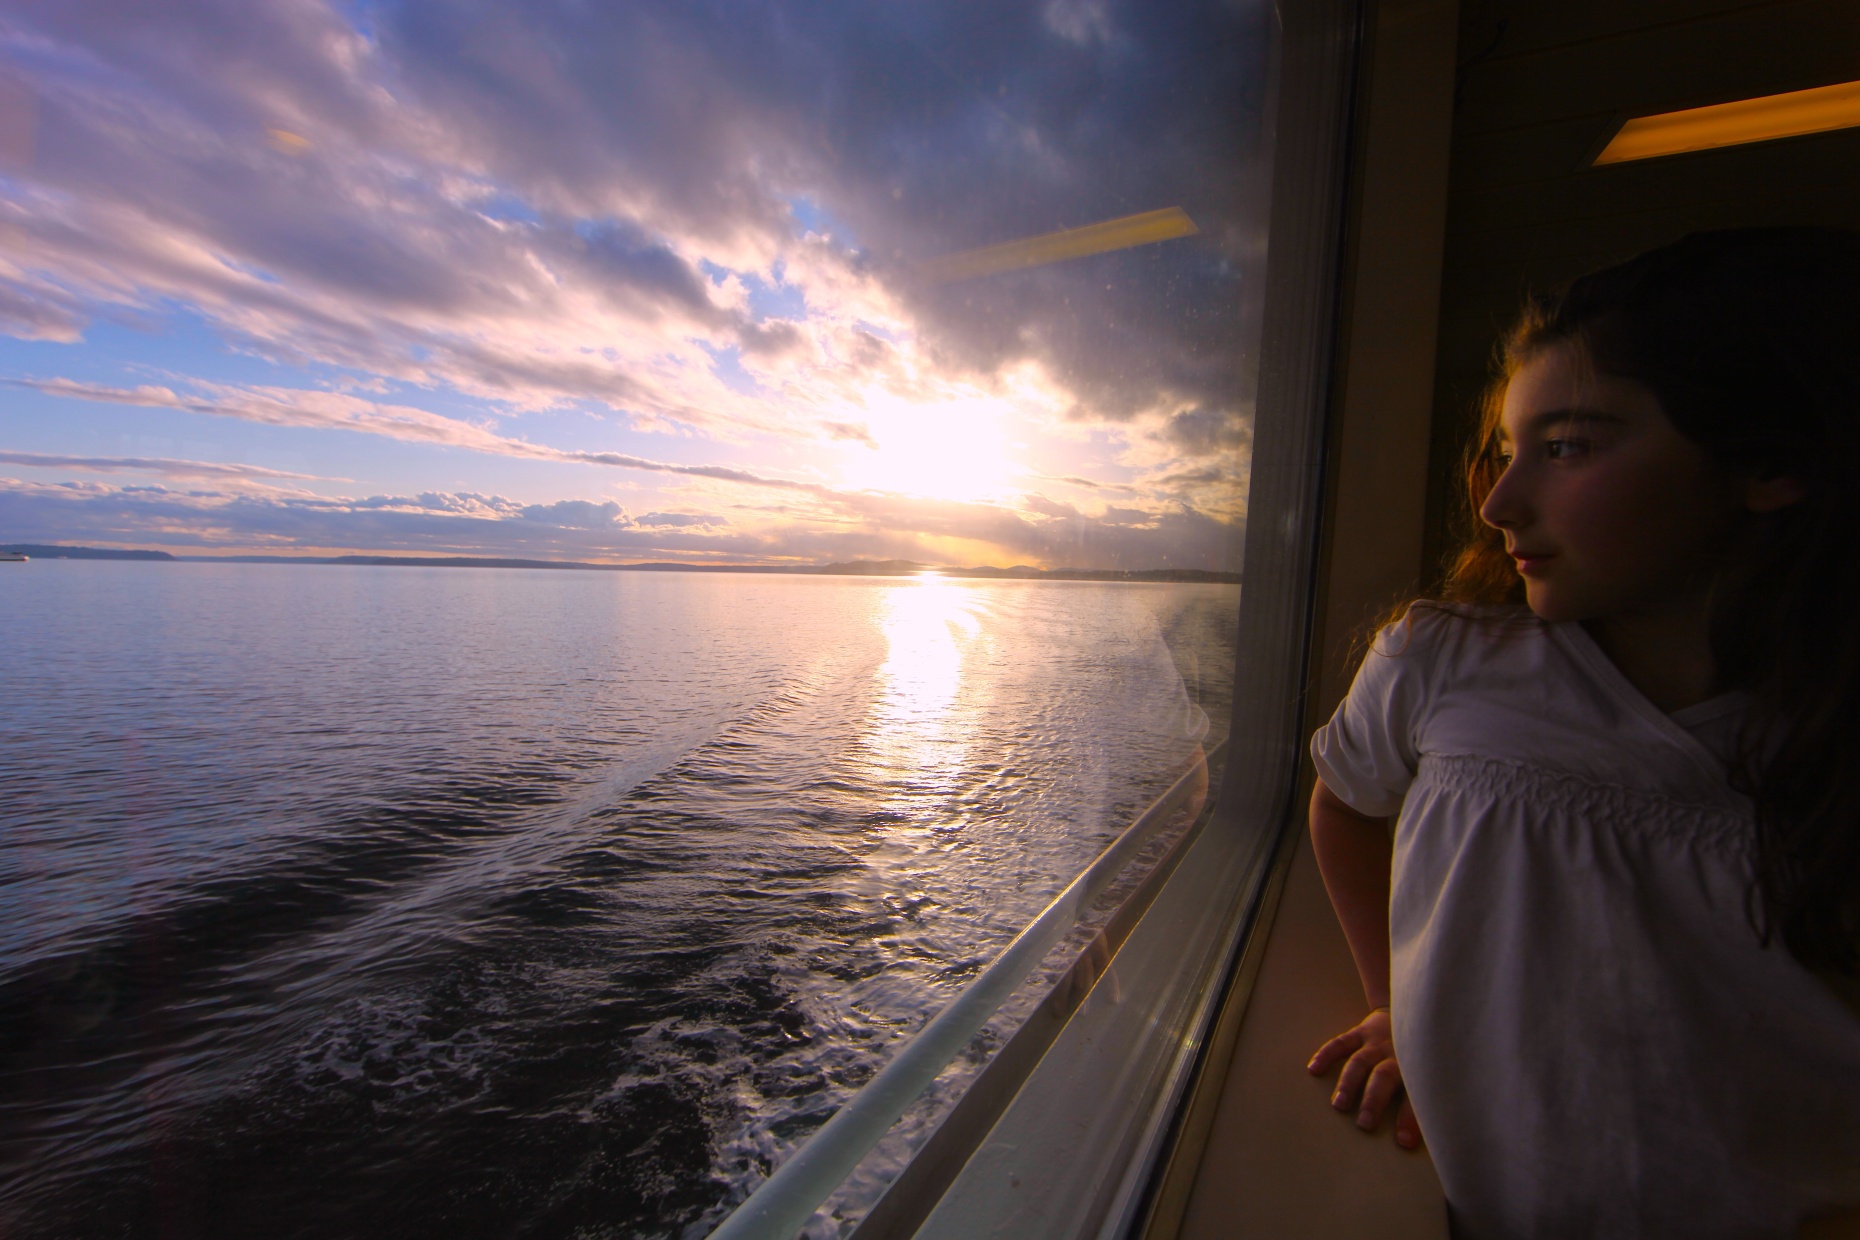
A 35-minute ferry ride delivers us into what feels like the bowels of Seattle, ejecting ferry-riders beneath a highway underpass, a continuous stream of cars, buses and trucks humming above. Just around the corner from the hum of the waterfront is one of The North Face’s first stores to open in the U.S.
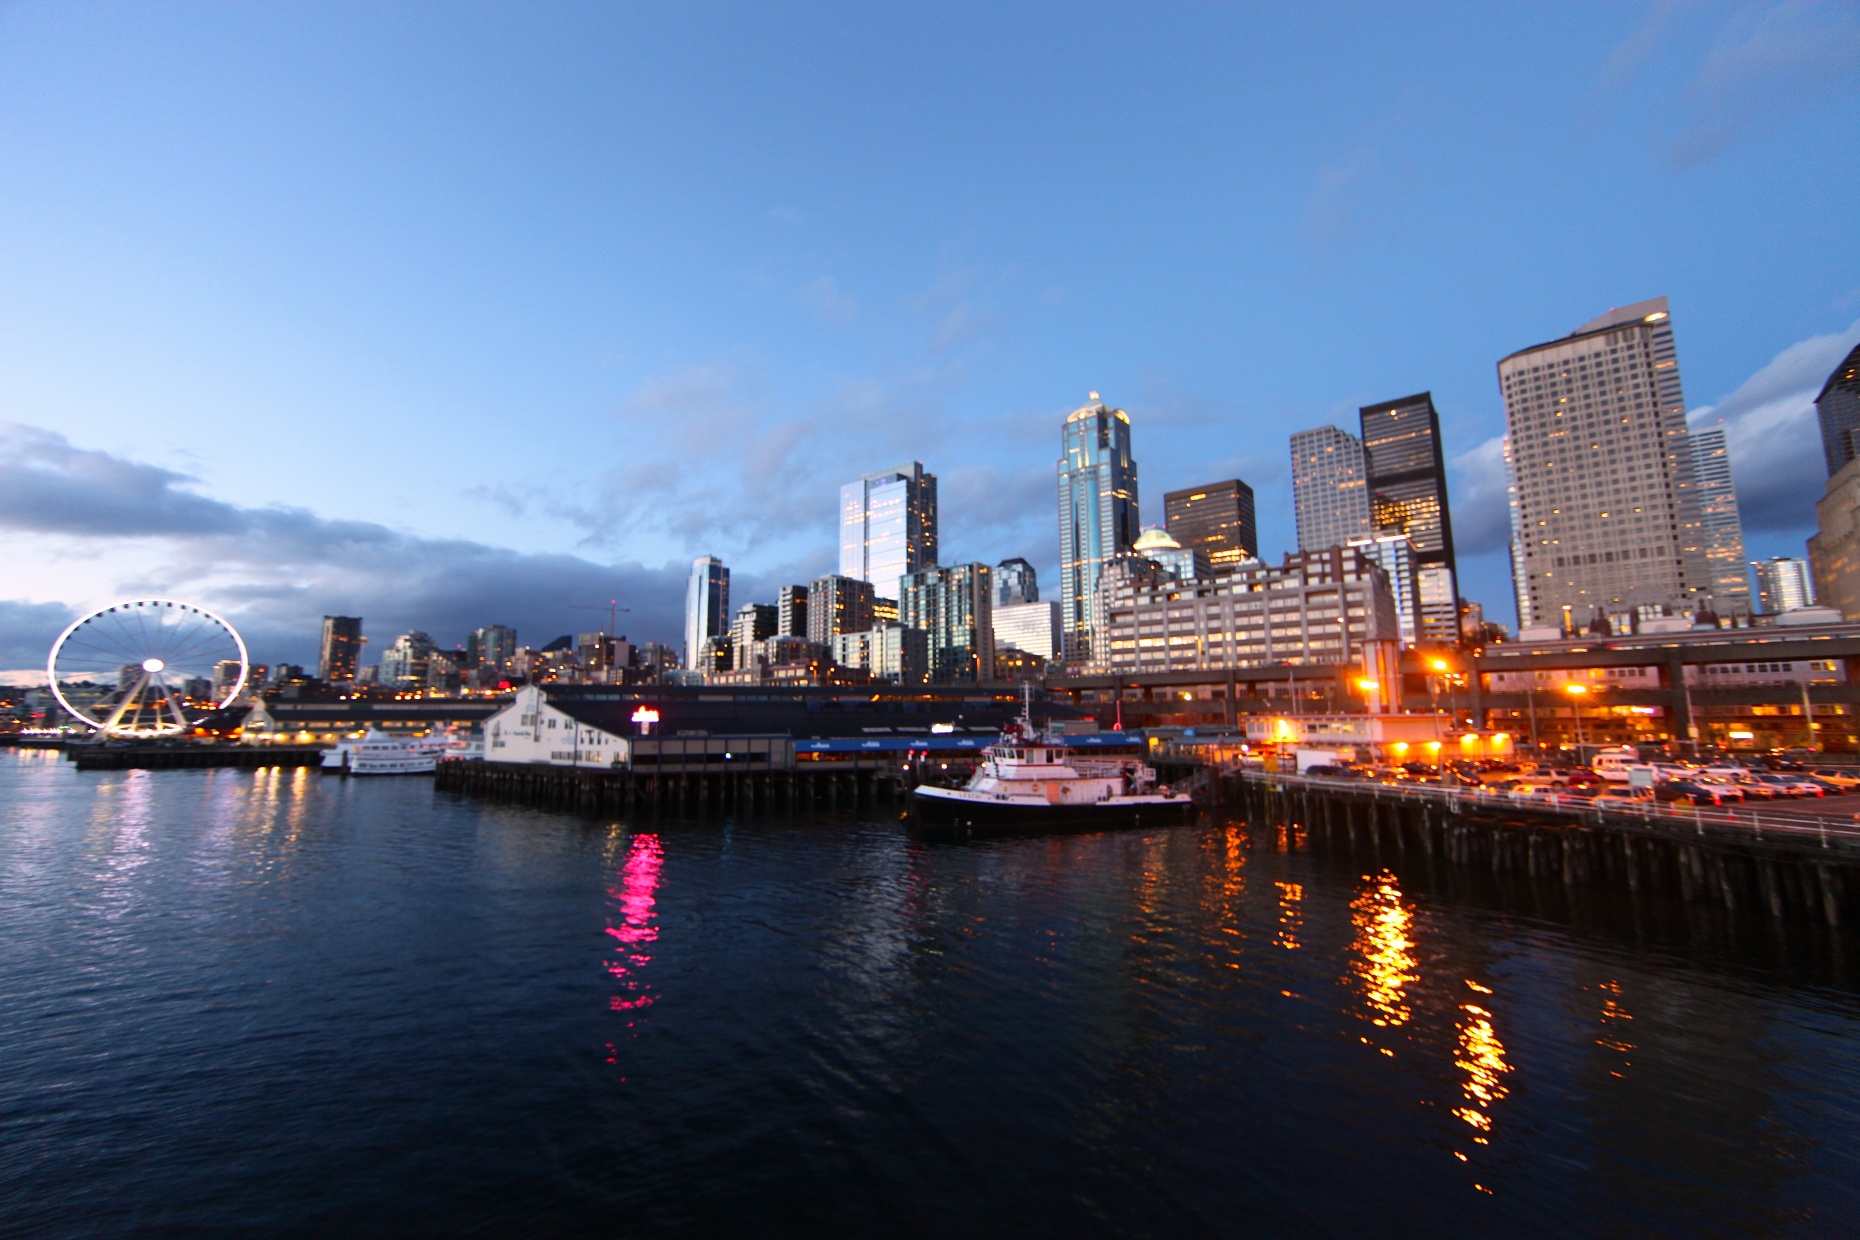
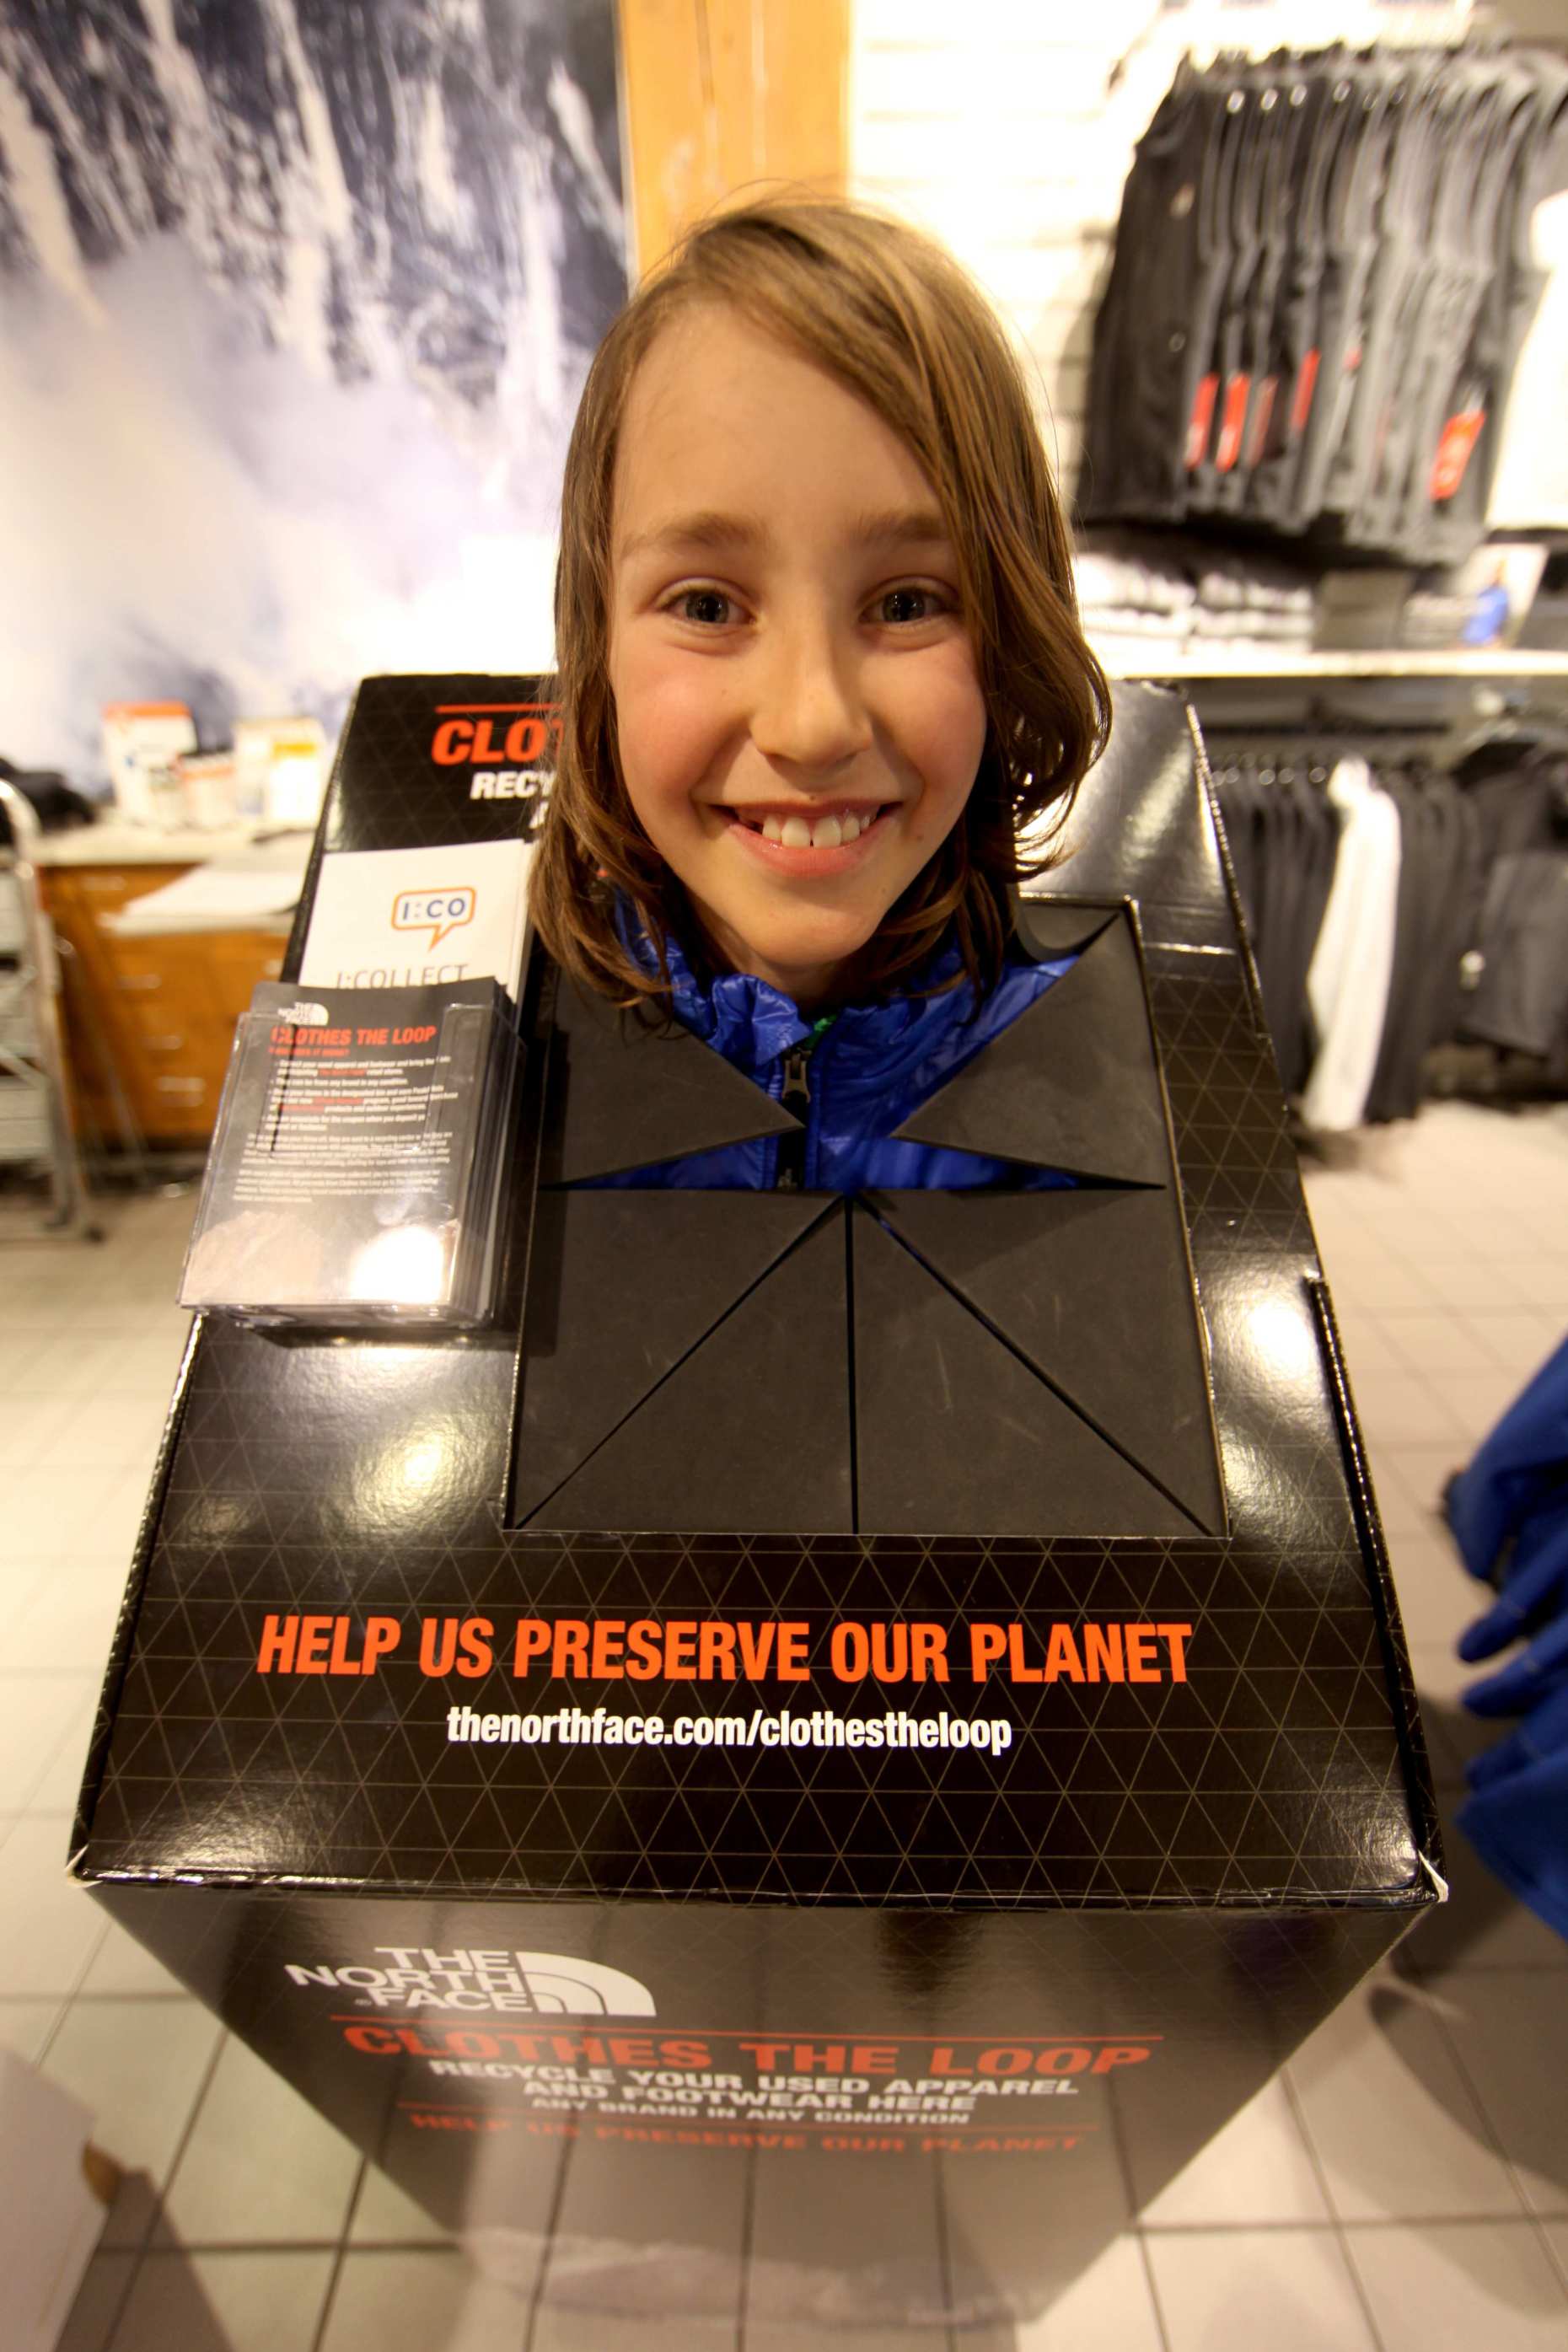
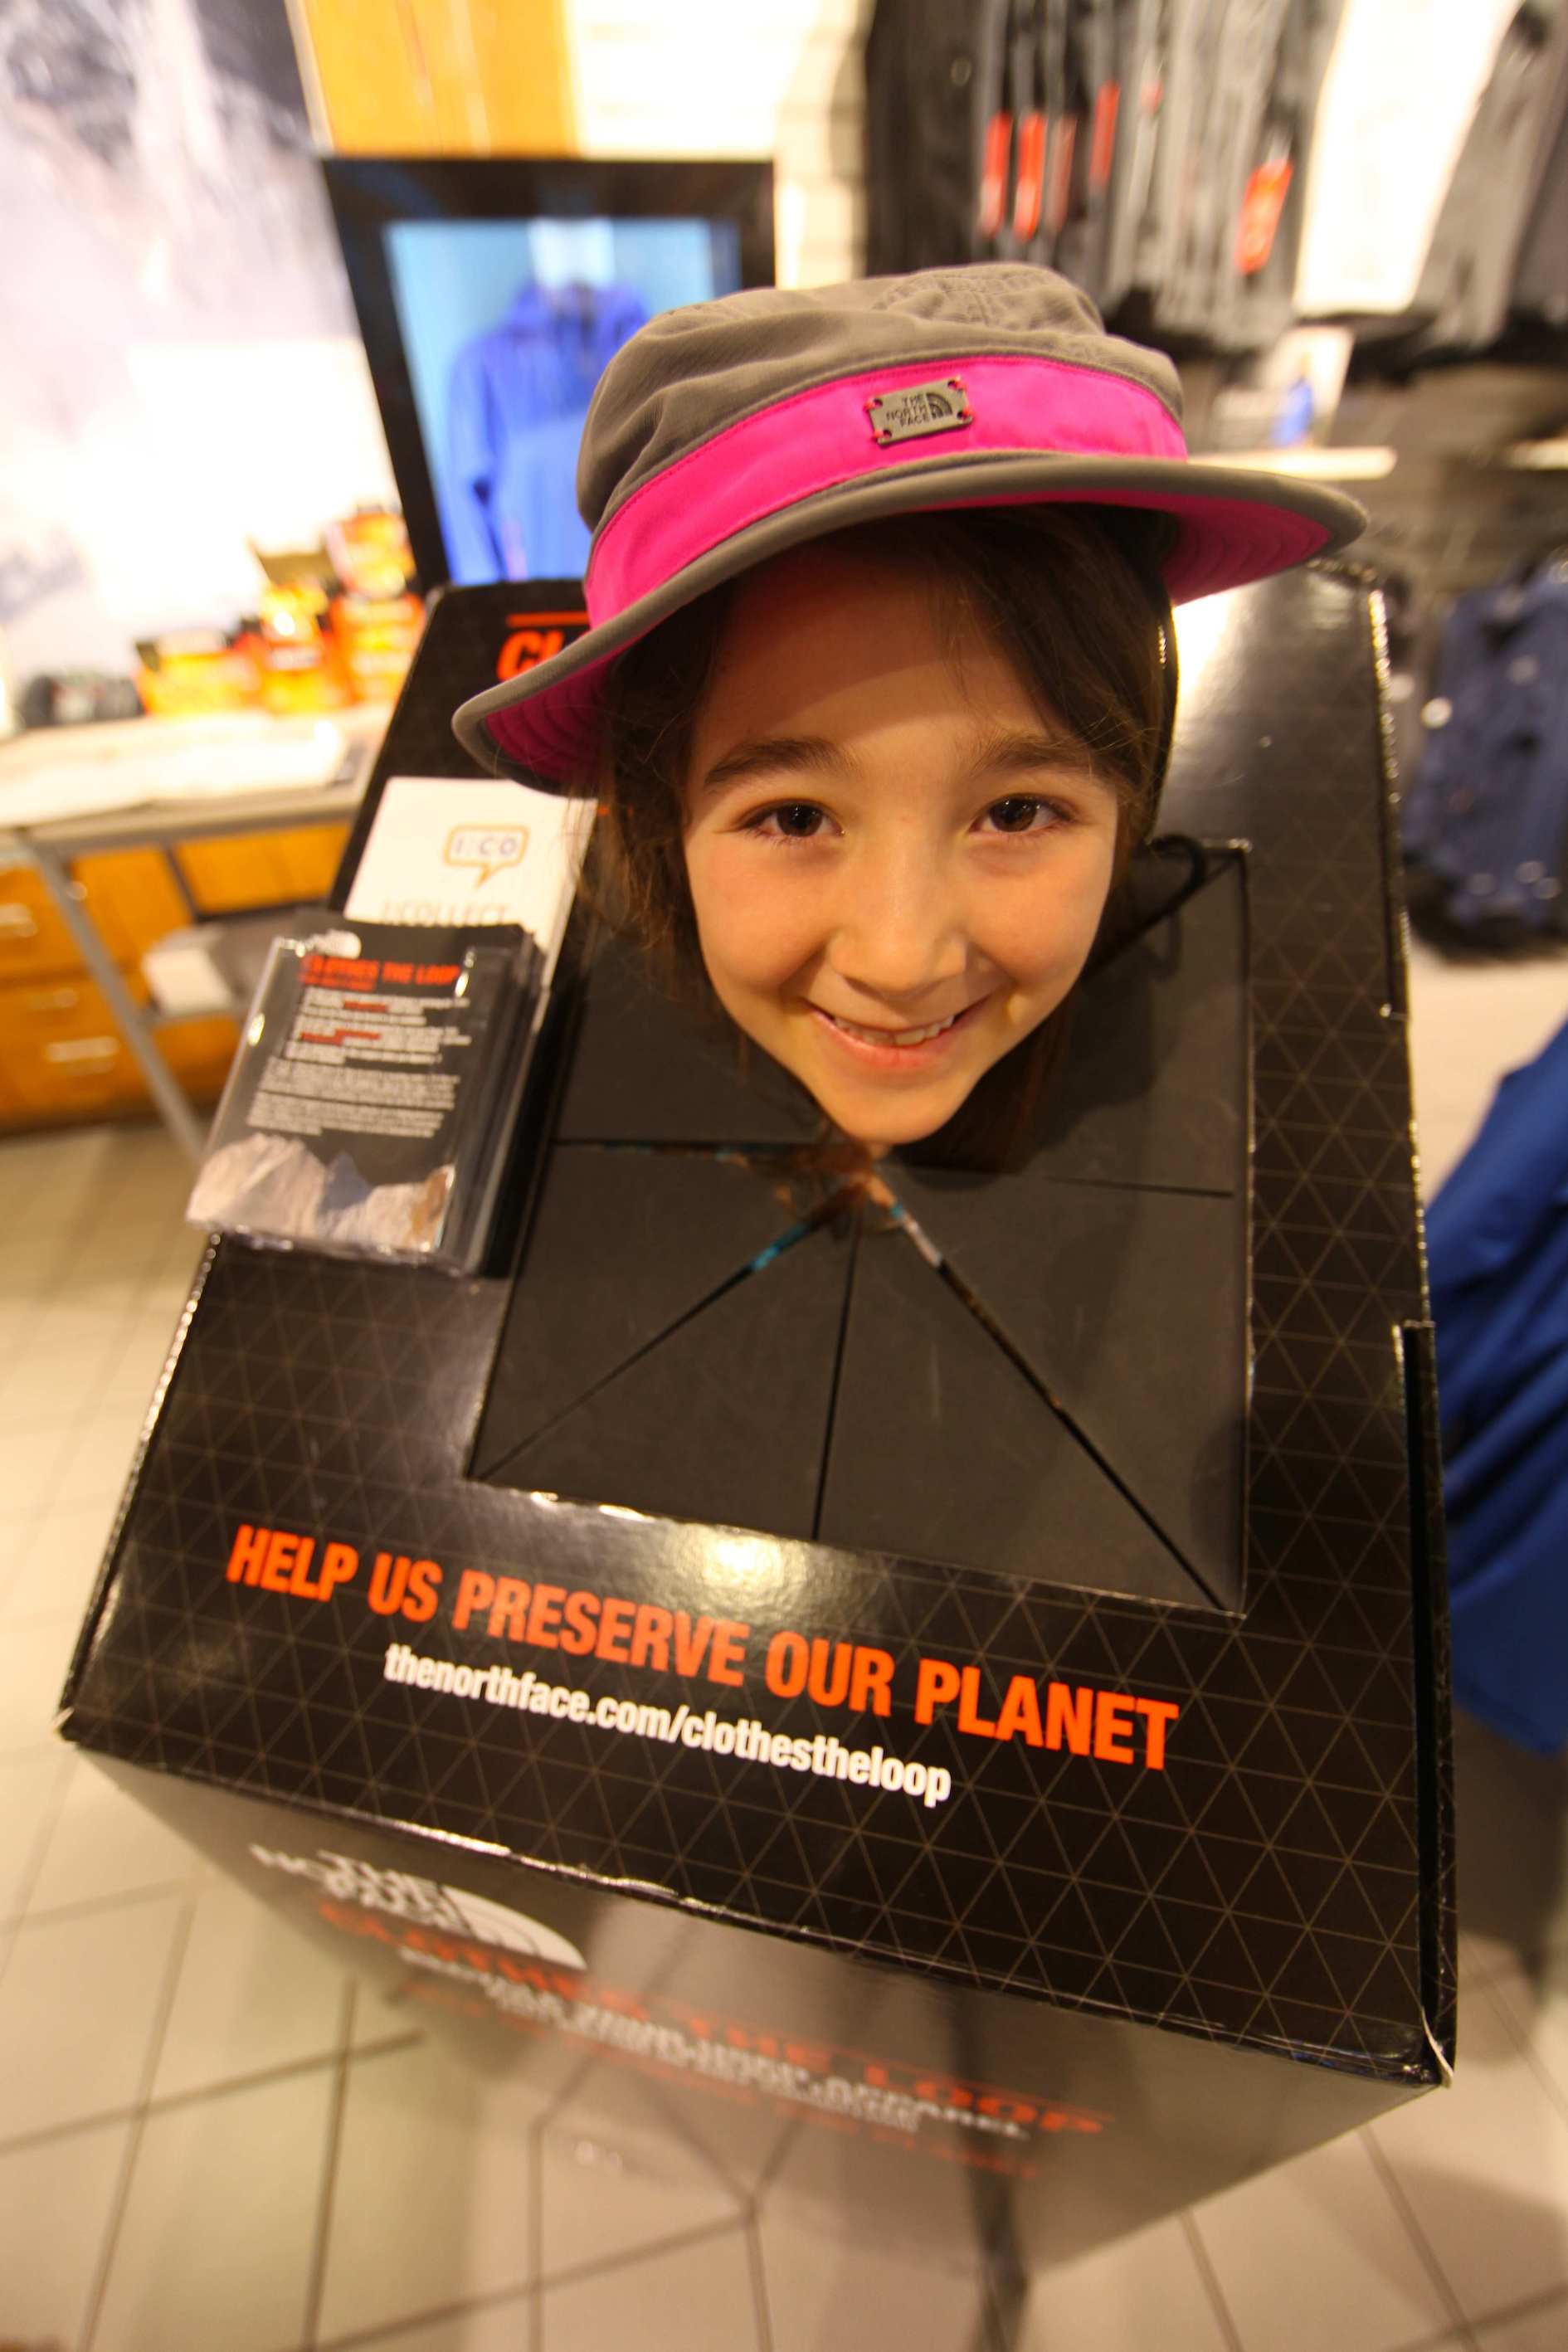
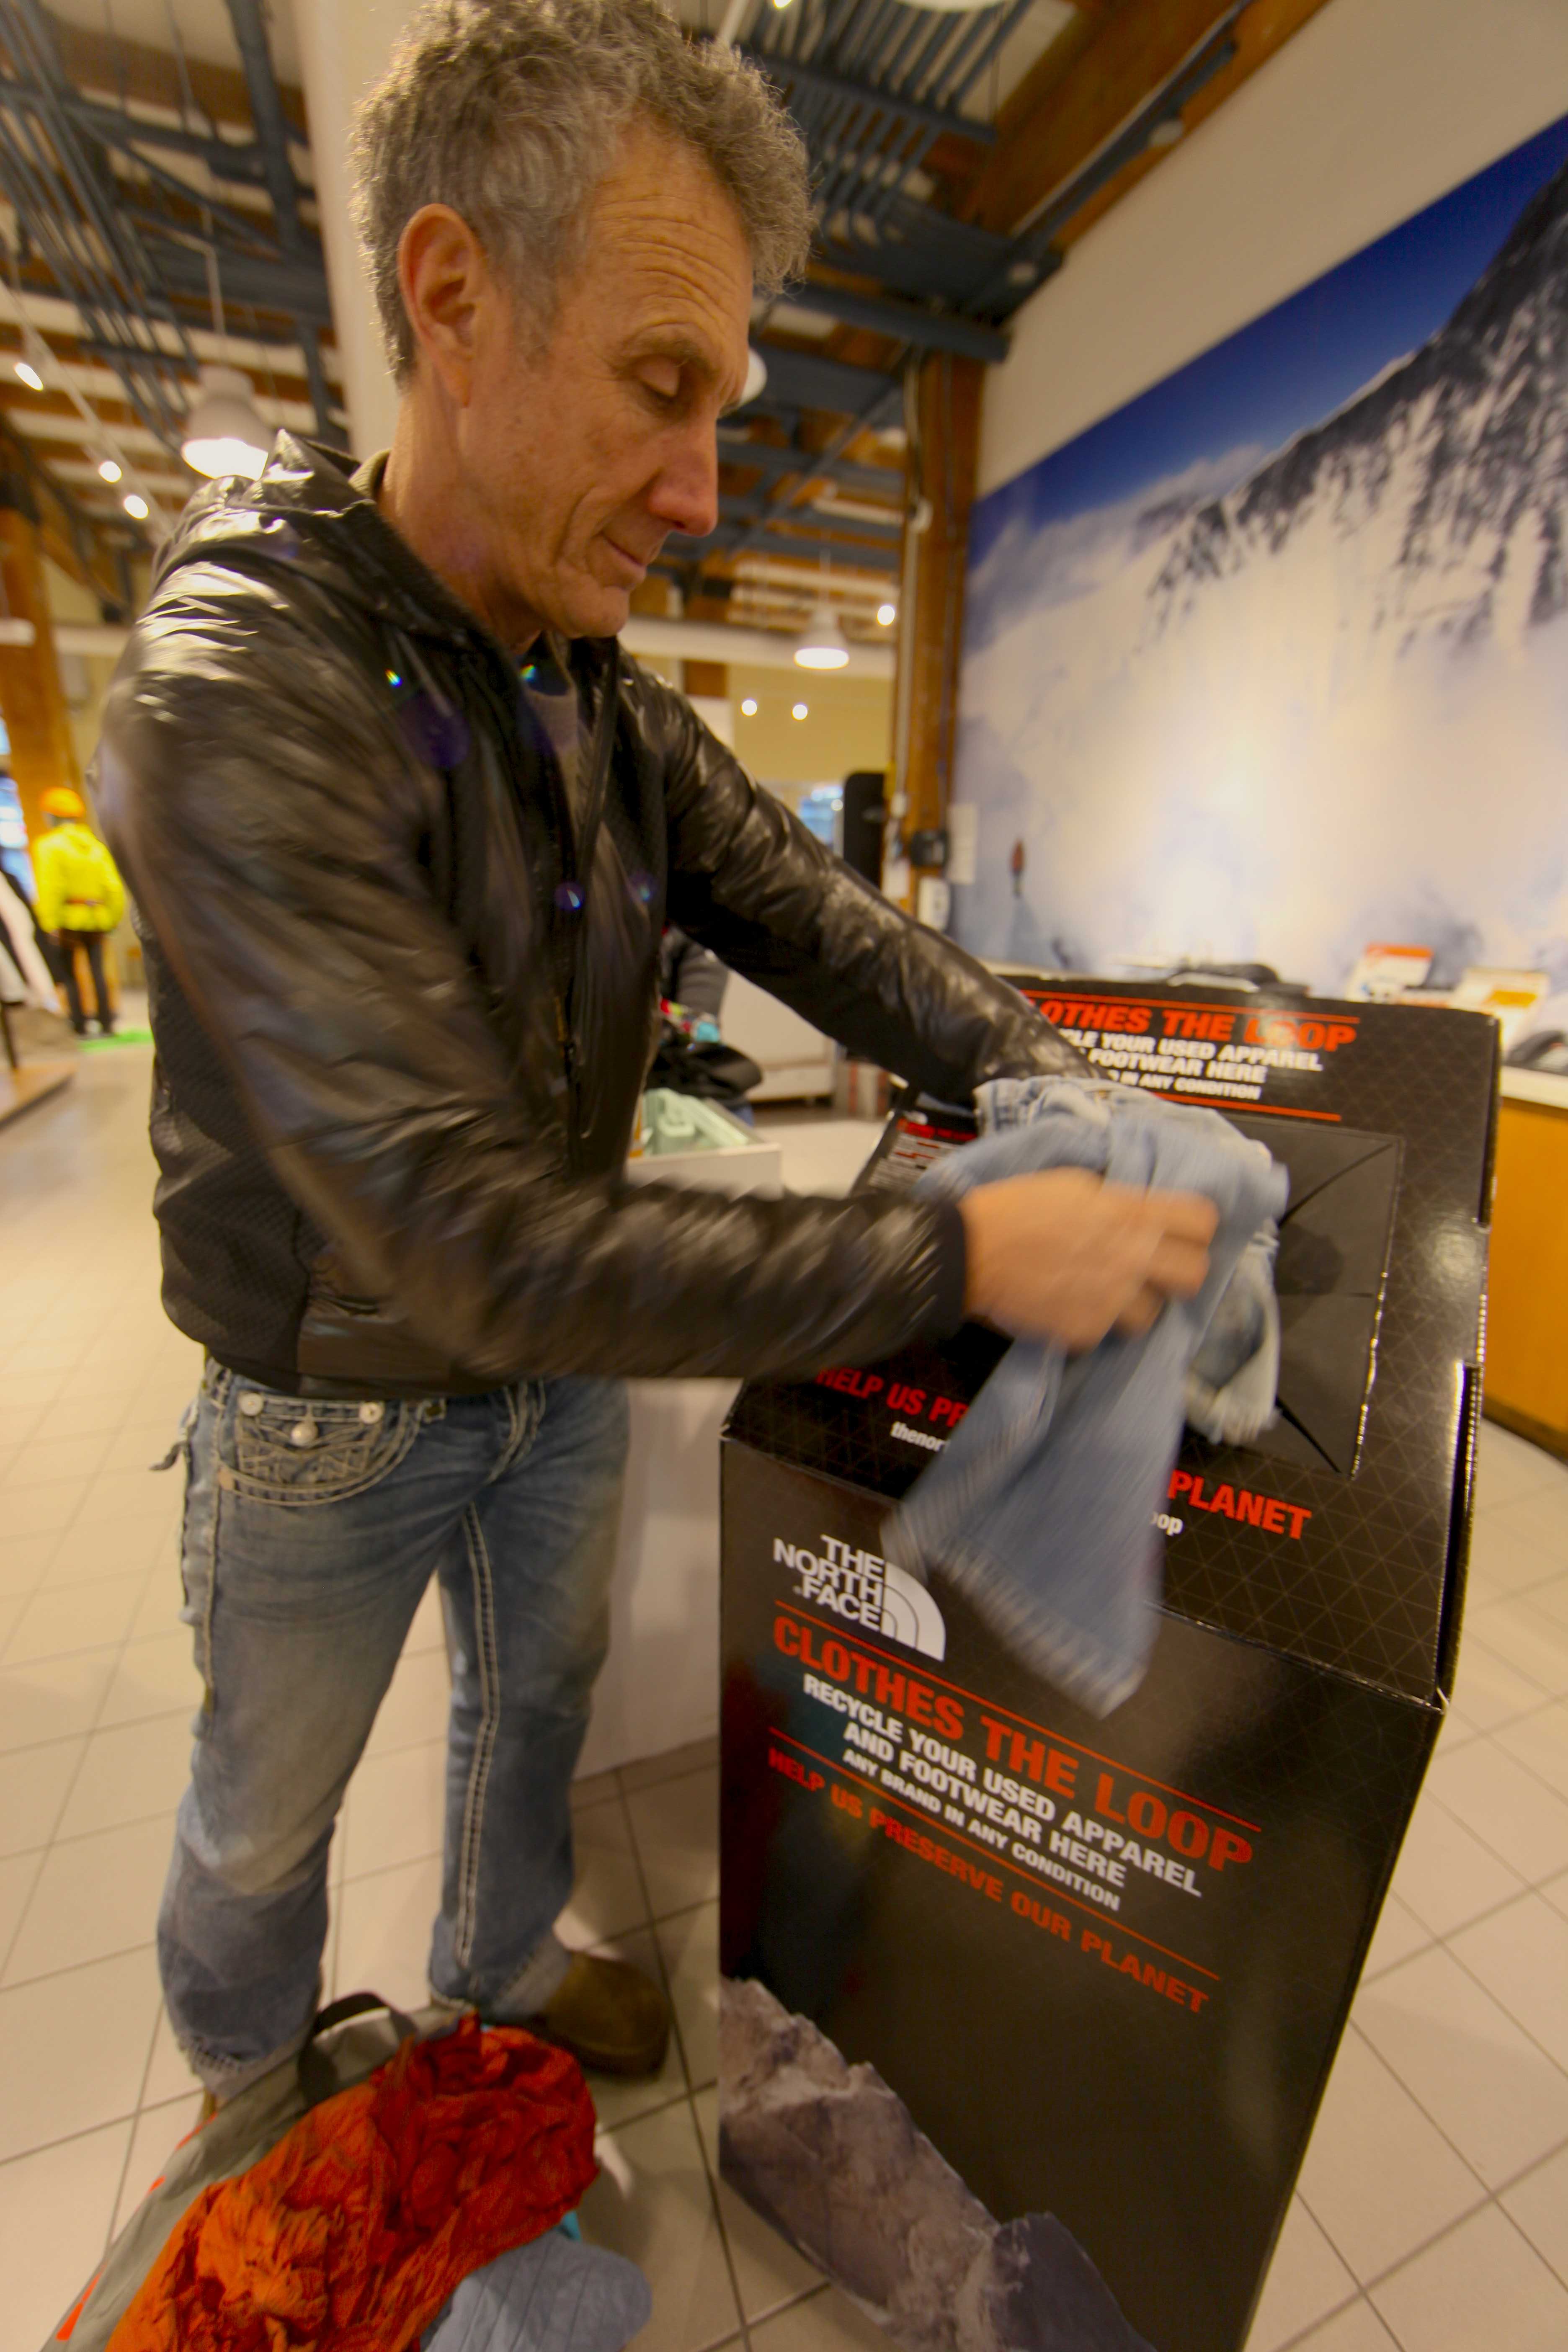
I’ve worked for the company for nearly 30 years, and I still love walking into this special Seattle space. Behind the modern store facade, you still have a sense of the original post and beam construction, probably used for shipping or as a warehouse years ago. Today, I’m even more proud to step into the store with my family, carrying our used clothing, textiles, and gear that we aren’t able to sustainably throw away on our small island. In fact, most people have a tough time finding places to discard used clothing and specialized outdoor gear in this country. But every store in the US that The North Face operates now has a “Clothes The Loop” box where you can drop off your used and worn-up clothes, gear, and shoes. You’ll get a discount on your next purchase at The North Face store as a reward for your efforts.
Here’s how you can find a store near you that is participating in this program. Click on their Find A Store link. Then, at the bottom of the map, click on the boxes that say “The North Face Stores” and “The North Face Outlets.” Those are the stores owned and operated by The North Face that have this program.

The North Face has initiated this much-needed clothing, gear, and shoe recycling program, they call “Clothes the Loop,” in a partnership with I:CO an international textile and shoe recycler that breaks materials down into 400 categories for carpet padding, stuffing for new toys, and fibers for new clothing. I:CO currently processes about 500 tons of used items every day in 74 countries. They have collection points all over Europe and in the USA.

Here’s a list of the kinds of items you can take to your nearest store and put in their box:
Old Clothing
Shoes
Hiking Boots
Rope
Bed Spreads
Sheets
Table Cloths
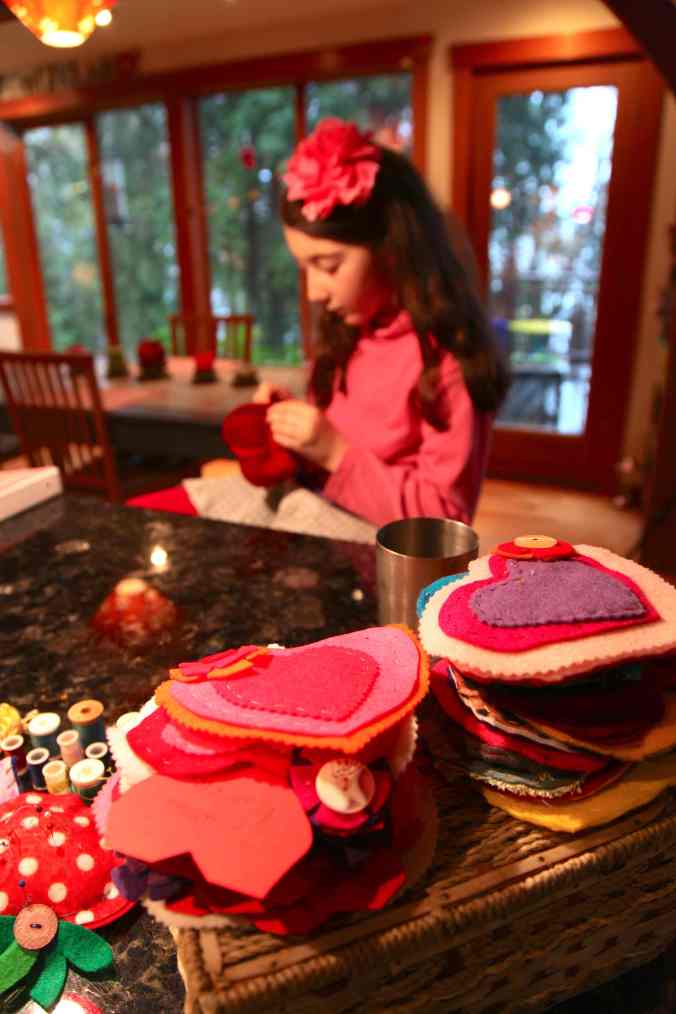
Fabric Scraps
Ski Boots
Backpacks
Tents
Climbing Harnesses
Pillows
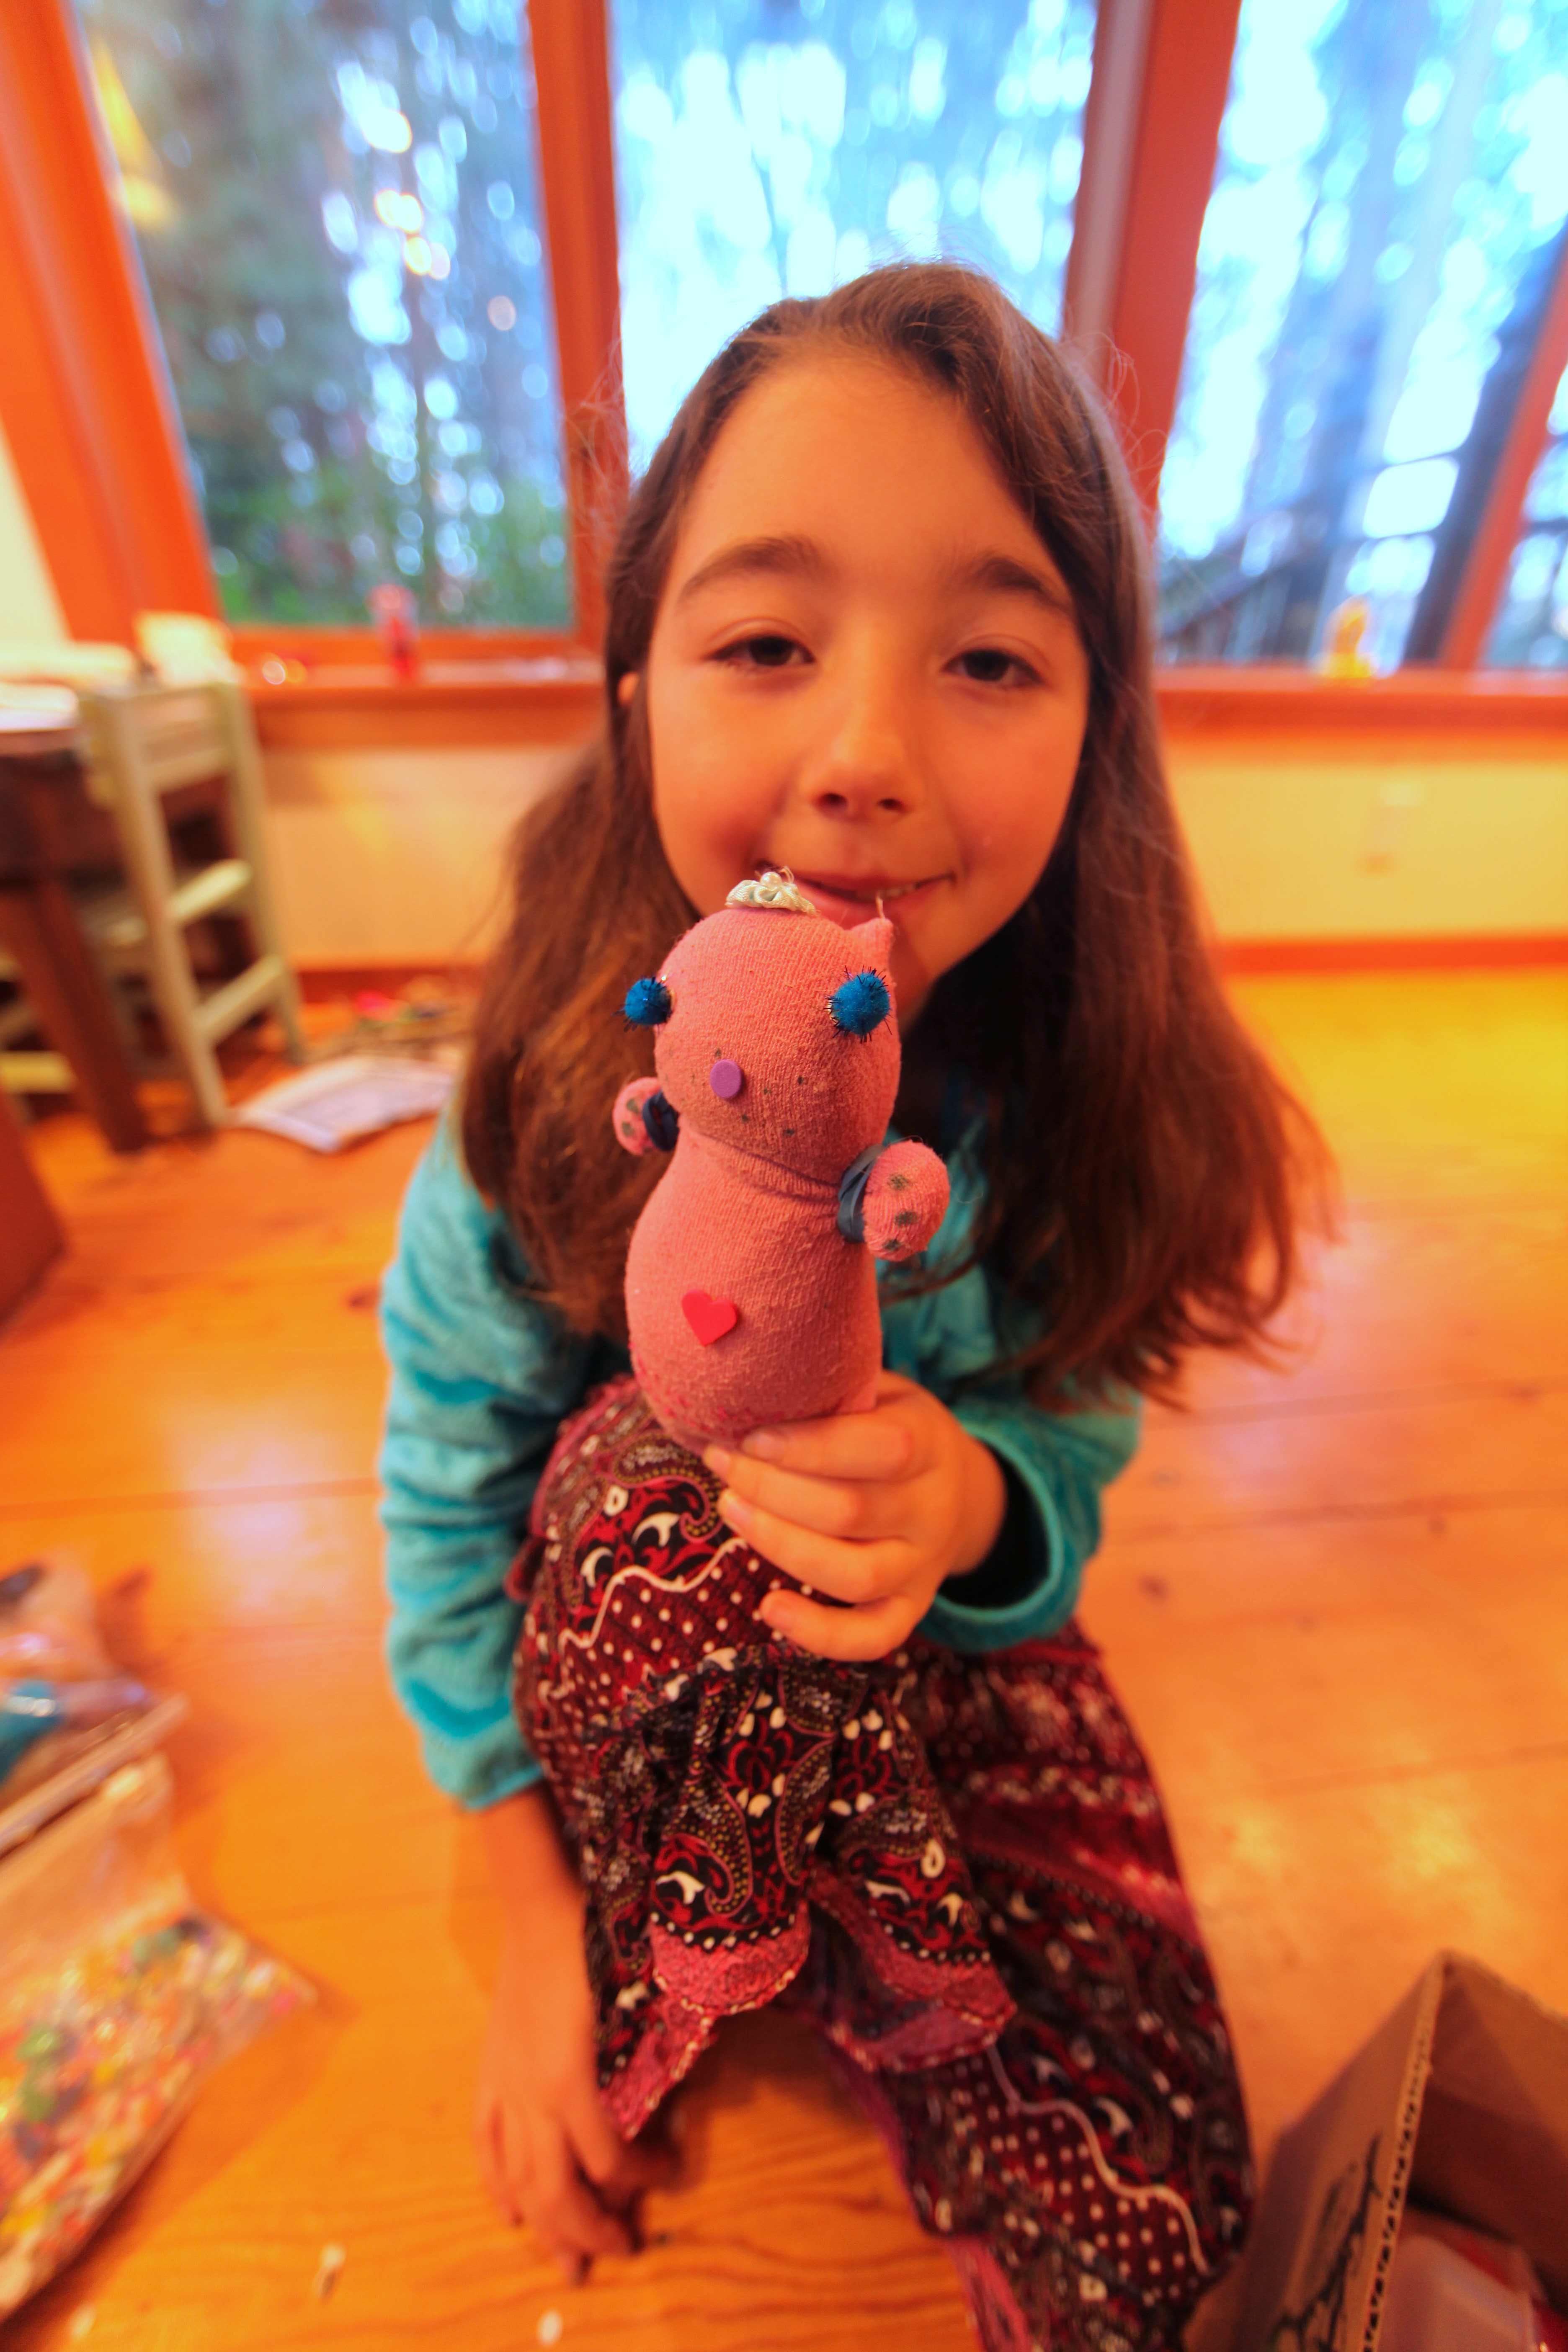
Stuffed Animals
We’ve taken samplings of just about everything on the list above to their store. It’s reduced our family’s solid waste significantly each year. According to the EPA Office of Solid Waste, Americans throw away more than 68 pounds of clothing and textiles per person per year, and this figure is rapidly growing. Add your outdoor gear to that figure and surely it’s over 100 pounds. We’re very excited to hear that they’ll take ski boots. Before this, there were no options in the Seattle area and most cities for ski boot recycling.
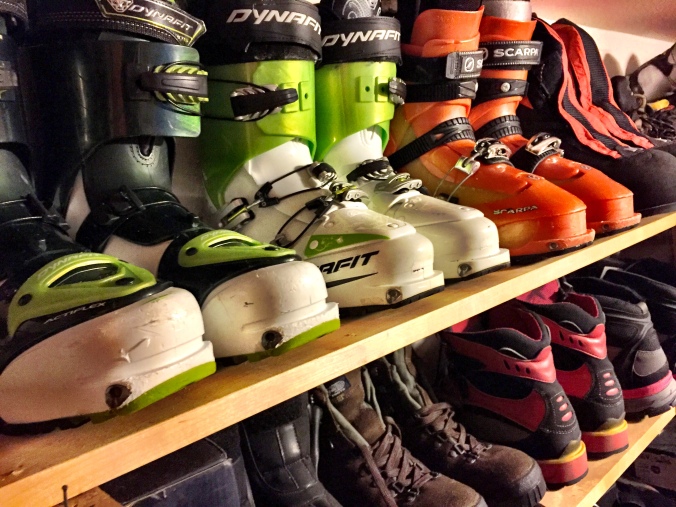
Our family has a lot of boots, for every kind of snow sport. We’re probably not unlike many families. © Liesl Clark
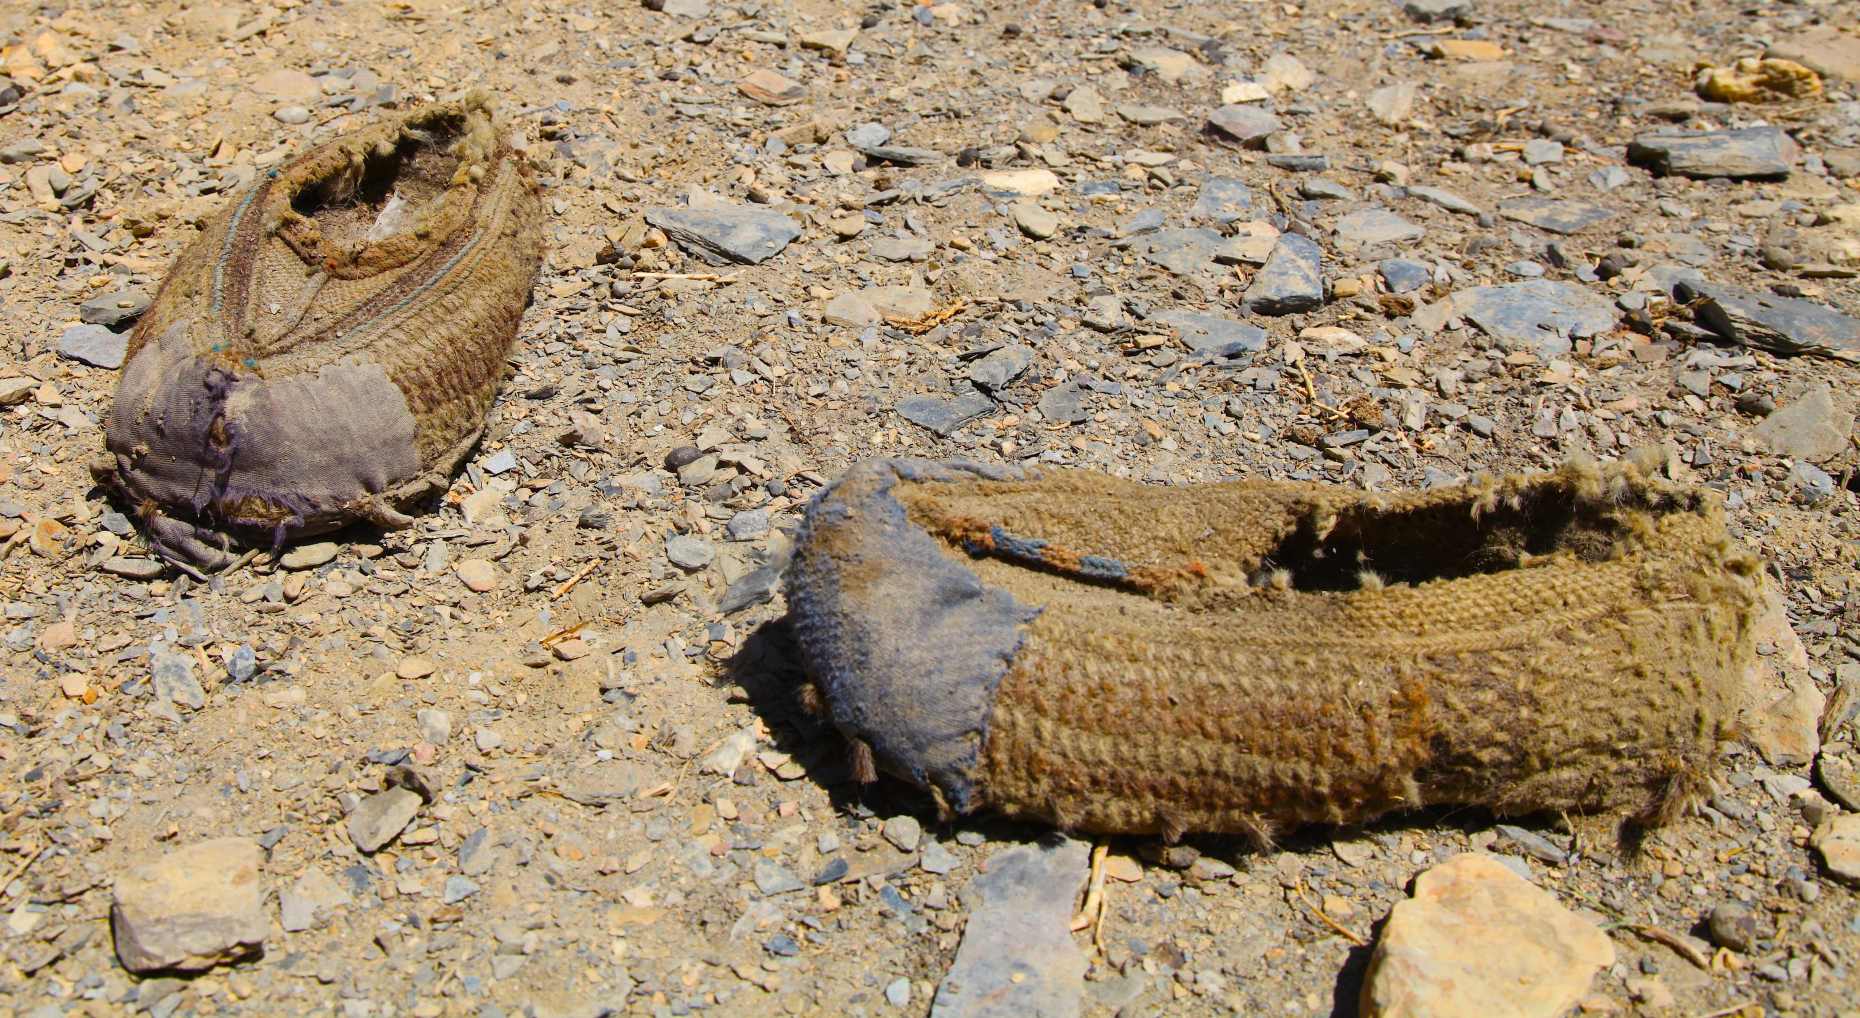
Before you take your items in to The North Face, if any of them are usable, please try to give them away to someone who might be able to use them, through a project like your local Buy Nothing group. When my family travels to the Himalaya, we always bring a few extra duffels of clothing and shoes. We work with communities in Upper Mustang who are in dire need of good shoes.
Since children grow so fast, it isn’t hard to pass on our own children’s lightly worn fleece, outerwear, hiking boots, hats and gloves to kids in remote mountain communities. It’s the least we can do in a high mountain environment where people only have access to poorly made Chinese apparel.
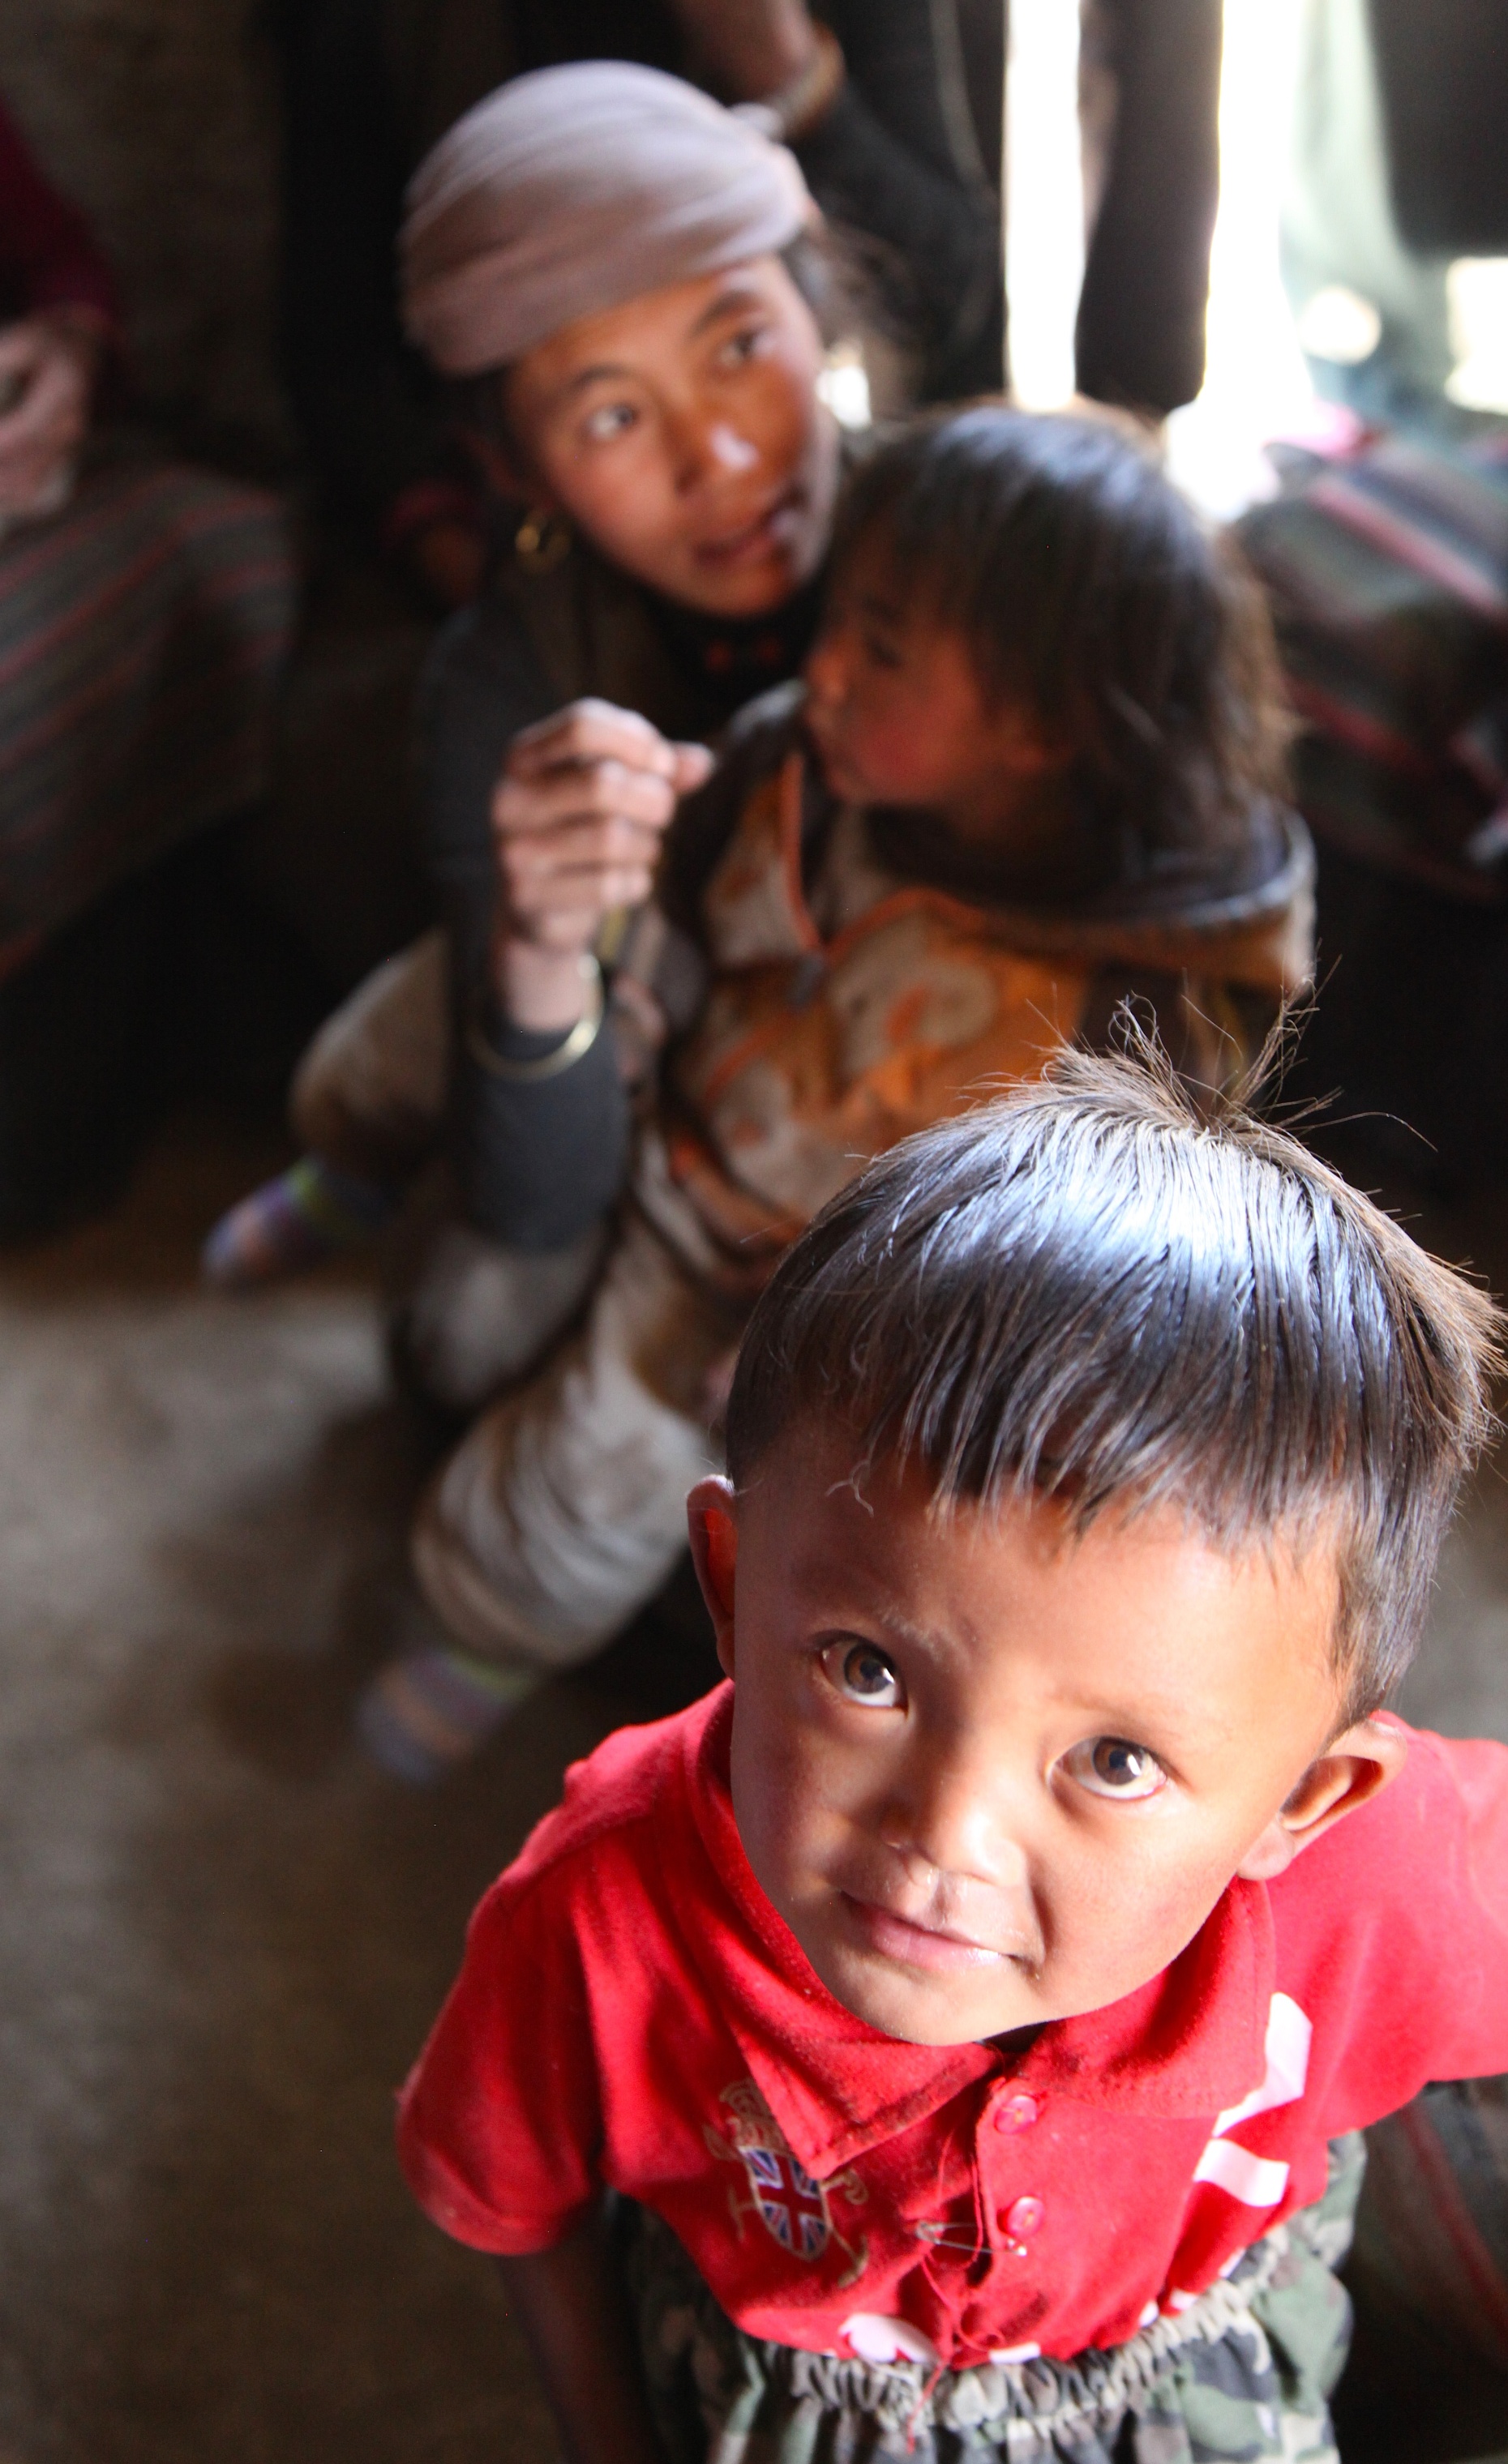

My children on their way to Upper Mustang, Nepal. Photo © Liesl Clark
If we’re more mindful of our textile and outdoor gear waste, we can each make a difference. We know the textile industry adds tremendous environmental stress on our planet, but by giving away our usable our clothing and gear and then recycling what’s un-wearable, we can reduce the demand for virgin materials in new clothing and conserve the energy that goes into making fibers for fabrics.
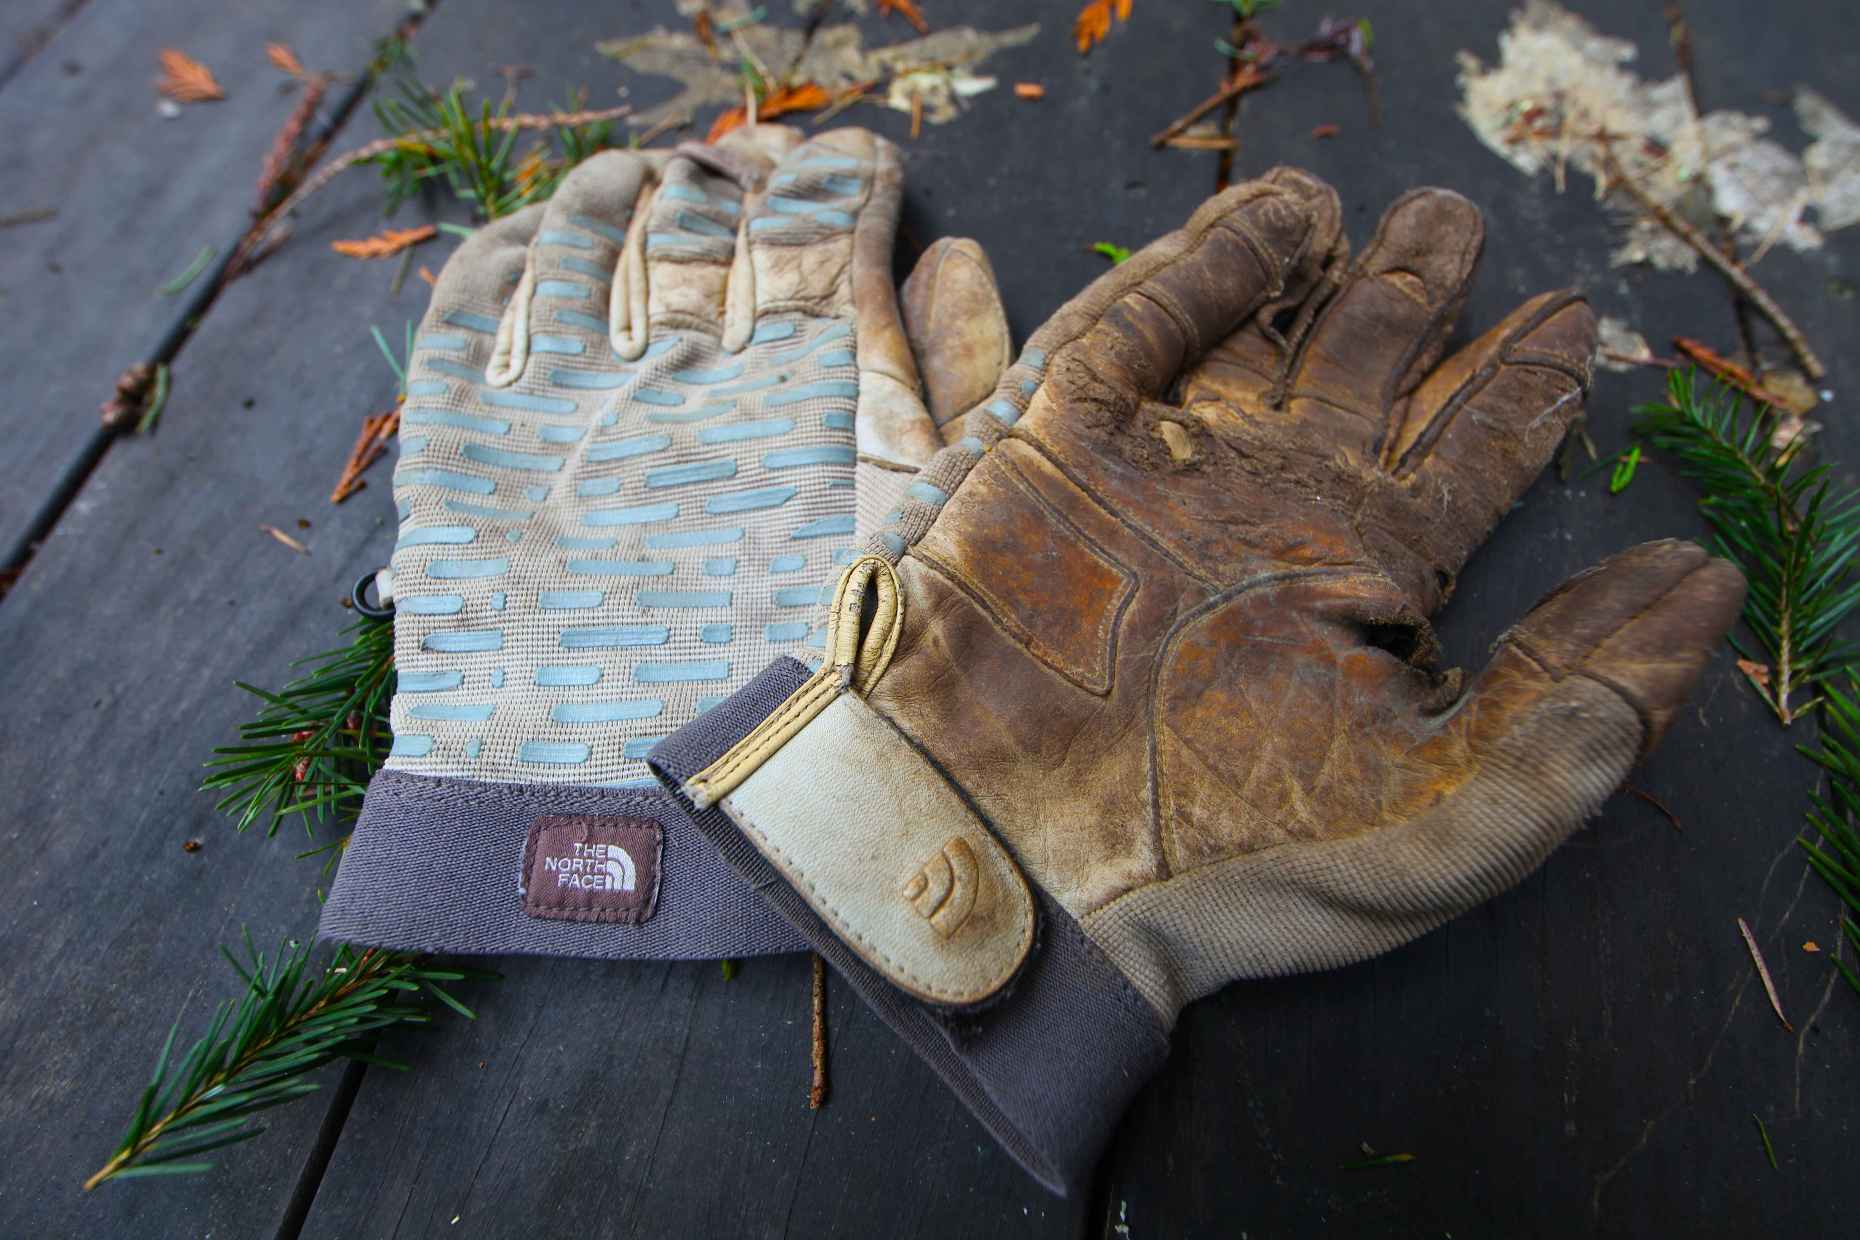
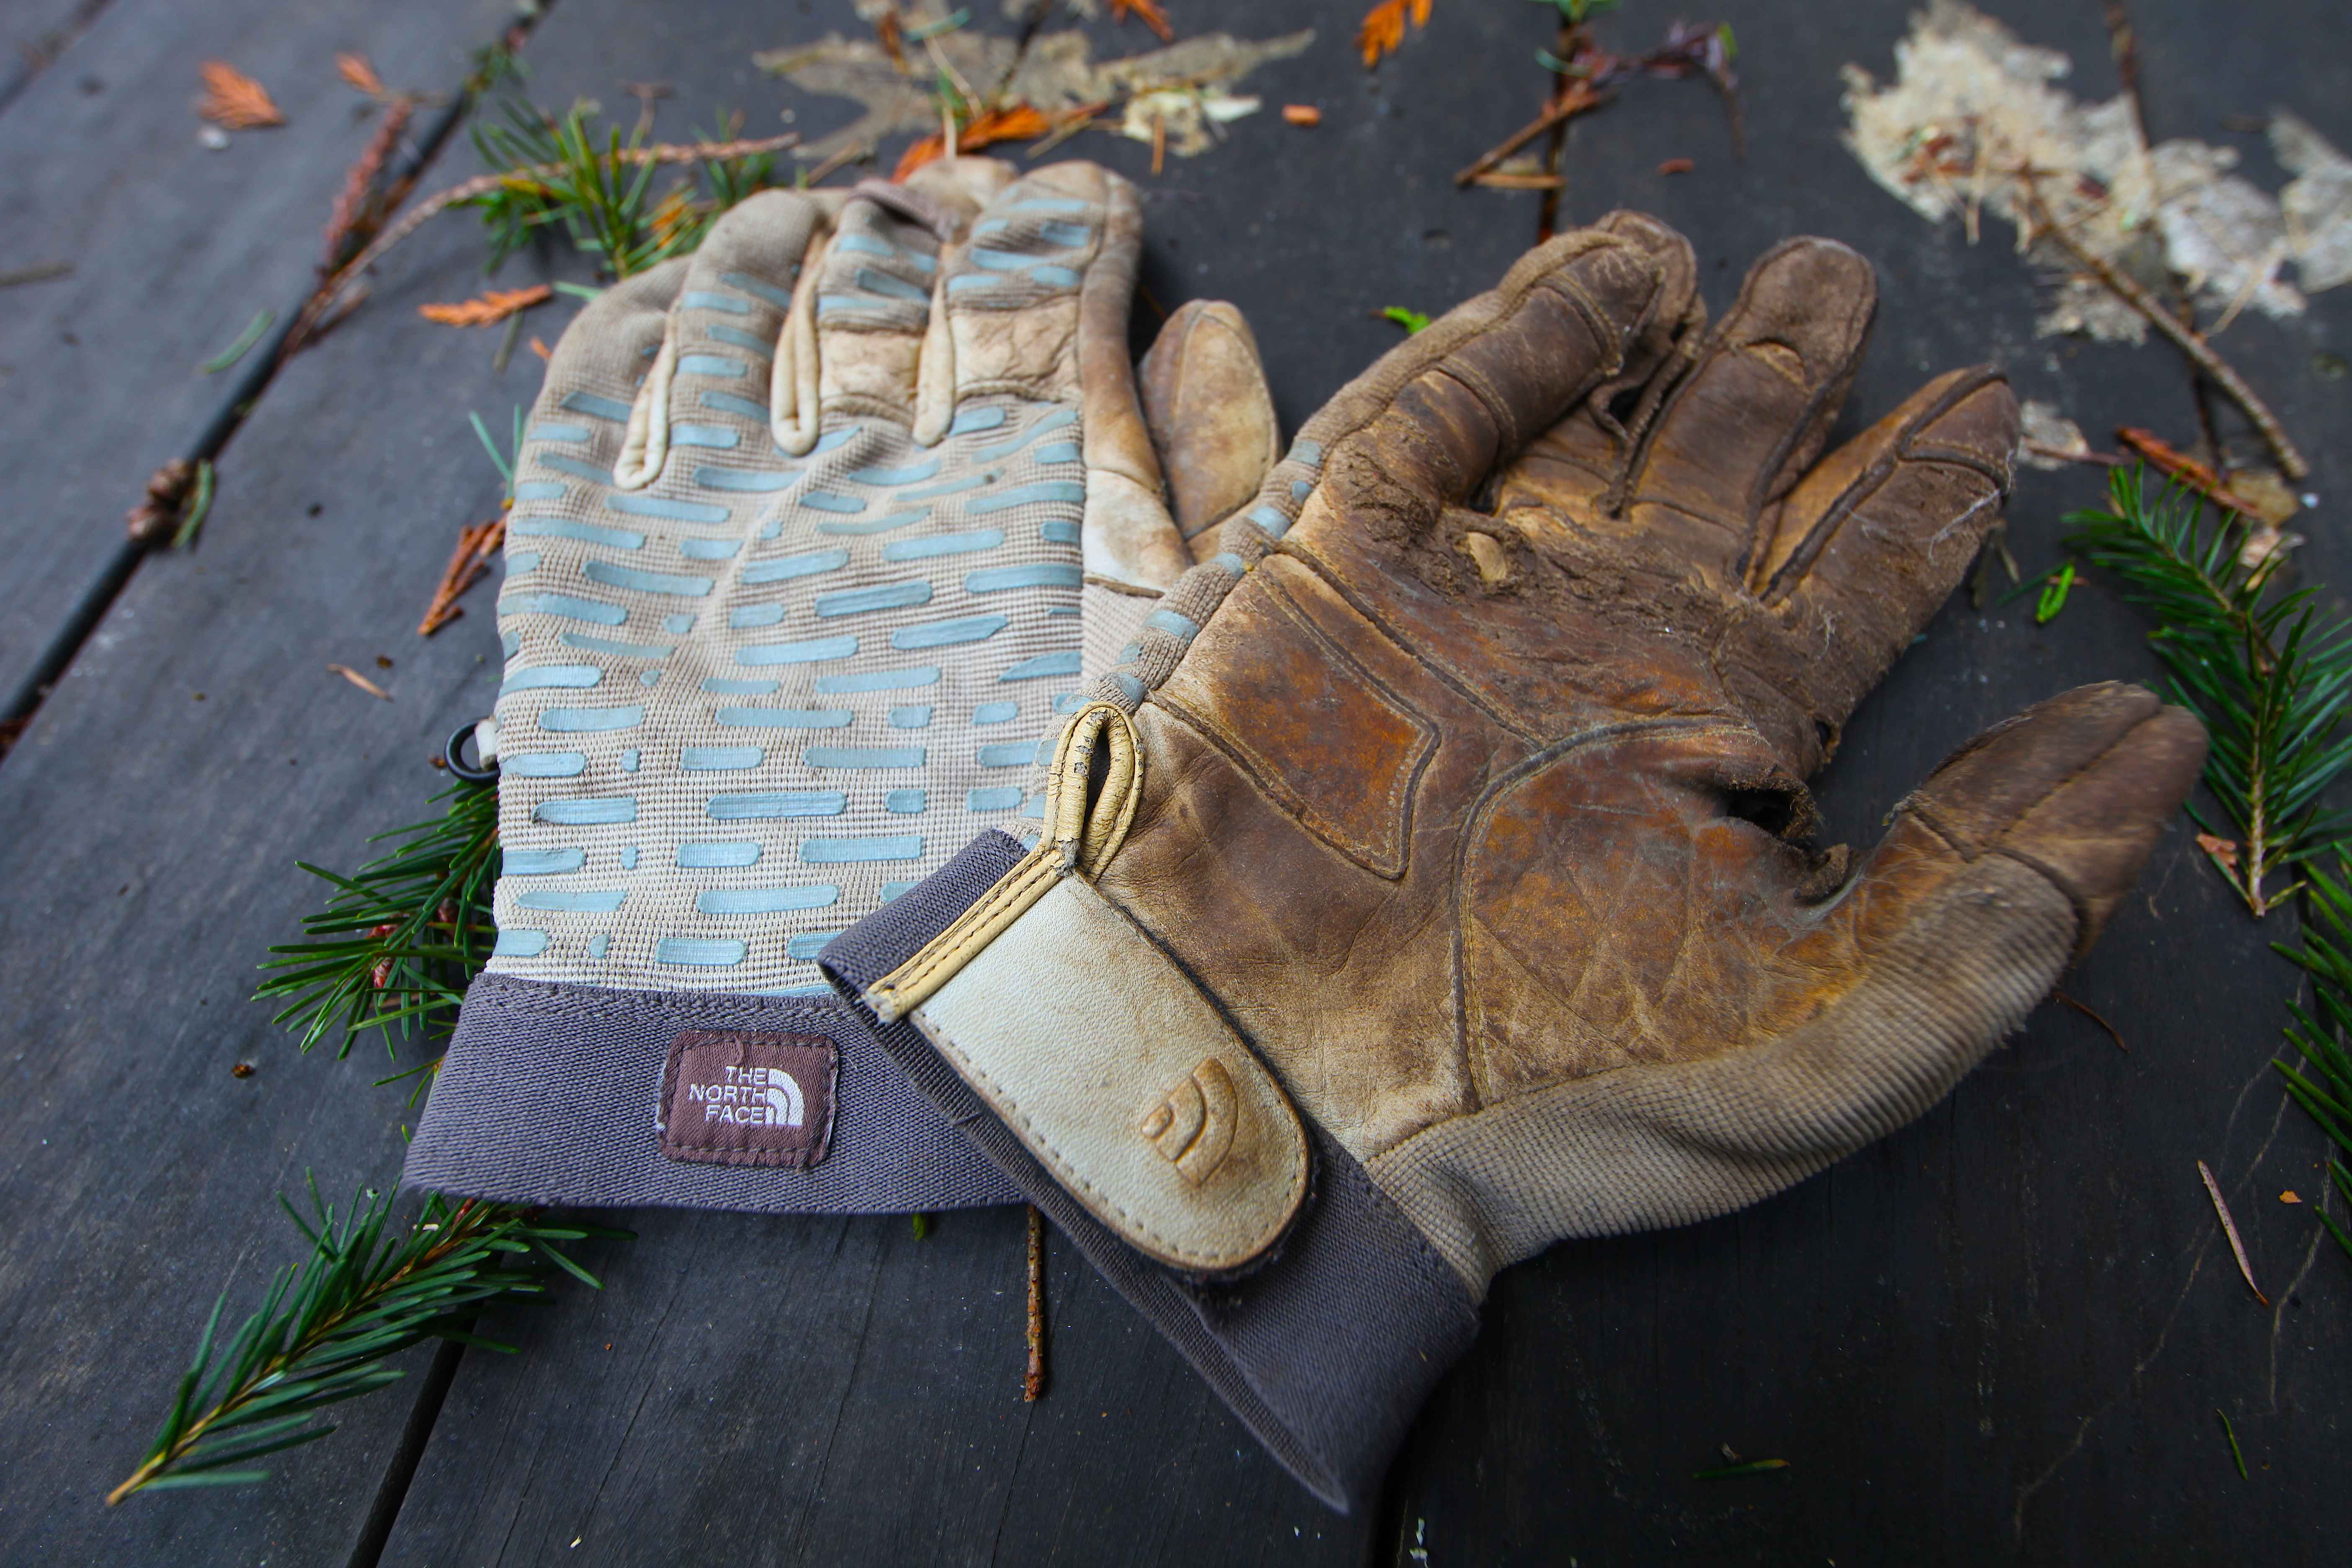
For us islanders, this new drop box at The North Face will be a welcome destination for fabrics and apparel we’ve been stockpiling in our homes in hopes that a recycler would appear in our midst. Your jeans that have holes in the knees and gloves that are nearly shredded from outdoor use are welcome at the Clothes the Loop bin.
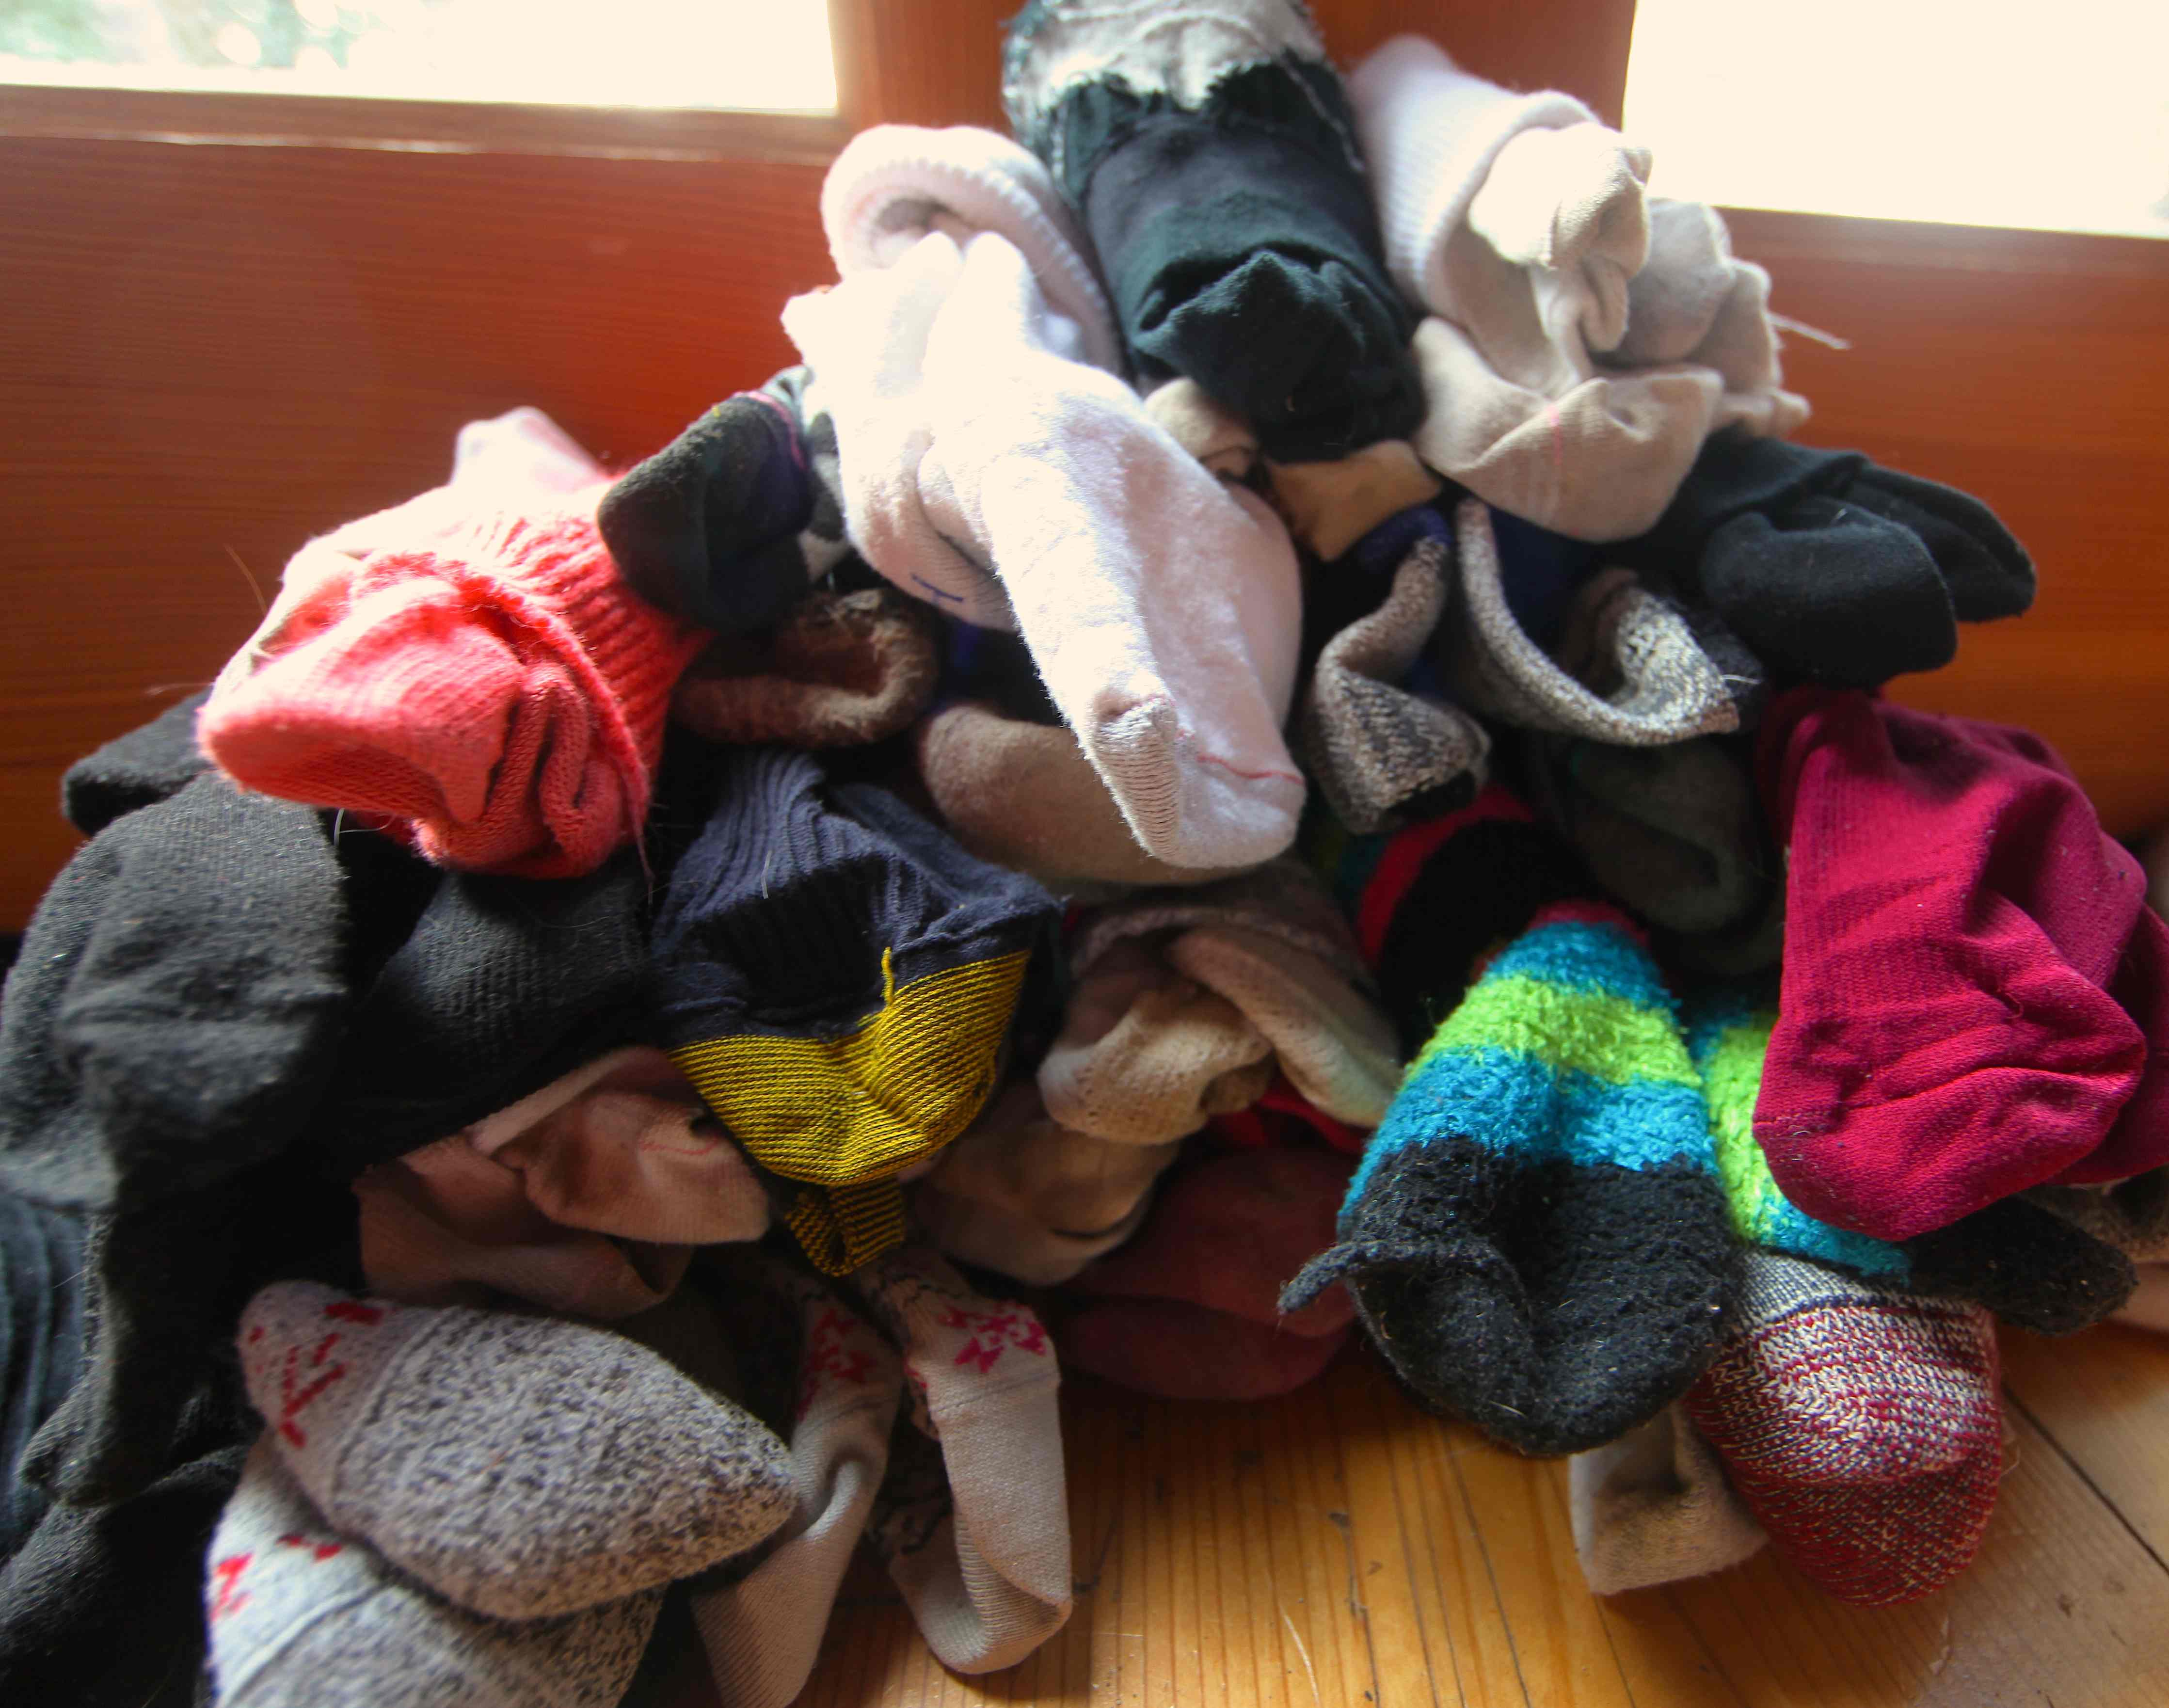
Hope to see you there, recycling your hole-y socks and dented hats.


