20 Nettle Uses: A Forest Superfood

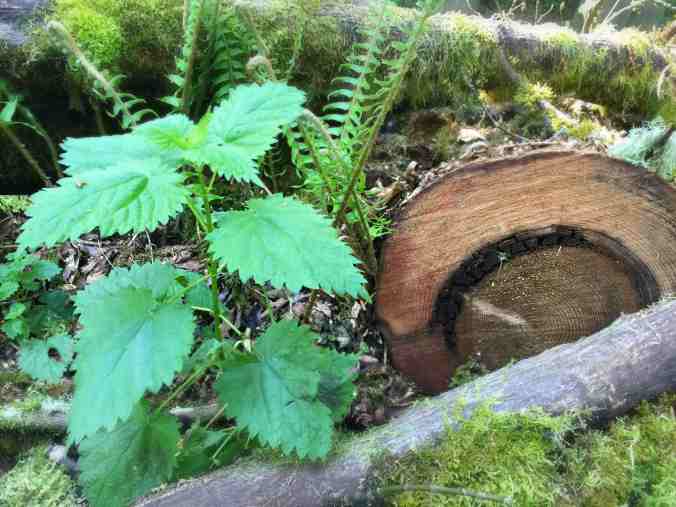
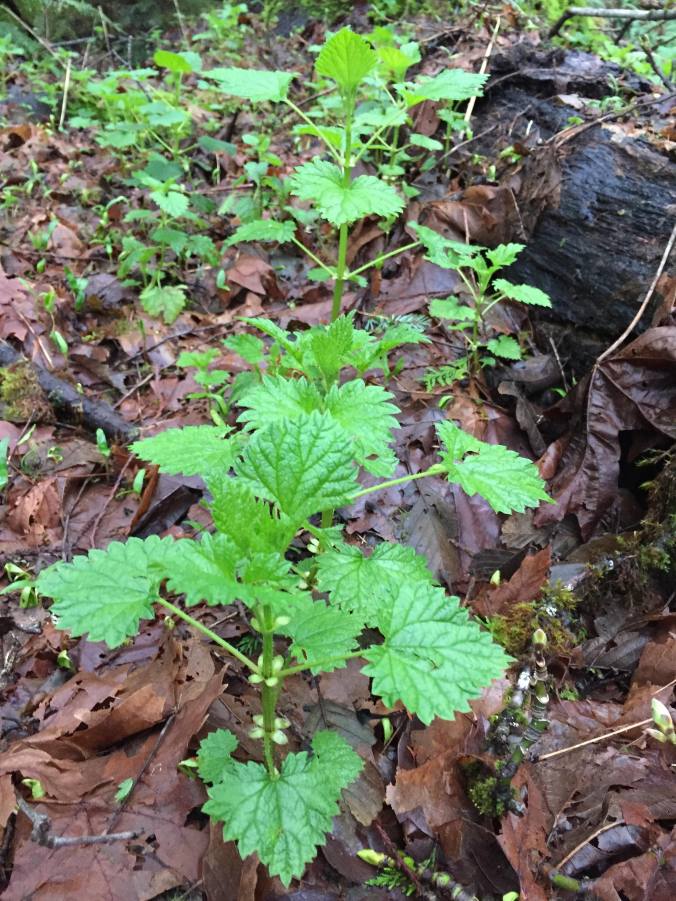
There’s likely no other wild plant that marks the beginning of spring growth than the wild nettle, urtica. Urtica is a forest superfood, full of vitamins and health benefits that can alleviate allergies, dry scalps and skin, and a long list of diseases that I’ll simply link you to here since Mother Earth News has it covered.

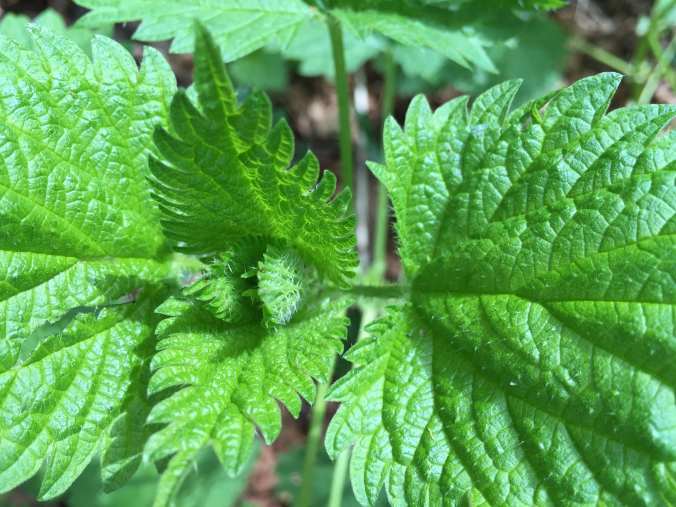
We all know that nettles come with an unpleasant sting if you brush up against the leaves. But with some care, a.k.a gloves and tongs, you can harvest wild nettles, steam them (this removes the sting in about 6 seconds), and have the foundation for one of the most nutritious greens you’ll ever have in your kitchen. Go forth and harvest these stingers, dry them or steam them up, puree them, bake them, or just put them in jars in your freezer for future use in the recipes I’ve collected below.

JPEG image-B6107D265C7F-1

1) Drying Nettles and the Basics: For starters, I want to link you to this great article on how to safely forage for nettles and also dry and store them. I’m a big believer in using all the naturally-edible natively-growing greens around you, rather than going to the store and buying greens grown elsewhere.

2) Nettle Beer: From what I’ve read, this is more like a wine. Easy to make, and quite tasty.

3) Nettle Chips: Move over kale! It’s time for us to embrace stinging nettle chips. These. Are. To. Die. For. (And I promise, you won’t die, you’ll just want more.)

IMG_8048 2

4) Stinging Nettle Fritters: These look incredibly delicious. I don’t have to say much more.

5) Stinging Nettle Mayonnaise: Want to add a bit of zing to your mayo? This is a recipe worth trying.

IMG_8718

6) Fermented Nettle Kimchi: We’re big kimchi makers and eaters. I just can’t wait to try this recipe this weekend. It’s right up our alley.

7) Black Strap Nettle Syrup: This ought to cure what ails you, yet another recipe that I know will come in handy for my family as we grow ever-closer to living off our land.

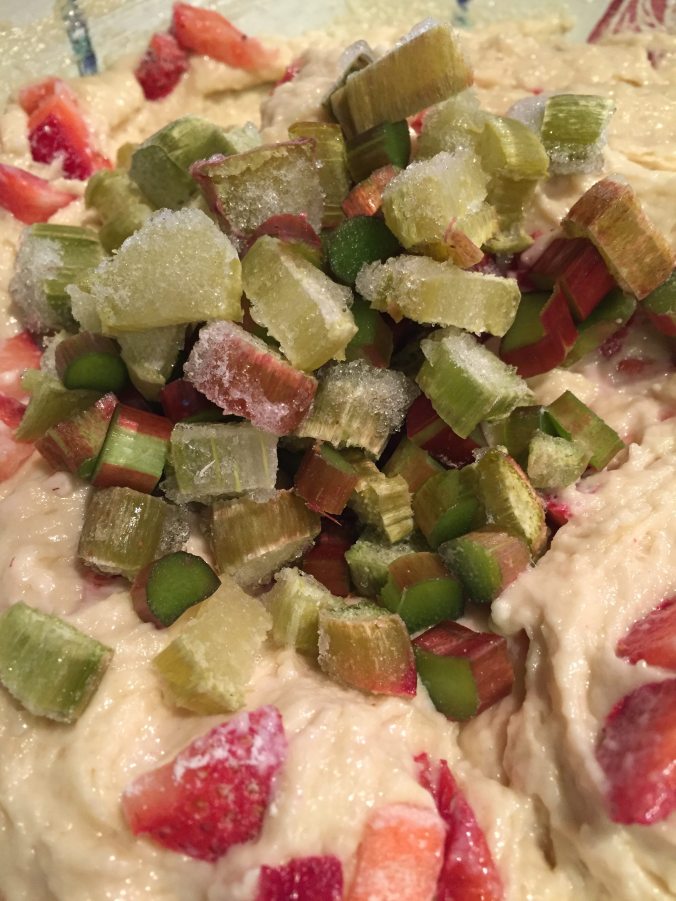
8) Wild Nettle Mini-Cakes With Strawberry Lemon Icing: If the name of this recipe doesn’t have your mouth watering, just check out the photos from this beautiful blog.

9) Nettle Recipes For Hair, Skin, & Nails: If you’re looking for a deep infusion of green to help bring you back into balance while providing nutrients for your hair, skin, and nails? This article is for you.

IMG_8727

10) Portable Allergy Tonic: Have troubles with seasonal allergies? This tonic promises relief.

11) Nettle Vinegar: This one caught my attention because we make all our own vinegars. Adding nettles makes a lot of sense, given their health benefits.

IMG_8054 2

12) Nettle and Lemon Cake with Blackberries and Lemon Icing: If you’re planning a birthday party for a child, this might be a great way to sneak in some greens! The lemon icing adds just the right zing to match the nettle color.

13) Wild Onion and Nettle Soup: We make this every spring and freeze as much as we can. This soup is just about as close as you’ll ever come to “drinking spring.”

IMG_1741

14) Fermented Nettle Tea: If you’re into all things fermented, why not nettles? Kombucha, move over!

15) Lentil and Nettle Curry: Seeing as Nepal is covered with nettles in spring, this dhal curry with nettles didn’t surprise me.

IMG_8038

16) Pizza with Garlic Cream and Nettles: OMG, you guys! This is so delectable, you have to try it. Just replace your hankering for basil with nettles here and you’ll want to repeat this recipe every week. I now freeze our excess-harvested nettles so we can have this all year round.

17) Nettle Crisps: Ok, so these are the same as the nettle chips, but it doesn’t hurt to try a slightly different recipe.

18) Nettlekopita: My friend, Rebecca, who is an amazing cook, makes this every spring and so I know it’s delicious. I just need to get over my sense that it’s time-consuming to make, because it doesn’t look like it from this recipe. My husband is Greek and I’d love to try this out on him.

IMG_8042

19) Wild Nettle Beer: I couldn’t resist linking you to another great recipe for a nettle home brew. This one was so well thought-out, I think a novice could make it.

20) Nettle Wine: I’m calling this one wine because, reportedly, it tastes more like wine. I love this article as it really spells things out clearly.

On a final note, I wanted to link you to a fascinating article, now that you’ve immersed yourself in mouth-watering nettlemania. It appears nettles have been used for millennia. Around 800 BC, nettles were used to make a silk-like fabric. Like flax, nettles were employed for their strong fibers for use in cloth-making. What uses have you come up with for this underdog wild stinging plant? We’re in awe of its properties and many uses, and excited to learn more about this superfood’s talents. Share what you know, and we’ll add it to the list.

Chive Salsa

In which chives and mint are combined to make a stunning salsa.

Chives and Mint Work Together For Salsa

I’m not one to follow recipes to the letter so feel free to add and subtract as you see fit for your tastebuds.

We have a lot of chives in the garden at the moment and since this is the time for gathering and preparing foods the year ahead, we make salsas, jams, and pestos like crazy around here throughout the spring and summer. This salsa is savory with a hint of mint to give a fresh taste in place of tomatoes which take their sweet time to make an appearance around here. This green salsa-like paste goes well with quesadillas, grilled fish, and burritos.

Start with a bunch of chilves from the garden.

1 bunch chives

6-8 fresh mint leaves

1 garlic scape (or clove of garlic)

1/2 bunch cilantro (about a handful (I use stems, too, but that’s up to you))

1 jalapeno pepper

3/4 teaspoon sea salt

2 Tablespoons water

Roast your pepper in the oven until it’s blackened or do it over the stove. Sweat your pepper for 20 minutes or so in a jar or paper bag, then remove the stem and seeds. I roast mine on my camp stove toaster that we use for our off-the-grid toast.

Roasting a pepper on my camp stove toaster (I love this thing.)

Throw everything in your Cuisinart or food processor and let it rip until the salsa looks like salsa. If you don’t have a food processor, using a mortar and pestle works perfectly, simply add the water last. I use a rock salt sea salt and grind it in the mortar and pestle as it tastes so wonderful that way!

I grind my own sea salt in a heavy mortar and pestle on the floor.

If you amend this recipe with your own additions or subtractions, please let me know what works for you in the comments below.

8 Rhubarb Uses

Rhubarb has a 4,700-year-old history, its origins coming from a couple of remote regions in Tibet. I’ve simply known rhubarb as a weird-looking sour stalk with an enormous leaf that makes its presence known in many North American gardens around Mother’s Day when we bake our family favorite: strawberry rhubarb pie. As far as fruit pies are concerned, nothing compares.

Strawberry rhubarb pie. © Liesl Clark

Is rhubarb a fruit or a vegetable? It’s actually a veggie, but in this country it took a court case to establish rhubarb officially as a fruit. According to Wikipedia, “Rhubarb is usually considered to be a  vegetable; however, in the United States, a New York court decided in 1947 that since it was used in the United States as a fruit, it was to be counted as a fruit for the purposes of regulations and duties.”

This year's rhubarb is, well, GIANT. © Liesl Clark

And it’s a versatile “fruit” at that. Aside from dessert (and using it as an umbrella), what else can you do with this weird plant?

1) Put those leaves in your compost. They’ll break down quickly.

2) Hair Dye: Rhubarb root and leaves can be used for hair dye. One recipe here will give you a pink look, the other a beautiful brown.

3) Pot Cleaner: If you want to give your pots an added shine, use rhubarb leaves and the stalk, too. The high oxalic acid content in the leaves renders them toxic, so take care to not ingest them. But they’re fine to handle and use on your pots.

IMG_5112

4) Insecticide: The rhubarb leaf is quite toxic. Even insects steer clear of it. Here are 2 recipes to keep your plants bug free.

Use rhubarb leaves as insecticide. © Liesl Clark

5) Juice: Try your hand at making rhubarb shrub. What? Shrub. It’s an American classic. And it’s bubbly and tasty. You’ll see.

6) Make a rhubarb liquor! I just chop up my extra rhubarb and put it in a jar with about a cup or so of added sugar and some vodka. Cover it for at least a month, shake it every few days. The longer you let it infuse with rhubarb flavor, the better. You’ll end up with a pink and yummy sweet and sour hooch for your favorite martini.

IMG_2385

Drink only a drop at a time. This rhubarb hooch is strong!

7) Juice it! I can vouch for the fact that a few tablespoons of fresh rhubarb juice, mixed with carrot juice, orange juice and pomegranate juice is absolutely amazing.

IMG_2334

Strawberry rhubarb yogurt muffins, Photo: Liesl Clark

8) Just keep it on hand, chopped up and in the freezer, for all of your baking needs. We throw bits of in all of our muffins throughout the year.

IMG_2325

That’s ice, not sugar, on our stash of frozen rhubarb.

What rhubarb uses can you add?

10 Toxic-Free Home-Made Easter Egg Ideas

Home-spun toxic free Easter dyes are beautiful. Photo © Liesl Clark

1) Toxic-Free Magic Marker Dye: I’ll start with my favorite because it’s so easy and does 2 things in 1. It dyes your eggs but also revives your tired out Crayola or other toxic-free magic markers. Do visit our article about it to read the full instructions, but all you need is some warm water in a glass with a splash of distilled white vinegar. Put your markers head down into the glasses, grouping them by color (we have tons of magic markers because we collect those that our school throws out and simply revive them.) That’s it! Let the eggs soak in there for as long as you wish. The longer the darker the color. If you start by making polka dots or designs on the eggs with white crayons, you’ll get a lovely design on your eggs where the wax won’t allow the dye to do it’s magic. When you’re done, pull the markers out, cap ’em and they’ll work again for you for quite some time!

2) Natural Dye: The above dyes aren’t all that natural and you wouldn’t want your child eating the ink from a magic marker, but since they’re labeled non-toxic we figure using them to dye our eggs is probably still better than using chemical food coloring. But, by far, the best option is to make your own natural dyes. There are lots of articles available on the subject. We tried it one year and liked some of the colors, but not all.

3) Kombucha Natural Dye: This recipe is similar to that above except you’re using kombucha vinegar.

4) The Ultra-Natural Easter Egg: These colorful eggs are laid as Easter eggs directly from the hens! Find yourself a dozen eggs from heritage breed hens and you’ll see that Easter egg colors can come naturally. And, Rebecca is right, brown eggs can be colored for Easter, too.

5) Sienna Easter Eggs: This beautiful technique requires onion skins and some natural items from outdoors like ferns and grasses. It leaves a beautiful sienna or sepia color on your eggs with the imprint of your fern, flower or grasses. Gorgeous.

6) Silk Tie Tie Dyed Eggs: Reuse a silk tie and tie dye your eggs.

7) No-Dye Decorating: Creative egg decorating is another great non-toxic alternative. Non toxic glue and some cute art supplies are all you need.

8) Use an Egg-Bot! This totally frivolous machine (a robot actually), if you use it with a non-toxic pen, might just wow your neighbors when you hide those eggs on the fenceline.

9) Put a ribbon on it: Wrap a ribbon around your egg and glue it down with non-toxic glue or wrap your egg in yarn with glue. These eggs look beautiful.

10) Modpodge: I’ve modpodged eggs in the past with pretty tissue paper and a light solution of sugar water that dries overnight.

Do you have any ideas to add?

DIY Fly Paper

Somehow, we’ve lost our fly swatter and there’s an odd phenomenon of tiny flies swirling around the center of our living room. It’s nearing spring, and my sense is this is the time of year they seek refuge indoors. Well, not in this door. Even the Buddhist in me wants to send these flies to a new life.

DIY Fly Paper. Photo © Liesl Clark

Before I send you on a journey to make your own fly paper, I can testify that one of the best ways to get rid of flies in your house is the half-filled Ziploc bag method. Simply half fill a medium size Ziploc bag with water, throw in a penny, and hang it in the room where you want to get rid of flies, especially in the place where they enter the room. They will scram when they see your scary water. It has something to do with the reflected light in the water, to their very many eyes, and looks like predatory danger to them. We see these bags in tea shops in Nepal and I know they do the trick.

Meanwhile, did you know that traditional fly papers used to have arsenic in them, not to mention the other toxic poisons they harbor? After searching past all the tragic posts about housepets getting caught up in fly paper (a love bird included), I stumbled upon a great DIY recipe at Going Home to Roost. We modified the recipe a bit to ensure added stickiness. And I noticed how my sweet-toothed 7-year-old jumped into the DIY game when she saw how much honey and sugar I was throwing into the pot. It might be a slow death for the winged buggers, but it’ll be a sweet one.

All you’ll need is:

Scrap paper

String or yarn

1/4 Cup honey

1/4 Cup sugar

1/8 Cup water

Cut paper strips. Photo © Liesl Clark

We used some pretty scrap paper from our scrap paper bin. No use having ugly strips hanging about the house. Our thinking was that flies like pretty colored things, too. Cut your paper into 2″ wide by 5-6″ long strips.

Punch a hole in your strips. We used a star punch. Photo © Liesl Clark

Punch a hole at the top of each strip and tie a string loop through the hole.

Sweetness in a pot. Photo © Liesl Clark

Throw the honey (I give credit to our honey bees for their fine work creating this gorgeous blackberry honey), sugar and water in a pot and bring to a simmer as you stir all the ingredients until they’ve dissolved completely. This is the point at which you can sing a witches’ song, as you stir your sweet potion in the cauldron. The kids’ll love it.

Saturated with honey bait. Photo © Liesl Clark

Place the strips individually in the pot, holding the string, ensuring they become saturated with your sticky rue.

Don't let the drips get all over the kitchen! Photo © Liesl Clark

Hang the strips where you can place a cookie sheet or newspaper below them to catch drips as they cool and dry a little.

Hanging out to dry. Photo © Liesl Clark

Then hang them up in convenient places around your home and wait for the flies to find your sweet bait.

Our first victim. Photo © Liesl Clark

I think our first victim got its tongue stuck.

Reusing Pickle Juice

We love our Claussen pickles (they’re one of the few commercial brands of food we buy) and for years I’ve regretfully poured the pickle juice out, until my passion for reuse got the better of me and we did an experiment.

Claussen Kosher Dill Pickle Juice, Sans Pickles. Photo © Liesl Clark

We sliced some beautiful spanish onion very thinly and threw it in the pickle juice sans pickles. A few hours later, the pickled onions were perfect! We’ve been enjoying them ever since. They go nicely on a salad, in guacamole, in tuna salad sandwiches and would likely be perfect for hamburgers and hot dogs. My children eat them straight out of the jar.

Thinly sliced Spanish onion is perfect for pickling. Photo © Liesl Clark

I did a little research across several discussion boards, to make sure reusing the juice is okay, and here’s what I learned: You can definitely reuse the juice to pickle fresh or blanched veggies in your refrigerator. Some people expressed concern about the health risks in reusing pickle juice for a new stash of pickled somethings. But almost all sites concluded that you should simply use your best judgement. Many admitted even drinking the stuff. Perusing the web showed me that there are pickle  juice-reusers out there who have been doing it for years. With good instincts and taste buds, and as long as you only reuse the pickle juice for short-term pickling in the refrigerator (no more than a couple of weeks), I think your re-pickles will be worth the risk.

Pickled onion. Yum. Photo © Liesl Clark

Some people add a teaspoon of kosher salt and another of distilled white vinegar to the jar to ensure a strong brine.

We’ve even started pickling our fresh-laid (hard boiled) eggs in there for a delicious lunch snack for the kids when cucumbers aren’t in season. Vegetables to definitely try are: Green tomatoes, green beans, cucumbers, cauliflower, and mushrooms (very short term pickling). I’d like to also try a kimchi experiment with cabbage and carrots and use the pickle juice when I’m brining my favorite kimchi.

Of course, the one down-side to Claussen pickles is that they’re not entirely plastic-free. There’s that little plastic neck thing that corporate food tends to have around it to prove that no one has tampered with the glass jar. Local organic pickles don’t have those annoying plastic sealers and most of us are used to hearing that “pop” when a jar of safely-canned food is opened. You can always make your own pickles. We do, when they’re in season, and we have a great refrigerator pickle recipe for you here.

Organic Homemade Refrigerator Pickles. Photo © Liesl Clark

Other pickle juice reuse ideas that I’ve discovered?

1) I found one reference online that said you can clean your copper pots with pickle juice. Just dip your sponge in the juice and polish away!

2) Make a salad dressing using your pickle juice.

3) Try your hand at Polish pickle rye bread.

4) Pickletinis: Mix pickle juice with a dash of vodka or gin. I dare you to try one. Or, just do a pickleback shot: One shot of Irish whiskey and one shot of pickle juice.

5) Some extreme athletes have claimed that pickle juice helps them fight dehydration and cramping.

6) Fight colds with your pickle juice! Here are some words from a reader: “When my throat starts getting scratchy and I can tell I’m coming down with a sore throat, I take a big swig of pickle juice, and another in a few hours if need be. Not sure why, but it never fails to wipe out that nasty sore throat before it takes hold.”

Do you have any pickle juice reuses to share? Please do in the comments below!

Fastest Caesar Salad Dressing, Plastic-Free

Fresh Salad Dressings Made in Bulk in Glass Jars Will Get You to Eat Your Greens. Photo © Liesl Clark

We’re big on salads, growing greens for 12 months of the year. And often, the only thing hindering us from making a salad for lunch or dinner is…the dressing. If you don’t have one ready to just throw on your greens, chances are you’ll skip the salad on a busy day. Solution? Make a big batch of the most delicious dressing you can cobble together so it lasts several weeks in the fridge.

So, get out your favorite bottles or jars because we’ve got a fabulous dressing that’ll keep you and your loved ones wanting salad at all meals:

Liesl’s Faux Caesar Salad Dressing:

Plenty of Garlic. Photo © Liesl Clark

Crush about 4-6 cloves of garlic. We use a garlic crushing stone.

A Garlic-Crushing Stone is Fast and Easy. Photo © Liesl Clark

Place in your favorite jar and add 1/2 Cup extra virgin olive oil.

Olive Oil is Always at Hand. Photo © Liesl Clark

Add about a tablespoon of fish sauce. Fish sauce? Yes, fish sauce, as found in Thailand, Vietnam, and in the Philippines is a savory seasoning staple in our household. It serves as an easy alternative to anchovies in this recipe. Be sure to buy it in a glass bottle.

No Need For Anchovies! Get Fish Sauce in a Glass Jar. Photo © Liesl Clark

Add about 1/2 cup freshly grated parmesan cheese.

Fresh Salad Dressings Made in Bulk in Glass Jars Will Get You to Eat Your Greens. Photo © Liesl Clark

Add a tablespoon or 2 of red wine vinegar or homemade vinegar from your fruit scraps.

Adding Vinegar to Taste is Best. Photo © Liesl Clark

Done! Every time you use the dressing, you can add a little more parmesan cheese for added flavor. Also, it’s easy to adjust the amount of vinegar and fish sauce to taste. Every fish sauce tastes a little different from the next brand and vinegars, too, can be stronger than others. We use anything from our homemade red wine, cider, and blackberry vinegars to malt vinegar. Our children just love this dressing. Enjoy!