By Mr. Everest
I’ve noticed a trend lately that’s surprising: tools with broken handles are discarded when only the wooden handle is broken. I grew up with acres of woods around me and tools like axes and rakes came in handy every day. I still use them quite regularly and when a wooden handle snaps in half, replacing it costs a fraction of the replacement cost for the entire tool. It just takes a little custom fitting, but anyone can do it.

I replaced the handle for an old axe head of mine this week and I’ve broken the process down into 5 simple steps: I suggest you buy a good quality hardwood handle like hickory or ash from a hardware store or, if you have a good hardwood source nearby, just carve your own.
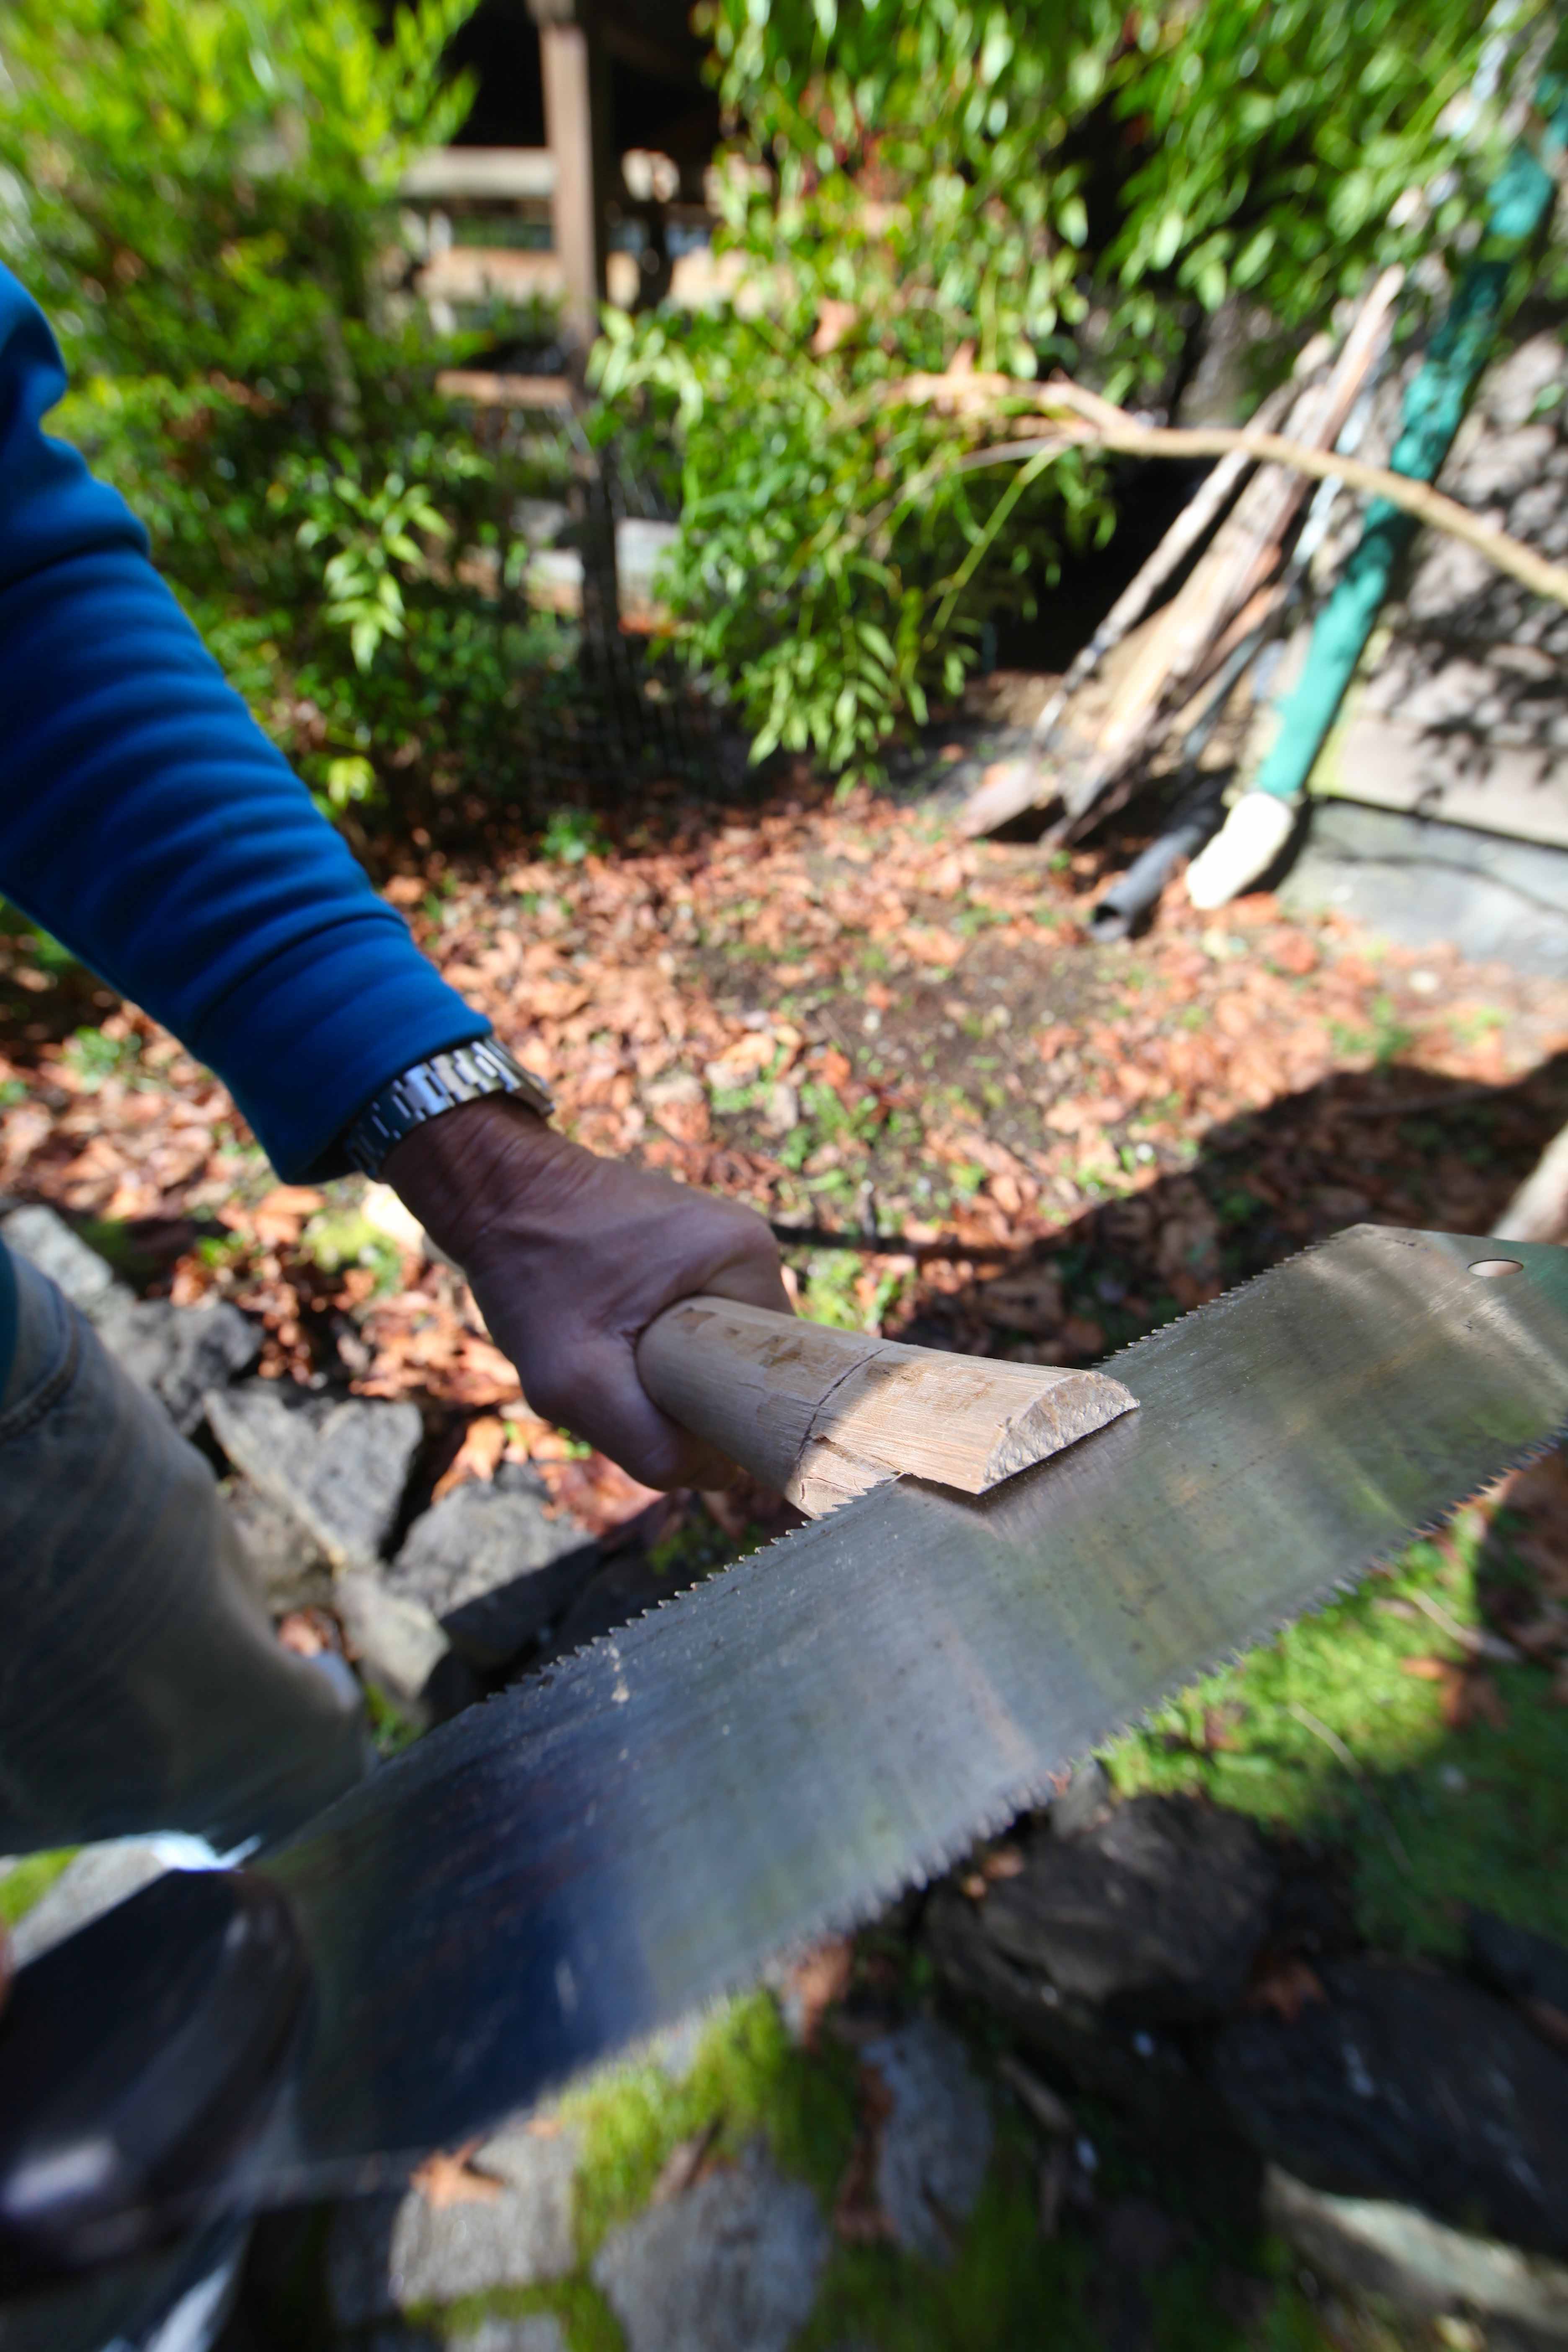
1) Cut out a piece at the end of your wooden handle to match the slot of your iron that will fit inside your tool head’s insertion hole. You’re making the end insertable into the tool head, so cut your piece making sure it’s not too small. I use a draw cut saw.
2) You can see the gist of it below. You’re just trying to create a wooden neck that will fit inside the eye of the tool.

3) Now you need to slide the wooden handle-neck into the eye of the tool head.

4) I force it by bouncing the bottom of the handle onto a hard surface like stone or concrete and usually the head will pop on. If you have any gaps between the iron head and the wooden neck you can fill that with wooden shims.

5) Drop it in a bucket filled with water and soak overnight. If it’s good kiln-dried wood, a 24-hour soaking is probably fine. If it’s a piece of wood you cut from your woods, it’ll need to soak a little longer so that the wood swells nicely inside the tool head.

If your head is still loose after the soaking, you can always drive a metal shim into the top to tighten your fit.

Repairing our tool handles runs in the family. By observation, our 9-year-old was able to carve his own handle for a broken rake.

It took him 15 minutes to carve a spare baluster we had to the right size, fit the handle into the rake’s slot, and then take it up to the pond for an overnight soak.

