If you’re a lover of kitchen gizmos like garlic presses but just haven’t enjoyed the clean-up factor, get yourself a big stone to use in your kitchen. Skip that gizmo that’s a pain to clean up, is going to eventually break, doesn’t give you all the garlic from that clove since it gets stuck in weird places, and simply use a pestle-shaped stone instead. I’ve used one in my kitchen for 10 years now and I couldn’t live without it. In Nepal, my friends use stones in their kitchens: One flat one and one cylindrical one for crushing, mashing, and grinding either garlic, chili peppers, whole grains or whole spices. I brought a stone home with me and would recommend you look for one, too. Maybe there’s a pestle-shaped on out in the woods, in your garden, or on the bank of the nearest river or stream. Think cave man, not Pottery Barn. One hit on the garlic and it’s peeled. Another smash and it’s crushed. Easy.
Recipes
Leftover Wine And Fruit Scrap Vinegar
Wine aficionados claim that a bottle of wine should be consumed within 36 hours before the perishable liquid inside starts to deteriorate. Once oxygen is introduced, the wine begins to change. Recorking or sucking the air out of it will only deter the deterioration by a matter of hours. Putting the bottle in the refrigerator might help keep it for up to a week, but after that, it’s time to make wine vinegar!
Vinegars are so easy to make, it’s almost a crime to not make them with your leftovers. In a glass jar combine 2 cups of leftover red wine with a cup of distilled water and some “mother” from a previous organic vinegar you’ve finished and cover the jar with cheese cloth or a clean piece of cotton cloth so air can get in and dust stays out.
“Mother?” You ask.
If you look closely at the contents of the bottles above, you’ll find my 3 mothers. They’re from blackberry, apple, and pear vinegars, respectively, and I’ve been hanging on to them so I can use them as a starter for the next vinegars I make. A vinegar’s mother is a gelatinous mass that usually sits at the bottom of your vinegar bottle. It’s a sign that your vinegar is likely organic because it houses a lovely live culture. The mother is actually a type of acetic acid-producing bacteria called “acetobacter” and it consumes the alcohol in your wine, converting it into delicious vinegar.
If you don’t have a mother with which to start your homemade vinegar, you can find some in the bottom of a jar of Bragg’s Unfiltered Raw Organic Apple Cider Vinegar. Until I started making my own apple cider vinegar, this stuff was an essential ingredient in our home. It’ll cure you of any cold and is an excellent rinse for your hair. Save that mother and you’re ready to start making your own vinegars.
What about fruit vinegar? I make my own throughout the year from scrap apple peels and cores when making pies and apple sauce. Blackberries from our vines also make an incredibly delicious vinegar. Simply put your fruit scraps in a jar with some water and a “mother” from another vinegar and cover with cloth so the vinegar can breathe.
If you get mold because your fruit is on the surface and exposed to air, take the offending mold out and make sure your fruit is totally submerged in the water/mother mixture. Check on your jars periodically, but it’ll take a few weeks for the fermentation and culture to reach its peak. I always go by feel. After about a month I run the vinegar & fruit mixture through a cheesecloth, separating out the fruit but I retain the mother and place it and the filtered vinegar into a pretty bottle and cork it. And as the vinegar ages, like me, it only gets better.
Vinegars make great gifts, so you can never make too many bottles! Do you make your own vinegars? Please share your thoughts and let us know what your favorite fruit or wine varieties are.
8 Uses For Garlic Skins
In my ongoing fascination with the things I typically throw away, even in the compost pile, I thought I’d look up some of the most interesting ways to reuse garlic skins. Some, I already do, but there are a few new uses in this list I thought you might want to try.
Don’t toss those papery white skins!
1) Save them in your freezer and use for your vegetable or chicken stock. I also throw them in my slow-cooked beans to add more flavor.
2) Compost them.
3) Keep the skins on your garlic when you roast it and the protective skin layer keeps your garlic soft on the inside.
4) Eat it! According to the Daily Mail, the skin on fruits and veggies shouldn’t be discarded. As for garlic: “Peeling garlic cloves removes the phenylpropanoid antioxidants which help fight the ageing process and protect the heart.”
5) Make a paper rose out of your garlic skins.
6) Turns out garlic skin is a major antioxidant. Plan on seeing it in all sorts of health products in the near future.
7) Add them to your handmade paper recipe. They add a lovely texture.
8) Dye your hair with them using a natural ayurvedic technique.
Kick The Can (Habit) And Slow Cook Your Beans
By Mr. Everest
Cooked beans are a staple in our family. Whether they’re pinto or black beans, we cook up a pot of beans at least once a week. Today, the house smelled wonderful as the beans cooked in the slow cooker with garlic and onions.
For the past 3 years, we’ve gone plastic-free in the culinary arts so that means no canned food. Most cans have bisphenol A (BPA) in them which is an epoxy resin-like substance that is an endocrine disruptor and a chemical linked to cancer. Beans in a can are among the top BPA-laden canned foods out there. When we converted our kitchen over to a plastic-free one, canned beans were a favorite staple we had to rethink. But the Greek ancestry in me knew it wouldn’t mean we’d go without beans for long. My Dad always had a pot of lentils on the stove, so why not do the same with pinto and black beans?
Every few days I pull out the slow cooker, throw some beans in (say 4 cups-worth) add quadruple the amount of water, throw in a bay leaf from our friends’ tree, several cloves of garlic from our garden (whole cloves are fine), a few extra garlic skins, chopped onion, and about a teaspoon of sea salt. Each time I do it the recipe changes but this is a basic one that works. Put the cover on the slow cooker and let ‘er cook for about 18 hours or until your beans have reached their desired tenderness. No stirring is required. Just leave the slow cooker alone and enjoy the rest of your day.
We buy our beans in bulk, 25 lbs at a time, so they come to us in a big paper feed sack. We then store them in glass jars for easy access.
I tend to turn half of the cooked beans into refried beans (just mash ’em down as you fry them with a little more garlic and onion and add some cumin and liquid aminos for salt) and then make burritos or enchiladas that we can freeze for easy school lunches to reheat for the kids. We also make black bean soup with them or just a simple bean dip.
These beans are always better than anything I’ve eaten from a can, and they cost about a tenth of the price. But the real benefit of kicking canned food is the mindfulness of slow-cooking and making your staples from scratch. Cooked beans in a slow cooker are so simple, yet they require a few minutes of forethought and planning for the meals that your family will enjoy in the week ahead. Four cups of dried beans will result in about 8 cups of cooked beans, enough for a family of 4 to enjoy for a week in many different creations. As your home fills with the buttery and savory smell of cooking beans, enjoy the pleasure, as my Dad did, of slow-cooked food and the sweet time it takes for the flavors to blend together completely.
Swiss Chard Is Two Veggies In One
Don’t throw those swiss chard stalks out! We’ve discovered a delicious thing or 3 to do with them.
I’m ashamed to say our swiss chard has been languishing in the garden because our family just hadn’t taken to these easy-to-grow greens, until now…
First, separate your chard leaves from the stalks and cut your stalks into 4″ long pieces. Save them in a bowl. Aren’t they pretty?
Spicy Swiss Chard Chips:
We all know what kale chips are. Well, try making chips with your swiss chard, too. They’re a delicious and nutritious substitute for potato chips. By adding a little garlic powder, salt, and some chili powder, you won’t be able to eat just one.
Turn your oven to 275 degrees. Place your chard pieces on a baking sheet or glass baking pan. Add a tablespoon of olive oil per baking pan and toss the chard leaves with equal amounts of sea salt and garlic powder and chili powder. That’s it! Add your spice to taste and be sure to not make it too salty.
Bake for 20 minutes and then turn the leaves over and bake another 10 minutes if needed. Your bake time depends on your baking dish.
Enjoy!
Chard Stalk Pickles:
Now take your stalks and if you have a bottle of Claussen pickle juice waiting for something delicious to throw in, just stuff a few of your raw stalks in the bottle and within a few hours you’ll have delicious chard stalk pickles. My kids love them.
I found another recipe for delicious pickled swish chard stalks at Cookistry. But if you want to read my entertaining version with home-grown photography, here we go:
Blanch your stalks in boiling salted water for about 3-4 minutes. You want them to stay crunchy so be sure to not overcook them. Drain the stalks and try a few at this stage. Aren’t they delicious? We loved the slightly salted cooked stalks so much we saved a few and had them as a side dish with dinner.
Find a mason jar or 2 and put your stalks in them.
Then, bring the following ingredients to a boil and make sure everything is completely dissolved:
2 cups water
3/4 cup white vinegar
1 1/2 teaspoons salt
2 1/2 teaspoons sugar
Pour your water into your mason jars with chard stalks in them and screw the tops on. Put them in the refrigerator when they’ve cooled and you can enjoy these pickles for a few weeks.
Do you have a favorite chard stalk recipe? I was so excited to find a way to save them from the compost bin or chicken yard I’d love to learn of other chard stalk rescue recipes.
Water Cress Pesto
Feeding my family by way of mid-winter foraging always feels like a triumph. Although there’s little in the garden these days, when we go on hikes on our hill, we find water cress in the places where the springs are running freely. The winter rains have been incessant, so this year the cress is abundant.
We collect handfuls of it each week and turn it into a spicy pesto the kids love on pasta. It’s a quick dinner for a busy mama to make.
Water Cress Pesto (a.k.a. Water Cresto)
4 Cloves Garlic
1/2 Cup Walnuts or Pine Nuts
(put the garlic and nuts in your food process or and run it until they’re completely turned into small bits) Add:
1 1/2 – 2 Cups Water Cress, washed
1/4 Cup Olive Oil
1/4-1/2 Cup Parmesan Cheese (in small chunks)
Process the rest of the ingredients together until you have nice green paste. Toss it with your favorite pasta.
Enjoy!
20 Banana Peel Uses
- The Miraculous Banana and Its Peel. Photo © Liesl Clark
The banana peel, like coffee grounds, tea leaves, and orange peels has a lot of beneficial qualities that’ll make you think twice the next time you toss it in the trash. We’ve gathered 20 of the best banana peel uses for you to try:
1) Shoe Polish: Did you know banana peels (on the inside) make a great shoe polish? Just rub it around your shoe and then buff it with a soft cloth.
2) Teeth Whitener: Rub the inside of your banana peel on your teeth to whiten them. Apparently, the manganese, magnesium and potassium helps whiten the enamel of your teeth.
3) Wart Cure: It only takes 1-2 weeks to remove a wart with a banana peel.
4) Itch Soother: Banana peels can help relieve bug bites and poison ivy. It won’t remove the oils that cause the itching but it’ll soothe the bite or rash altogether.
5) Monkey Party: Have a Curious George party and put 30 peels on your deck for the kids to slip around on! (Just kidding.)
6) Silverware Polish: Blend banana peel with water and use on your silver to take the tarnish off with a soft cloth.
7) Meat tenderizer: Some people add a banana peel to their roast and it’ll add just enough moisture to ensure that roast doesn’t get too dry.
8) Splinter Removal: Banana peels help ease splinters out of your skin. Place banana peel on a splinter with athletic tape for a while and then try to ease the splinter out.
9) Aphid Control: Aphids don’t like banana peels. If you bury some around your roses or other plants aphids love (like cauliflower), you’ll deter them from coming around.
10) Rose Food: Here are a few great recipes for feeding your roses with banana peels that are rich in calcium and magnesium, as well as many other trace minerals that your flowers love.
11) Bruise Patrol: Banana peels on the inside, if rubbed on a bruise, will aid in making it disappear.
12) Compost: Banana peels break down pretty quickly and add wonderful nutrients to your soil. Throw them in your compost!
13) Acne: Banana peels rubbed on your acne will help in the acne curing process.
14) Dry Skin Cure: If you have psoriasis, try rubbing the inside of a banana peel on your affected areas twice a day and you’ll see the dry scaly skin dissipate.
15) Banana Boat Campfire Dessert: This recipe will please all who are sitting around the campfire.
16) Hemorrhoid Cure: Yup, you guessed it. As with acne, banana peels help cure hemorrhoids.
17) Banana Peel Message: Leave a message for your child on their banana peel by pricking out letters with a toothpick, the skin will bruise and there will be a dark brown message for your sweetie by lunchtime.
18) Tomato Plant Fertilizer: Wrap a banana peel around your tomato starts when you plant them in the garden and they’ll enjoy the nutrients from the peel as they grow throughout the summer.
19) Banana Peel Steamed Pork and Rice: Try this recipe out for size.
20) Anti Depressant: Researchers have found that drinking boiled banana peel water (or juicing the peel) can ease depression.
What are you doing with your banana peels?
Homemade Crackers, Sans Plastic
We love crackers. But there are 2 reasons why we just don’t buy them very often:
1) They cost about $5/box in our local supermarket.
2) About 99.9% of them come with some sort of unrecyclable plastic packaging. Here’s a snappy little video to give you a sense of the mechanics (and carbon footprint) involved in packaging a small cluster of crackers into a plastic-molded container for you.
We started looking into making our own crackers and are thrilled to report that you can make your own delicious artisan-style crackers with excellent results and they’re incredibly easy to make. We’ve tried several recipes and this post aims at pointing you toward 3 of the best!
1) We first went to our guru for all things kitchen at Rock Farmer and found a great recipe for gluten-free crackers. I’ve taste-tested many of them and can attest to their deliciousness.
2) We then went for full gluten plus a little butter to boot and found a great recipe that was so pleasing we didn’t have a cracker left an hour after baking them. The addition of seeds like dill makes these pretty special. The recipe is at Slim-Shoppin and I substituted a tea towel for the wax paper with no problem.
3) A final contender for best easy delicious crackers on the Web, is at Girlichef. These are absolutely divine olive-oil crackers with lots of seeds again and it was the photography of the crackers in a mason jar that caught my attention. And I thought I had the only crackers-in-a-mason-jar kitchen. Please note that 150 grams of flour = about 1 and 1/4 cups flour. Do roll all your crackers out as thin as you can. Makes for that crunchy cracky texture we all call crackers!
So far, the only plastic-free crackers to buy that I can find are Ryvita crackers.
(Sigh)
The Thing About Breadmakers
I was once a breadmaking fanatic, because my breadmaker meant 4 minutes of prep and 3.3 hours later I’d have delicious wholesome organic bread that the whole family would devour. Unlike most breadmaker owners, we actually used our machine regularly. We’d been making bread from it non-stop for years, until this week.
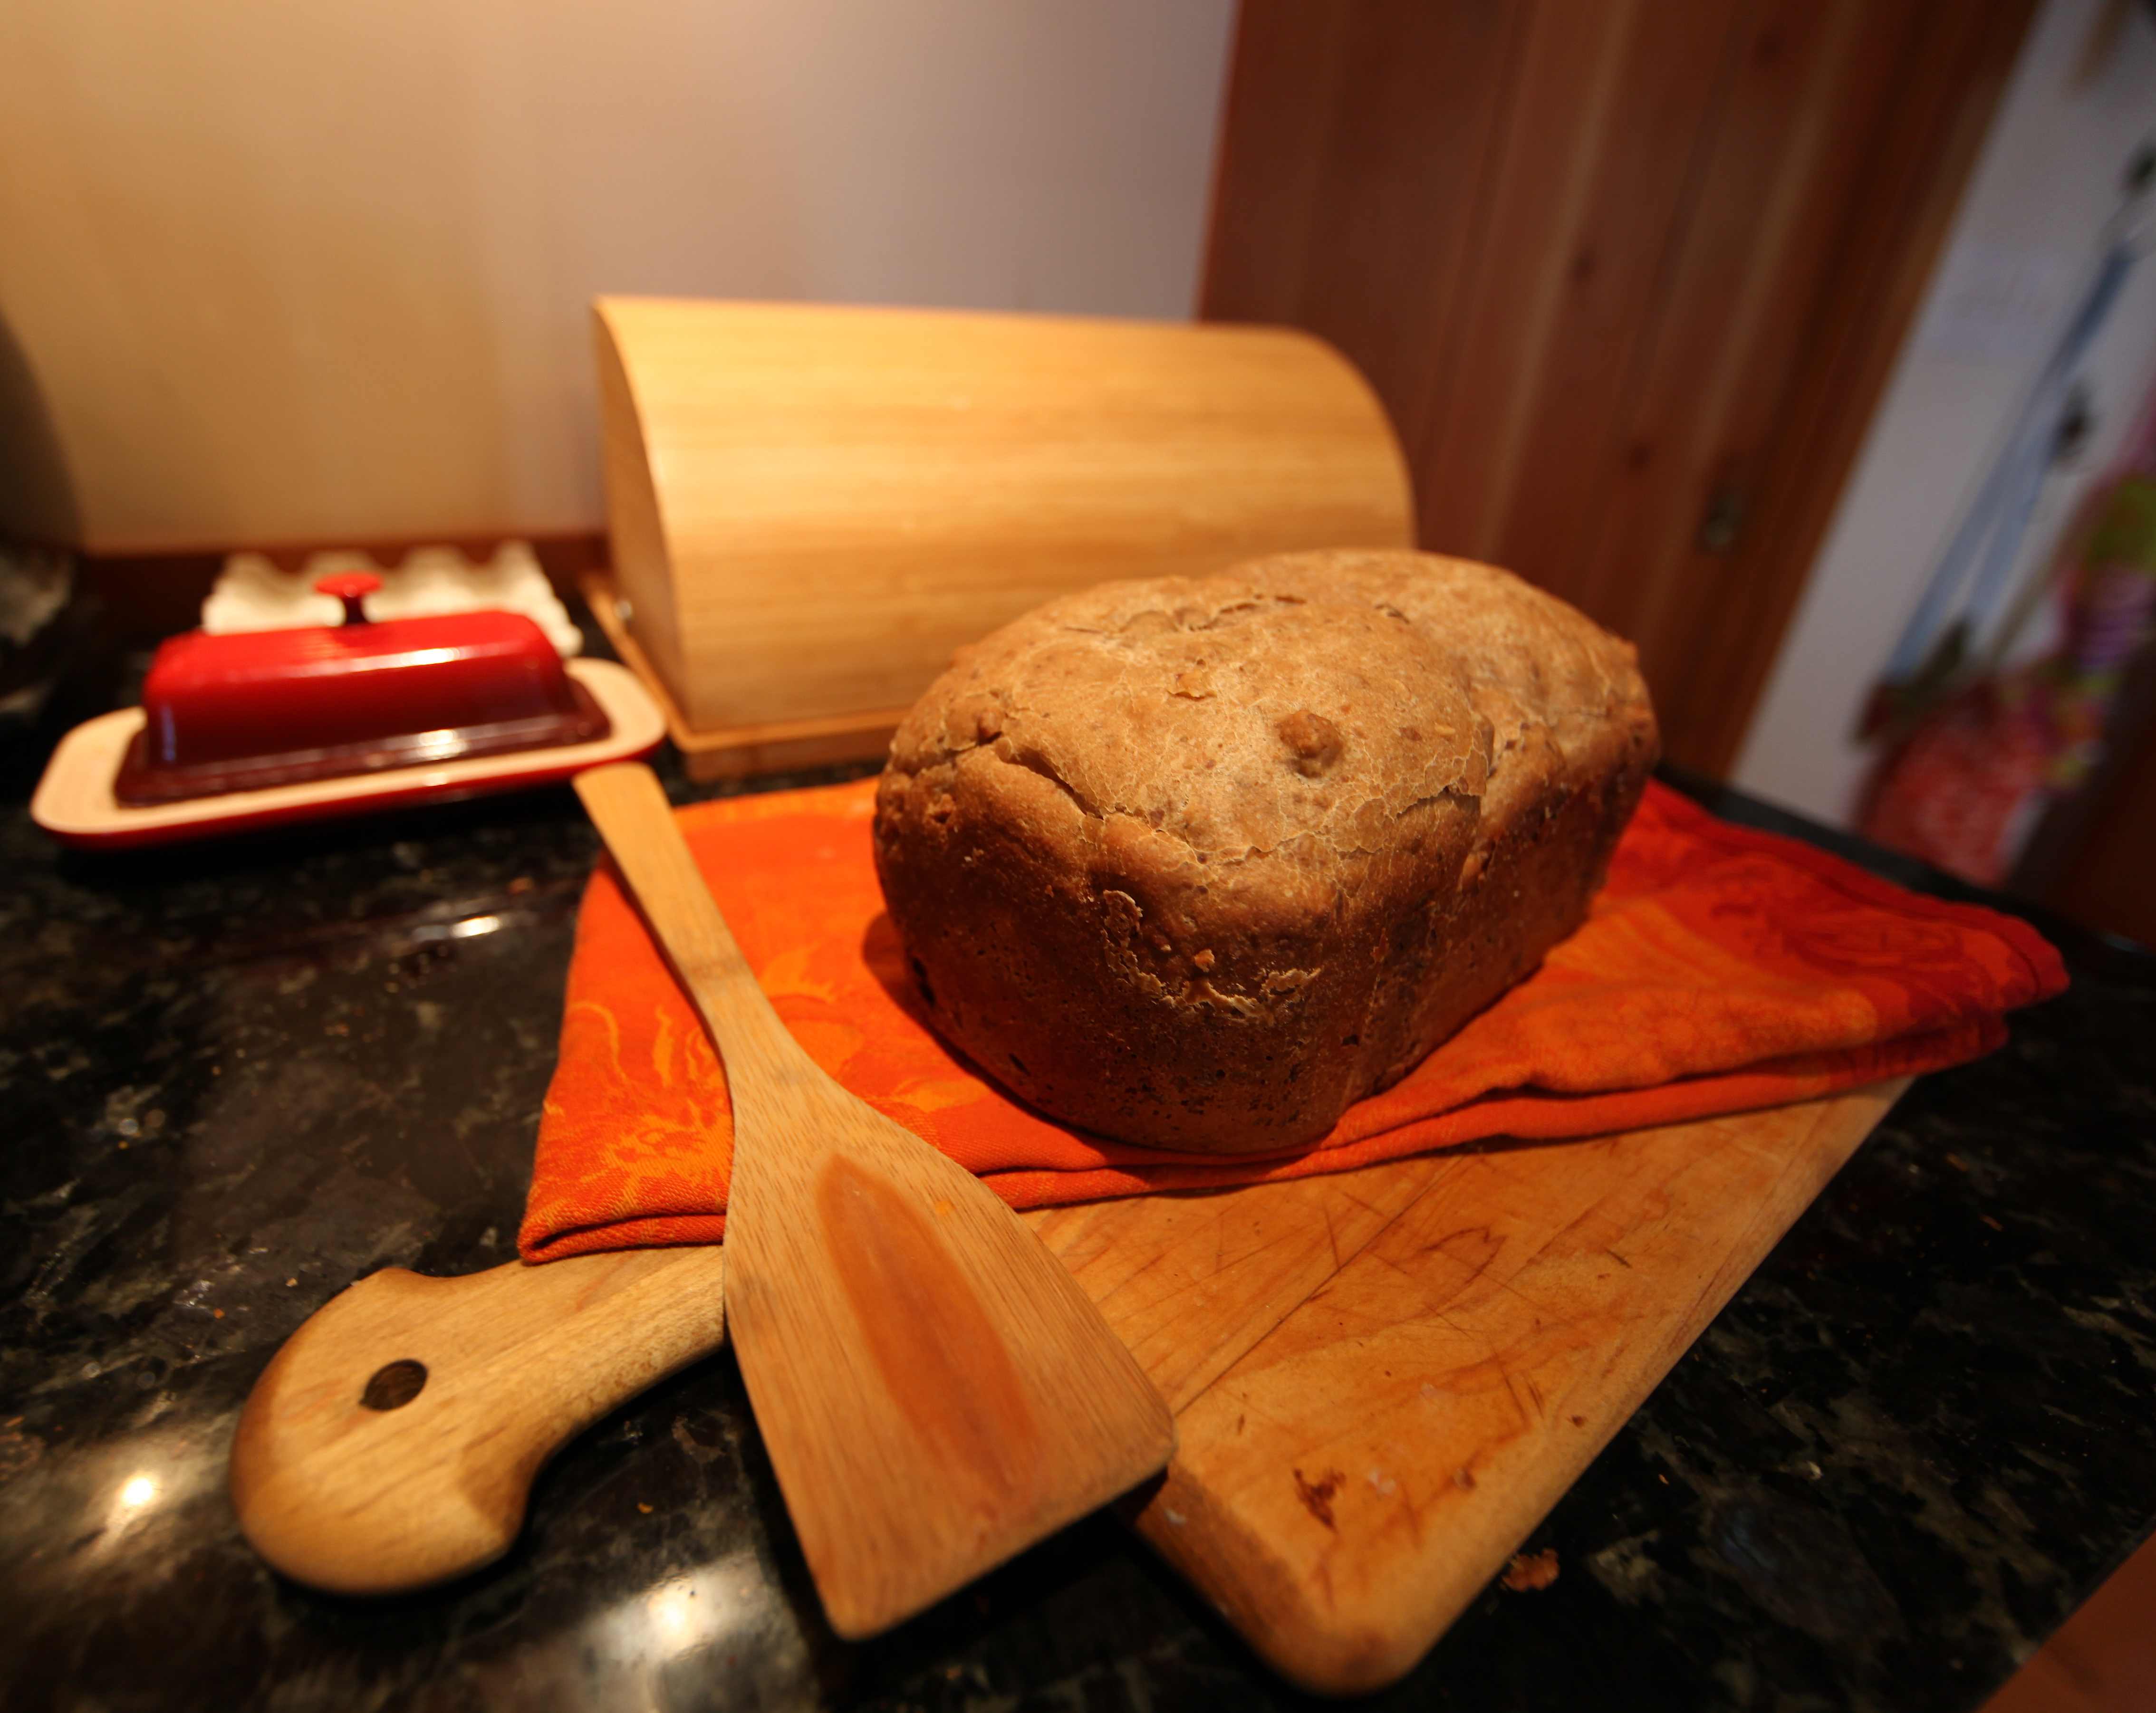
Here were the obvious benefits of this delicious bread:
1) No plastic packaging.
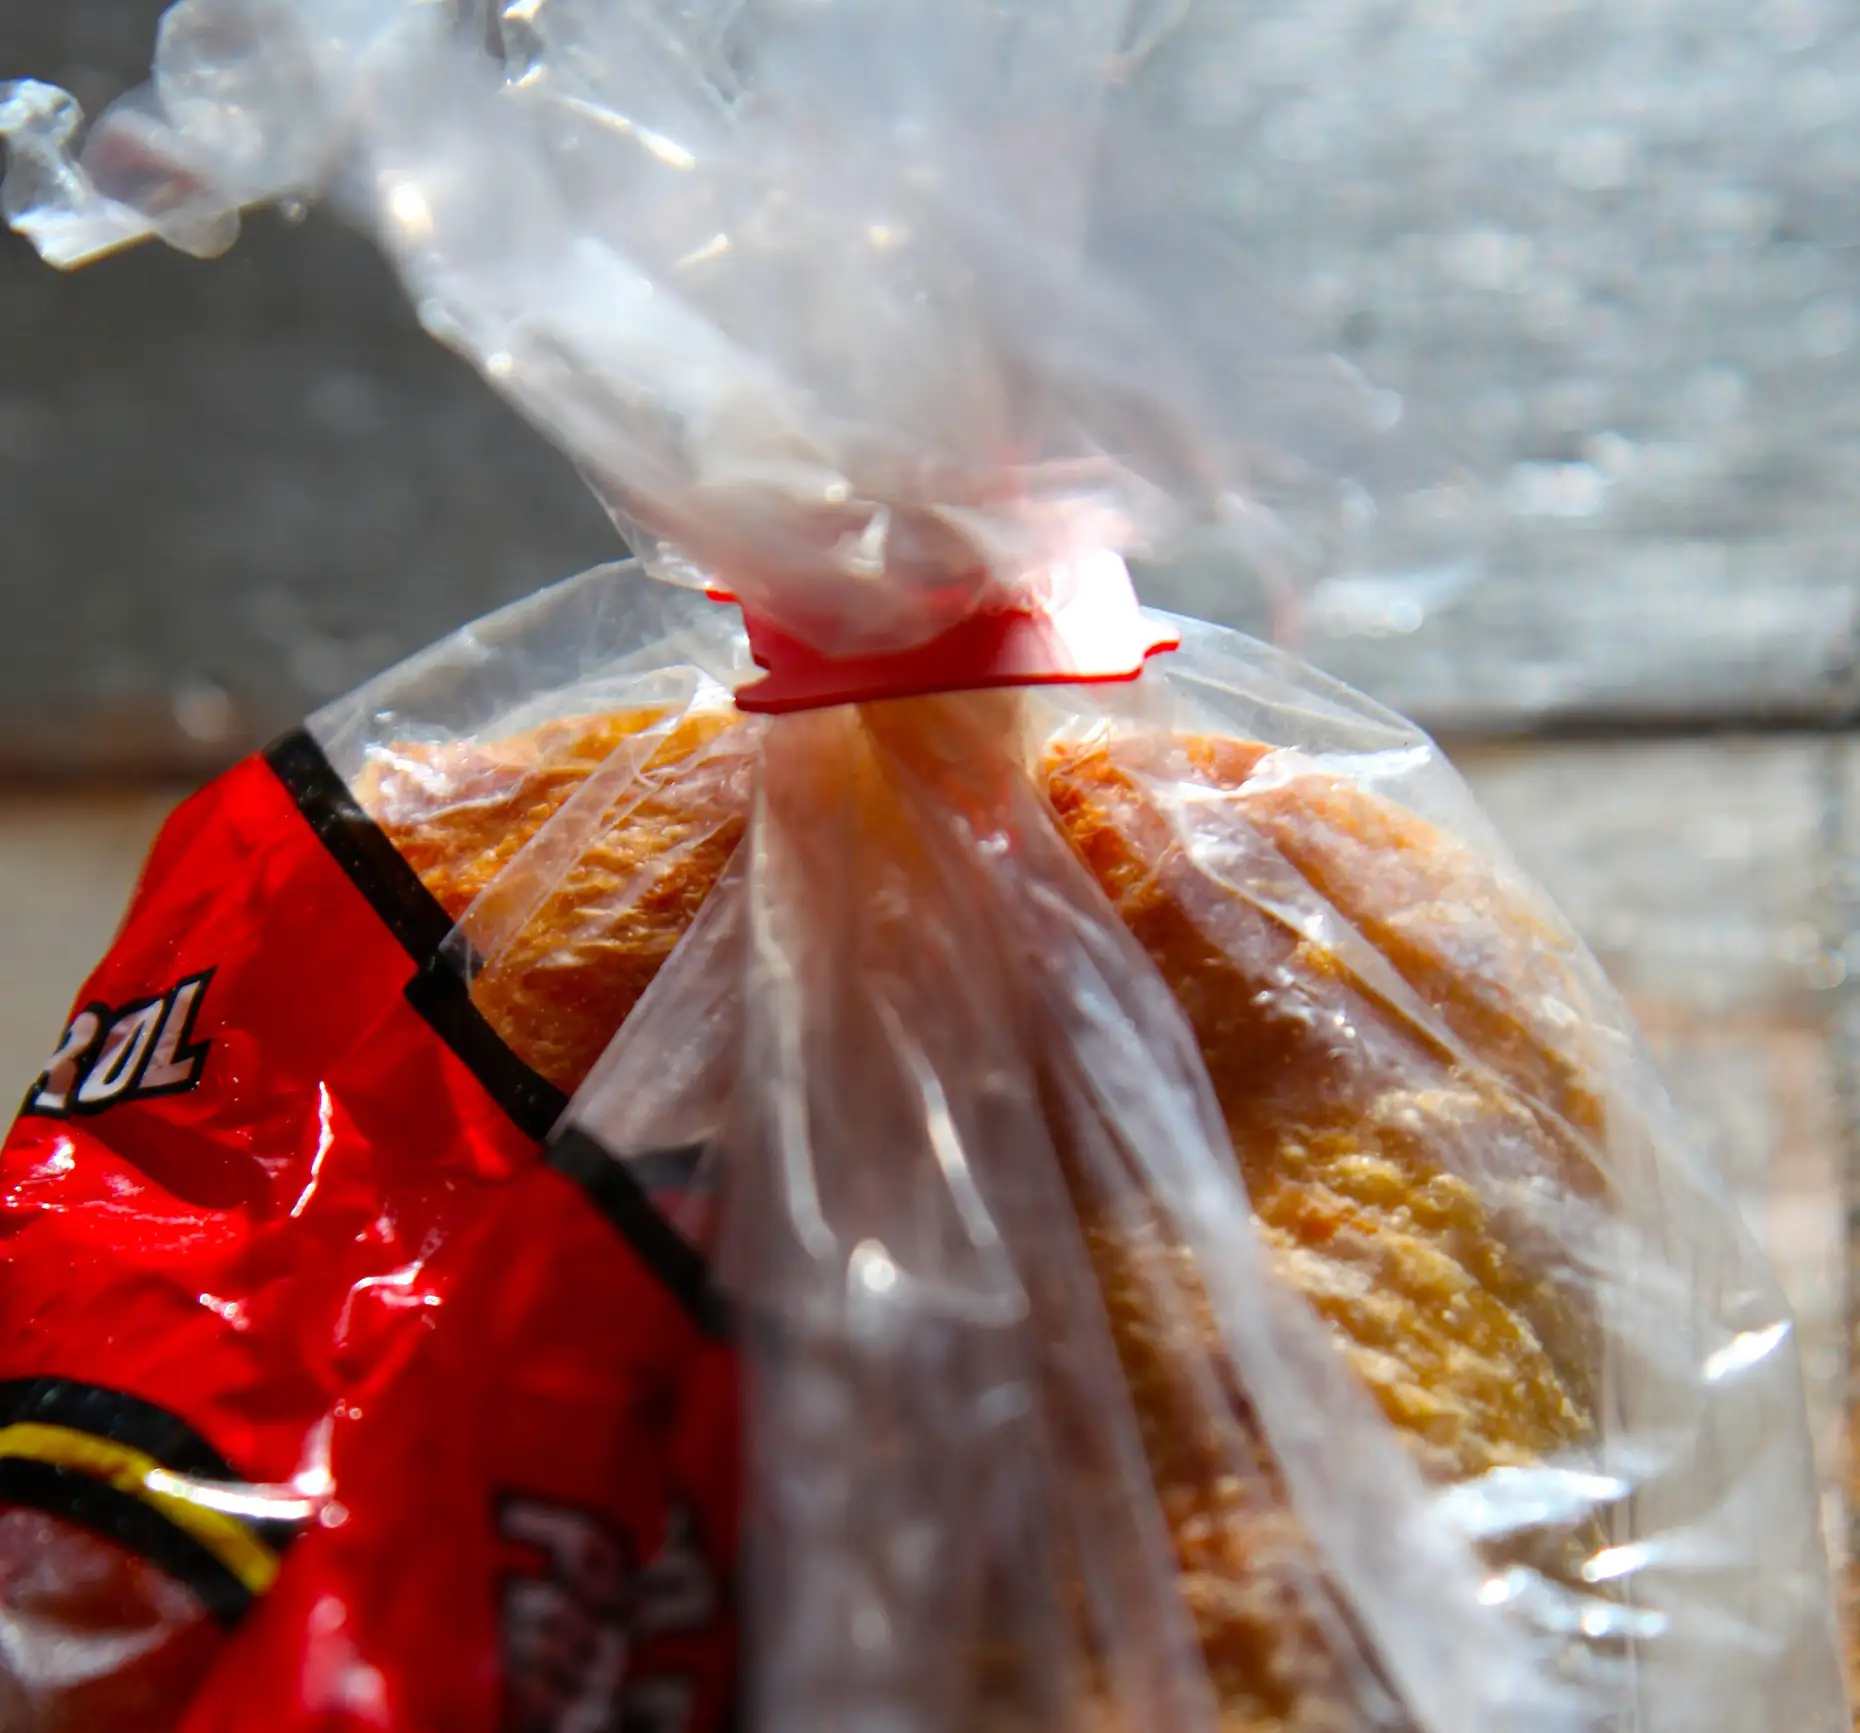
2) Saves money. Our locally-baked bread costs about $5.00 per loaf. We buy our ingredients in bulk and each loaf costs us less than $1.00.
3) Nothing better than the smell (and taste) of home baked bread coming out of the oven.
But, truth be told, this bread has fluoropolymers leaching into it.
Let me back up a bit. A few years ago, I purged all things plastic from my kitchen. Especially plastic containers and Teflon-coated pans. I took our breadmaker to Best Buy for recycling because it had pans made of Teflon. I noticed, too, that the pans would peel this weird-looking plastic coating from them every year or so. That was the fluoropolymer coating that Dupont makes for all Teflon coated pans. This alarming article in The New York Times can fill you in on just how toxic fluoropolymers are.
So, I thought I would be clever and find a Teflon-free breadmaker, one safe for my family. Enter Zojirushi. Zojirushi makes what they call a Teflon-free breadmaker that we switched to after reading all the negative press about the potential health hazards of cooking with Teflon. We converted our entire kitchen into a Teflon-free zone, with the one exception of the breadmaker because we were ignorant. This machine is NOT teflon-free. In the product description it states “non-stick coated pan.” They coat it with a generic polymer that is….Teflon, but it’s just given a different name, fluoropolymer, the new fancy substitute that is an endocrine disruptor known to cause all kinds of cancers. It’s a sad state of affairs. I don’t believe there’s a bread machine out there that doesn’t have fluoropolymer coating.
Alas, if we want Teflon-free bread, we’ll have to make it sans breadmaker, in our clay or enamel-coated cast iron pans, with a little more care and attention to the process which might just make the bread taste even better. I grew up on homemade Teflon-free bread, and I’d like my children to have that privilege, too. I wonder if our local bakeries are using Teflon-free pans? It might not hurt to ask.
If you’re interested, here’s the recipe my family has eaten for years. Now they’ll have to enjoy it when I have more time to bake. It’s a whole wheat raisin and walnut bread that toasts perfectly, is moist, and has just the right amount of crunch in the crust.
Whole Wheat Walnut Raisin Bread
1 Cup warm water
3/4 Cup combination of liquid ingredients (we use 1 egg + milk and a little yogurt)
2 Tablespoons flax seed oil (you can substitute another nut oil, but flax seed oil is excellent)
1 Heaping teaspoon salt (we use a celtic sea salt)
3 Cups flour (we prefer one cup whole wheat and 2 cups white, all organic)
4 Handfuls walnuts (this is also excellent with flax seeds)
3-4 Handfuls raisins
1 Tablespoon honey
3/8 Teaspoon yeast (we add more as our yeast ages since we buy it in bulk)
If you like a little body to your bread, add about 1/4 cup shredded zucchini or carrot which we do when those veggies are in our garden.
I think I’ll try to simulate a breadmaker next time and just add all of these ingredients in this order, making sure the yeast is added near the honey so it can react to the sugars in it and place the whole thing near our fireplace to activate the yeast with honey so it can rise in a breadmaker-like simulation, but using a big bowl. Then, mix the dough and let it rise, punch it back down, knead it, and let it rise again in a plastic-free bread pan, then bake. This recipe makes a 2-3 lb loaf of bread. Might make sense to double it so you get 2 loaves for your effort.
Make Your Own Off-The-Grid Yogurt
I’m amazed at how hard it is to find yogurt in glass. Supermarket yogurt is mostly in plastic containers and if you’re trying to keep your family plastic-free, yogurt would have to be taken off your list. Unless you make your own.
We’ve been making yogurt for about 12 years now and it wasn’t until 4 years ago that I realized I didn’t have to make it in a yogurt maker with those tiny little jars. When I was 16, I recall making yogurt on the beach in a big camp pot when my big brother and I were camping during the summer on the island of Corsica in France. The simple process of making yogurt in a pot, bowl, or jars in the sun or by a fire should’ve stuck with me, but somehow I became complacent, thinking I needed a yogurt maker to make the good stuff. Not so.
Today, I make yogurt in bulk — large quart mason jars of it so I can share starter with friends or barter it for other fresh produce or home-made goodies. I don’t need any electricity to make it so I call it off-the-grid yogurt, reminiscent of my teen days in France.
This yogurt is the best I’ve ever made or tasted. All started from organic Greek full cream goat’s milk yogurt. But now I simply use our local organic whole milk as the yogurt’s main ingredient, which is delivered once a week to our home. This yogurt lasts in the fridge for months without molding!
All you need is a couple of tablespoons of leftover yogurt as your starter for the next batch. We usually make at least 2 quarts of yogurt.
Ingredients:
Whole milk (at least 1 quart)
2 Tablespoons yogurt (I prefer organic)
Jars with lids
Pour your favorite whole milk into a pot. There’s no exact measurement for this, just pour as much milk as you want yogurt. It’s basically a 1:1 ratio of milk to finished yogurt.
Set your timer for about 8 minutes so you don’t let the milk boil over.
You want to heat up the milk until it scalds. You’ve scalded it when little bubbles start to appear on the sides of the pot and a film develops on the surface.
Turn the heat off and take the yogurt off the burner to cool. Let it cool to room temperature. Add your 2 tablespoons of yogurt and with a wire whisk, whisk the yogurt completely into the milk. Pour the milk/yogurt mix into jars.
Place your jars of yogurt into a pot of warm water. You want to create a warm water bath. I simply put my pot of water over our pilot light and that’s enough to keep the jars warm overnight. You can also place the jars on a warm lintel above your fire in a towel or blanket for warmth. The key is to have a spot that is consistently warm for 8-12 hours. The longer you let your yogurt mixture sit in the warmth, the firmer it gets. I go about 12 hours.
When it’s to the consistency you like, put it in the fridge to let it cool. Enjoy!
My friend Rebecca has another method, which I call the warm cooler method: It involves putting your yogurt jars-in-the-making in a cooler surrounded by other jars of warm water and some blankets and towels. Check out her excellent method here.
Do you make your own yogurt? What method do you use? Let us know in the comments below!