In Praise of Dried Grass

Sometimes a thing you need is hiding right there in plain sight. For 8 years we’ve had chickens, 14 girls a-layin’ in a coop my resourceful husband, Pete, made of salvaged materials. For bedding, on the floor of the coop to absorb their droppings, we’ve used pine chips, sold in bales wrapped in plastic. It’s clean and dry and when the bedding becomes soiled with excessive chicken droppings, we shovel it out of the coop, into the compost pile and lay down new chips …  Until we discovered the shredded paper method.

Through our local Buy Nothing group, I now procure shredded paper for use as chicken bedding and it works beautifully in both the coop and the compost, breaking down even faster than the pine chips in the heat of the composter. It’s free, and we make sure we only get shredded paper. No plastic bits please.

The nest boxes require straw for soft egg-laying. Again, for years we’ve used straw sweepings we get for a few dollars at our local feed store. And then I saw what looked like straw laying on the side of our road. Two or 3 times a summer, our island road maintenance crew cuts the tall grass on the roadsides, leaving the “hay” to dry in the sun. It remains there until the next batch of grass is cut and laid on top of it. Last week, we took a basket down the road and filled it with the beautifully dried hay and brought it home for the chickens. Our guinea pig loves the hay, too!  Nothing better than freshly cut and dried nest box material right at the end of the driveway.

My dear friend, Yangin Sherpa, is my inspiration. She spends long summer days in her region of Nepal, Solu Khumbu, hiking up mountainsides in the jungle, searching for tall grasses to cut and then take home to dry in the sun. She later sells the grass to yak and dzopkyo owners for winter feed. She sells 40 kilos of hay (carried on her back) for about $60. Not a bad price for rural Nepal.

For Yangin, seeing the free cut dried grass here by the road, no one collecting it for their animals, is a waste of a great resource. It’s just a few hundred yards off our property, so we’ve collected 2 loads of hay for the coop that should last us through the winter.

We lay it out on our lawn to dry further in the sun and when it’s dry, Yangin separates the hay and knots it into easy-to-grab bundles. We hang it up in our carport in an old hammock (destined for the landfill because it had a hole in it) for easy retrieval.

Yangin knots them into easily transportable bundles. Once again, an age-old technique that has served cultures well for thousands of years, so simple and practical, brings us closer to the rhythms of the natural world around us. Yet we’ve somehow lost this connection and knowledge over the years, no longer utilizing the resources hiding in plain sight.

Doll House Haunted House

It was a dark and stormy night…(yes, we get plenty of these in the Pacific Northwest) and a couple of innovative kids created a mini haunted house from items they found in boxes and toy collections. They wanted to create something to play with but also to put on display outside the front door, without purchasing anything new. This haunted doll house is now a treasure, simply because they transformed a few everyday items and found some seasonal ones to add to the ambiance. The key is: Buy nothing and craft a cool Halloween decoration.

Here’s how this easy rainy-day project can quickly come to fruition for you, too:

1) A dollhouse will need to be your centerpiece.

2) Then, a glow-stick-style flashlight that glows a flourescent green will need to be procured from a closet. Or, use a regular flashlight and use some green plastic sheeting as a gel for your light.

3) Tiny plastic bugs must be curated out of your vast collection of creepy crawlies.

4) Next comes a search for white yarn scraps you might have thrown in the waste basket but thought better of. These will serve as cob webbing.

5) And finally, any tiny otherwise useless Halloween bits and bobs you’ve accumulated from previous years will make your mini haunted house’s yard art especially intimidating. If you don’t have anything, just ask for them on your local Buy Nothing group.

6) Put on some scary mood music (Pandora can be great for that), and let the mini doll-style Halloween fun begin.

What no-buy, no-waste Halloween ideas have you crafted up?

10 DIY Fire Pits

The allure of the fire pit. Photo © Liesl Clark

The allure of the fire pit. Photo © Liesl Clark

We love outdoor “rooms” with fire pits. They extend your outdoor time by weeks. Seems the latest craze is repurposing metal things into fire pits. Here’s a list of some of the most innovative ones we could find:

1) Metal Wheelbarrow Fire Pit: If you’ve got a metal one that’s broken down, try to turn it into a fire pit. It’ll look cool in your back yard.

2) Washing Machine Drum Fire Pit: Our app users love this. Next time someone you know is getting rid of their washing machine, ask for the drum inside. They make beautiful fire pits.

3) Paver Brick Fire Pit: Brick and concrete pavers make easy fire pit insulation material. There are many tutorials to find on the web for these homemade fire rings.

4) Wash Pail Fire Pit: A metal wash pail can work as a fire pit. Just be sure that if it’s galvanized you give plenty of time for the chemicals on the metal to burn off.

5) In-Ground Fire Pit: This is a classic and easy fire pit to make at home.

6) Old Grill Fire Pit. Wait for an old grill to come up on your Buy Nothing group for this fire pit option.

7) Shopping Cart Fire Pit: My favorite, with built-in log storage rack.

8) Industrial Wire Waste Fire Bowls: You can always try your hand a making fire bowls like these.

9) Tractor Rim Fire Ring: If you have access to a tractor rim, it makes a great fire ring.

10) Castiron Bathtub Fire Pit: Maybe you have an old tub hanging about?

10 Things You Never Need to Buy

We got our inspiration for this post by reading Suburban Pioneers’ list of 10 common products you never need to buy, so we thought we’d spread the wealth and add to their list. So, this is really about 20 things you never have to buy. Do read their list first.

If we all compiled lists of 10 “Never Buy” items complete with explanation, we’d live in a utopian circular economy, my dream economy.  After reading our list, then compile your own and send it along in the comments below. I actually already have a list of 100 items, but I’m going to work up to it, so I don’t overwhelm you.

So, here goes: 10 common items you should never have to buy —

1) Paper towels (Um, use cloth ones.)

2) Hair ties (look in every parking lot and side walk. I’m serious.)

Hair Ties and Hair Clips Recovered From the Parking Lots and Sidewalks of the World. Just wash them. Photo © LIesl Clark

3) Pens (Look in every parking lot and side walk. I can’t tell you how many hundreds of pens I’ve found in public places.)

Pens Recovered on Puget Sound Beaches

4) Ribbons (Look on every shoreline.)

Ribbon Found on Our Beaches (including the spool), Photo © Liesl Clark

5) Styrofoam Packing Peanuts or bubble wrap (just ask on your local Buy Nothing group.)

6) Ziploc bags (wash them.)

Gaiam Bag Dryer, Photo © Liesl Clark

7) Plastic children’s toys (just ask any parent for them, they’ll gladly give you a box or 3.)

These Plastic Toys Were Being Thrown Away. Photo © Rebecca Rockefeller

Oh, and if the parents in your neighborhood want to hang on to all that plastic, just make your own toys. Here are a few (hundred) ideas for toys you can make from stuff in your home to get you started:

Click through for innovative ideas for making your own toys or reusing them at Trash Backwards

8) Books (use your library!)

9) Plastic straws (use your lips.)

plastic straws recovered from Point No Point and Schel-Chelb Estuary, WA, photo by Liesl Clark

10) Plastic cigarette lighters (use matches, especially from matchbooks you collect from bars and restaurants.)

Lighters Recovered from Puget Sound Beaches

OK, so now it’s your turn. What’s on your list?

Reducing Waste on Earth Day One School at a Time

Schools love Earth Day because it’s a kid-friendly time of year to educate and celebrate Mother Earth while taking stock on how we’re measuring up with our waste footprint. A couple years ago, we took the opportunity to audit 2 schools’ waste on Earth Day week, and the impact of the exercise has huge potential. But it’s up to the schools themselves to learn from the experience and find easy ways to change their collective behavior.

This article walks you through an informal audit that can take as little as 1 hour to conduct, if you have a few hands to help. We’ve also cut a short video to inspire you to do your own waste audit in the classroom with the kids. It’s hilarious, because it involves our trash, and enlightening at the same time.

1) Weigh the trash that the school is planning to throw away. In this case, we had 2 weeks’ worth of one school’s trash. There are approximately 45 students and 6 staff in the school.

A Carload of Trash = 2 Weeks' Worth of One School's Waste.

Total Trash Headed to the Landfill = 23.31 lbs.

2) Start sorting! Can anything be diverted? Start with recyclables. This school recycles, but there’s always room for improvement. We found a lot of recyclable paper and plastic in the trash.

We sorted 2 bags'-worth of recyclables out of the landfill-bound trash.

Total Recyclables Diverted from the Landfill: 9.24 lbs.

3) Are there any organics, meaning compostable materials in the trash? Remove them from the trash, pile them up, and weigh them. This school has a Bokashi composter, but there’s always room for improvement.

Compostables Found in the Trash.

Compostable matter is a resource! Put it back in the earth by composting it or sending it to the worm farm.

Throwing away a dried-up plant and soil? We put the soil and plant in the compost and the 4" pot can be reused.

Total Compostables Diverted from the Landfill: 6.27 lbs.

4) Are there any reusable items in the trash? Separate them out and weigh them. A lot of pencils, some clothing, and bookmarks were recovered from the trash for donation to an organization that needs these items.

These pencils can be reused. Photo © Liesl Clark

Total reusable items: 5.76 lbs.

5) Are there any polyethylene plastic bags in the trash? Separate them out and weigh them. We found 45 totally clean trash bags in the waste.

Mount Polyethylene. Photo © Liesl Clark

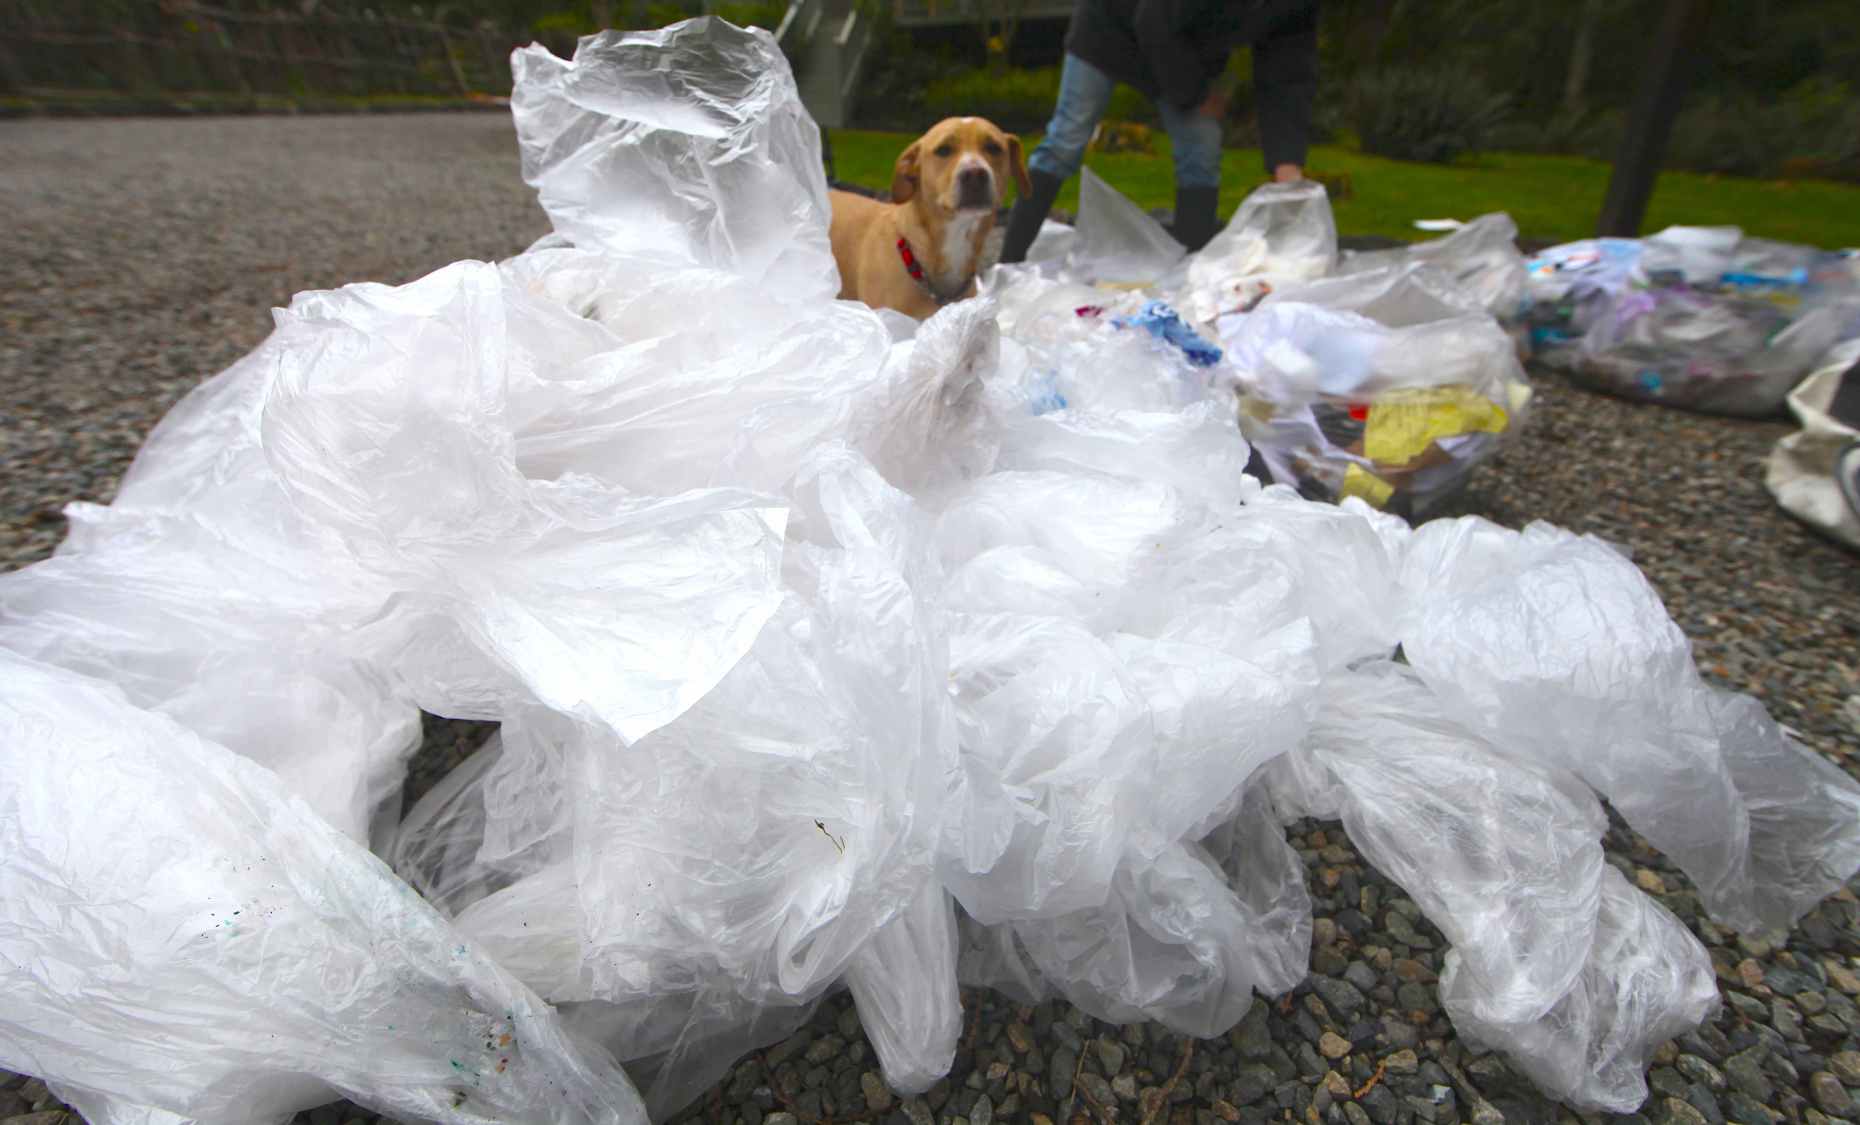
Total plastic bags: 1.16 lbs.

6) Are there other specialty recycling items in the trash, like scrap metal, batteries, printer cartridges, and styrofoam peanuts? They don’t need to go in the trash.

Packing Peanuts Can Be Recycled at UPS or Freecycled.

Total speciality recycling items: 0.52 lbs.

7) Are any of the compostable items good for chickens to eat? Separate them from the trash and weigh them.

Chicken Vittles, Courtesy of School Lunch.

Total chicken bucket items: 0.36 lbs.

8) Now re-weigh your trash headed to the landfill.

Final Landfill Tally? 3.76 lbs.

Total Trash Headed to Landfill Post-Sort: 3.76 lbs.

That’s a diversion of 19.55 lbs. or 2 and 3/4 trash bins-full. We pay $4.00 per trash can of waste at our transfer station. This waste audit saved the school (or the school’s volunteer who takes the trash to the landfill) $11.00. In one year, that’s a savings of $286.00. For a small school, that’s a significant savings!

How can we keep our school waste down in the future? Here are some simple recommendations that any school can follow to reduce their landfill waste:

Recommendations

1) If your school doesn’t have a composting program in place, consider starting one or a worm bin. Failing that, a parent volunteer who has a farm or garden will happily take your organic waste away for their own compost. See your organics as a resource!

2) Place a small recycle and compost bin next to every landfill trash bin in your school. This way you give everyone a CHOICE.

3) Clean and wet paper towels can be recycled. Place a recycle bin in the bathrooms for this along with a sign reminding people that the bin is for their clean and wet paper towels. Or better yet, lose the paper towels and switch to cloth ones. This school did.

4) Set up specialty recycling containers where appropriate. For example, a plastic bag recycling spot should go in every classroom and in the lunchroom and kitchen. A school volunteer can come and pick up the plastic bags once a week and take them to the grocery store for recycling. I’ve happily done it for our children’s schools for years.

Do the same for other items such as batteries and printer cartridges. These items should never be put into the landfill. Your community will have a recycling location for them, or look “batteries” or “printer cartridges” up in our Trash Backwards app. Staples takes printer cartridges worldwide and most municipal recycling programs have a safe disposal location for batteries.

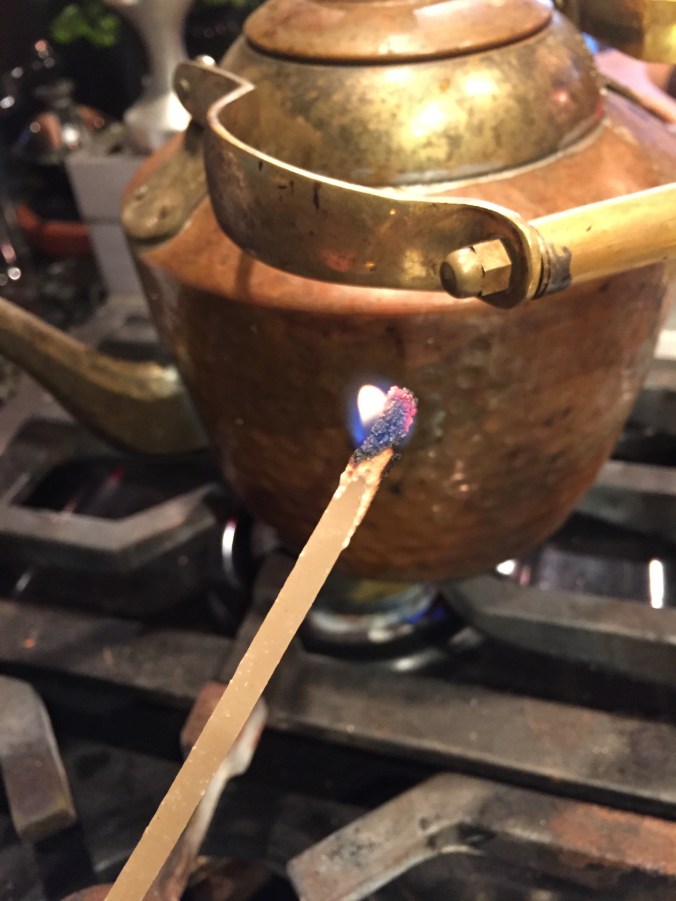
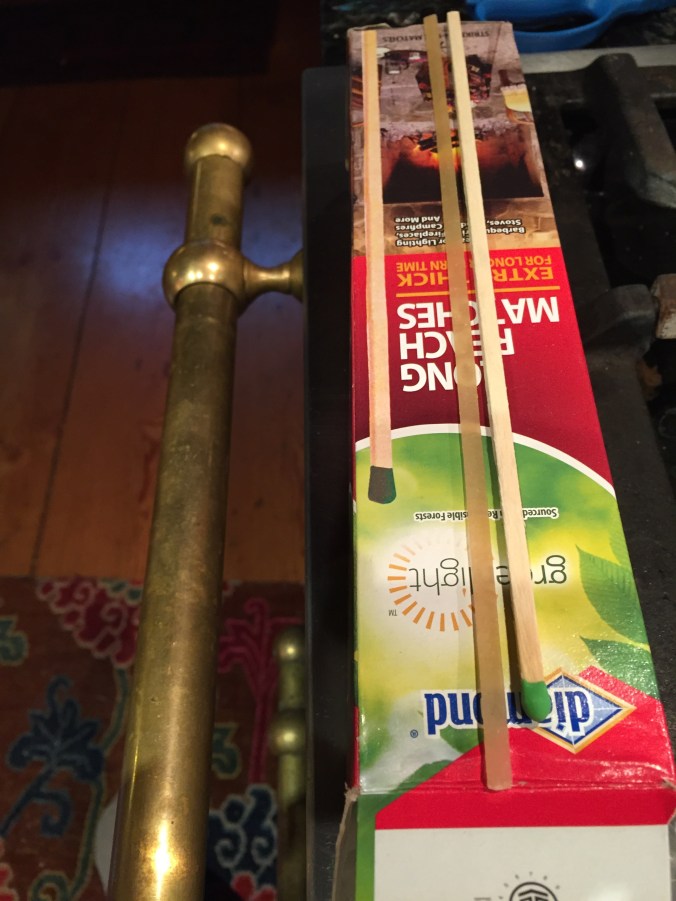
5) If your school has a pencil sharpening area, place a can near the sharpener for collecting shredded pencil bits for the compost. Also place a donation can for the small pencils that your teacher might want you to throw away. Children at our libraries in Nepal would love those pencils, or let the students take them home for their homework. The image below, shows a yellow pencil stub my son found in a schoolyard outside one of our Magic Yeti Children’s Libraries in Nepal, lined up with the pencils we sorted out of a school’s waste yesterday:

Yellow pencil found in a schoolyard in Nepal vs. the pencils (and shapeners) discarded in a 2-week period by one US school.

The pencils can go to good use in the hands of kids who have no pencils in Nepal.

These discarded colored pencils will bring joy to children living at 14,000 feet in the rainshadow of the Himalaya. Trash. Backwards.

6) Each classroom could have a reuse bin for students to throw items (like the discarded pencils) that others could take for reuse or donation. Some students might be able to use a plastic container that might otherwise be thrown away, for example.

7) Set up a chicken bucket in the food-eating areas. You’ll likely have a family or 2 that have chickens. Getting the students involved in seeing their food waste as a resource for another animal is a good thing. The families can switch off chicken bucket pickup each week. We use a galvanized bucket decorated by our children for our chickens.

6) Be aware of what’s headed to the landfill monthly and set community goals to reduce even further. If your cleaning service doesn’t empty the trash bags but simply removes a bag no matter how much waste is in it and replaces it with another, you might recommend they pour the trash from all your waste bins into a single bag, to conserve plastic trash bags.

This trash bag only had a single dry paper towel in it.

If they use single-use swiffer dusters, perhaps invest in a reusable micro-fiber swiffer duster.

If your school laminates a lot. Consider going lamination-free. Laminate is a non-recyclable plastic, is costly, and isn’t the most healthy material for children to be handling on a daily basis. Using reusable plastic sleeves might be a more sustainable option.

8) Educate parents and students about food packaging used in school lunches. Plastic snack packaging was the single-most thrown-out item in this school’s landfill waste. Encouraging students and staff to find plastic-free options will make a large dent in your overall waste bill. Students, when made aware that plastic is forever, often prefer plastic-free lunches. A popular option to suggest is a “pack it in, pack it out” policy for school lunches, putting the waste onus on parents and students, not the school. Parents can then see what their kids are truly eating, or not, and modify their portions and lunch choices accordingly, saving money and waste.

Single Most Common Item in Landfill Trash = Snack Wrappers.

Have you found this information useful? Share it with others, especially your school!

Mermaid’s Tears For Earth Day

By Finn Clark when he was age 9 (With Some Help from his Mom)

Last Friday was Earth Day at our school, a Montessori school called Voyager, and we created art from plastic my family found on the beaches of Bainbridge Island and the Olympic Peninsula. For the past 2-3 months, we have collected plastics that we find on our shorelines and in parking lots and watersheds, stream beds and estuaries headed toward the sea.

For our spring break, we camped at Second Beach, in Olympic National Park, and were amazed at the amount of plastic washing ashore from the Pacific Ocean’s waves. My little sister and I collected plastic for about an hour and hardly made a dent in the plastics spread across the sand.

When we woke up in the morning little bits of plastic seemed to sparkle along the high tide line, thousands of tiny shards and pieces worn and broken down by the action of the waves. Plastic can’t decompose, it just gets smaller and smaller until it becomes a thick soup in our waters. But the most disturbing pieces of plastic are miniscule nurdles, little round white discs, that are the raw plastics used to make anything that is plastic. One scientist went to hundreds of beaches around the world and found nurdles on every beach he studied, even on beaches in countries where plastics aren’t manufactured. Some people call them “mermaids’ tears,” and I think that’s a good name because they make me sad, too.

They’re toxic, sadly, as they act like a sponge, absorbing persistant organic pollutants (POPs) like DDT and PCB that are afloat in our waters. The yellower the nurdle, the more toxic it is.

We brought the larger chunks of plastic to our school for Earth Day and made 4 panels of art, following the rainbow spectrum of colors, to show people that every color imaginable is found on our favorite beach. Now that art will be hung at our school to remind us that maybe we should rethink the plastics we use everyday and find better alternatives that will biodegrade or break back down naturally into the environment.

My mom and her good friend, Rebecca, are trying to provide solutions to this problem of plastic in our environment, one piece at a time. That’s what a whole website, called Trash Backwards that Rebecca and my mom created is about. The most common things we find on the beaches, the straws, pens, plastic bottle caps, toothbrushes, and fireworks are a few of the items they’re researching and trying to find non-plastic alternatives for us all to use.

What common items have you found on your beach, in your parking lots, or sidewalks? Tell us, list them below, even a single word will do, and we’ll start researching non-plastic alternatives so we can live lives a little less plastic in the future.

20 Nettle Uses: A Forest Superfood

There’s likely no other wild plant that marks the beginning of spring growth than the wild nettle, urtica. Urtica is a forest superfood, full of vitamins and health benefits that can alleviate allergies, dry scalps and skin, and a long list of diseases that I’ll simply link you to here since Mother Earth News has it covered.

We all know that nettles come with an unpleasant sting if you brush up against the leaves. But with some care, a.k.a gloves and tongs, you can harvest wild nettles, steam them (this removes the sting in about 6 seconds), and have the foundation for one of the most nutritious greens you’ll ever have in your kitchen. Go forth and harvest these stingers, dry them or steam them up, puree them, bake them, or just put them in jars in your freezer for future use in the recipes I’ve collected below.

JPEG image-B6107D265C7F-1

1) Drying Nettles and the Basics: For starters, I want to link you to this great article on how to safely forage for nettles and also dry and store them. I’m a big believer in using all the naturally-edible natively-growing greens around you, rather than going to the store and buying greens grown elsewhere.

2) Nettle Beer: From what I’ve read, this is more like a wine. Easy to make, and quite tasty.

3) Nettle Chips: Move over kale! It’s time for us to embrace stinging nettle chips. These. Are. To. Die. For. (And I promise, you won’t die, you’ll just want more.)

IMG_8048 2

4) Stinging Nettle Fritters: These look incredibly delicious. I don’t have to say much more.

5) Stinging Nettle Mayonnaise: Want to add a bit of zing to your mayo? This is a recipe worth trying.

IMG_8718

6) Fermented Nettle Kimchi: We’re big kimchi makers and eaters. I just can’t wait to try this recipe this weekend. It’s right up our alley.

7) Black Strap Nettle Syrup: This ought to cure what ails you, yet another recipe that I know will come in handy for my family as we grow ever-closer to living off our land.

8) Wild Nettle Mini-Cakes With Strawberry Lemon Icing: If the name of this recipe doesn’t have your mouth watering, just check out the photos from this beautiful blog.

9) Nettle Recipes For Hair, Skin, & Nails: If you’re looking for a deep infusion of green to help bring you back into balance while providing nutrients for your hair, skin, and nails? This article is for you.

IMG_8727

10) Portable Allergy Tonic: Have troubles with seasonal allergies? This tonic promises relief.

11) Nettle Vinegar: This one caught my attention because we make all our own vinegars. Adding nettles makes a lot of sense, given their health benefits.

IMG_8054 2

12) Nettle and Lemon Cake with Blackberries and Lemon Icing: If you’re planning a birthday party for a child, this might be a great way to sneak in some greens! The lemon icing adds just the right zing to match the nettle color.

13) Wild Onion and Nettle Soup: We make this every spring and freeze as much as we can. This soup is just about as close as you’ll ever come to “drinking spring.”

IMG_1741

14) Fermented Nettle Tea: If you’re into all things fermented, why not nettles? Kombucha, move over!

15) Lentil and Nettle Curry: Seeing as Nepal is covered with nettles in spring, this dhal curry with nettles didn’t surprise me.

IMG_8038

16) Pizza with Garlic Cream and Nettles: OMG, you guys! This is so delectable, you have to try it. Just replace your hankering for basil with nettles here and you’ll want to repeat this recipe every week. I now freeze our excess-harvested nettles so we can have this all year round.

17) Nettle Crisps: Ok, so these are the same as the nettle chips, but it doesn’t hurt to try a slightly different recipe.

18) Nettlekopita: My friend, Rebecca, who is an amazing cook, makes this every spring and so I know it’s delicious. I just need to get over my sense that it’s time-consuming to make, because it doesn’t look like it from this recipe. My husband is Greek and I’d love to try this out on him.

IMG_8042

19) Wild Nettle Beer: I couldn’t resist linking you to another great recipe for a nettle home brew. This one was so well thought-out, I think a novice could make it.

20) Nettle Wine: I’m calling this one wine because, reportedly, it tastes more like wine. I love this article as it really spells things out clearly.

On a final note, I wanted to link you to a fascinating article, now that you’ve immersed yourself in mouth-watering nettlemania. It appears nettles have been used for millennia. Around 800 BC, nettles were used to make a silk-like fabric. Like flax, nettles were employed for their strong fibers for use in cloth-making. What uses have you come up with for this underdog wild stinging plant? We’re in awe of its properties and many uses, and excited to learn more about this superfood’s talents. Share what you know, and we’ll add it to the list.

Beachside Reuse

April is the month we visit Grammy on Anna Maria island in Florida. She lives in a sweet little house, one of the originals on the island, now surrounded by large 3-story condos. I feel like we’re in that story, The Little House, by Virginia Lee Burton, about the tiny house that stayed put and a big city was built right around it. This cottage is the epitome of “If it ain’t broke, don’t trash it.” It survives, a cottage-in-the-rough amidst million dollar resort-style rentals, hotels, and Grammy keeps it tidy, functional, and full of simple beachside reuses.

The Little Cottage in the Rough, Anna Maria Island. Photo © Liesl Clark

A low coffee table by the phone holds phone books (Grammy doesn’t use the internet — actually the table doesn’t hold phone books, but a sagging box does just under the coffee table.) But the floor isn’t level so the table wiggles when items are placed on it. Solution? Grammy placed shells under the legs of the table, just like carpenter’s shims, to shore up the legs and prevent any movement.

Shells For Shims. Beachside Reuse at its Best. Photo © Liesl Clark

A plastic soda bottle fish adorns her antique fishnet on the sunroom wall. This fish, spray painted pink on the inside, was simply cut so fins and a tail were articulated, a glue gun was used to seal the fins and tail, and glitter glue was used to create the effect of gills. Done! A cute sparkly pink fish for her household decorations.

Coke Bottle Sunfish © Liesl Clark

An ancient palm tree was cut down on the property years ago. Today the stump is used as a planter for succulents and cacti.

Trunk Planter For Beach Cacti. Photo © Liesl Clark

Shells hung along the wall of Grammy’s potting shed add texture and bright Florida light to any day. These would make interesting downspouts on a gutter.

Potting Shed Shell Adornment. Photo © Liesl Clark

And geraniums in a tree trunk that frames nearby boats inspires the gardeners in us all!

A hole in a trunk makes room for pretty geraniums. Photo © Liesl Clark

DIY Matches, With Pasta

Here’s a simple hack I learned recently when we ran out of long matches which we often need for lighting our homemade candles, our pilot lights on our stove, or for the fire. The longer matches enable me to get deep inside some of our long candles that glow from the inside out. If you’re in a pinch and need one, but don’t have one on hand, just use a long piece of dried fettuccini pasta! I light my piece of pasta with our pilot light on the stove and we’re off to the races.

IMG_0564

You can also use a piece of spaghetti. They’re both long enough to help you get to those out-of-reach spaces that need to be lit!

IMG_0566

Easy peasy.

Fabric Scrap Tiny Tents For Little Hands

Our daughter has been sewing avidly since she was 6. She loves to design and sew her own doll clothes and to make little spaces for her toy animals out of fabric scraps. Here’s a great project for small hands and a fun sewing project for 2, using up fabric scraps and old trousers, too!

Step 1: Trace a perfect circle onto a stiff fabric like felt, fleece, or corduroy (we used some old corduroy pants of mine). The circle will determine how tall your tent will be. We cut ours about 6″ wide.

Step 2: Cut that circle in half and then trace it onto a pretty fabric of your choice which will be the outer fabric of your tent.

Step 3: Cut the half circle out of your pretty fabric.

Step 4: Pin the rounded edges of the half circles together, stiff fabric facing in on one side and nice fabric facing in on other.

Step 5: Sew the pinned rounded edge of the 2 half circles together.

Step 6: Turn the half circle right-side-out so the sewn edge is hidden. Fold it in half and then sew the remaining straight edges together as shown in the photo.

Step 7: Turn this right side out and you have a cute closed tipi/tent for little animals or people to live in (or a pointed hat for a doll!)

Step 8: A variation on this tent/tipi is to add a door: Simply leave a couple of inches of “flap” left open on the last straight edge and sew the flaps back about 2-3 cm so you have a tipi opening opening.

Looking for more ideas to use up your fabric scraps? Please visit our Trash Backwards app that has reuses for everything in your home!

Click Through for Fabric Scrap Reuses at Trash Backwards.