Avocado Pit Turned Fake Egg

It was a dark and stormy winter….and my hens were bored. Here in the Pacific Northwest, our hen yards can get pretty mucky and the chickens tend to turn to deviant eating behaviors, like, well, eating their own eggs. There, I said it. Gross! That’s like….oh, never mind. We can’t allow this to happen, because the purpose of backyard chickens is their yummy eggs, a critical part of our family’s mostly vegetarian diet. (Our hens do produce other products for us, like amazing compost.) But no, we won’t be allowin’ them hens to eat their eggers.

I found a great solution to deter an egg-eater, right in my compost bucket: An avocado pit!

IMG_9813

An avocado pit works beautifully as a dummy egg. © Liesl Clark

For years, I’ve used dummy wooden eggs, plastic easter eggs, egg-shaped stones, golf balls and pingpong balls as dummy eggs, to deter the little peckers (egg-eaters) from pecking apart their eggs. Dummy eggs are just that, fake eggs that chickens think are real (think, bird brain.) They peck ’em and realize they can’t break ’em and therefore we stop the deviant eating  disorder in its tracks. Problem solved.

IMG_8245

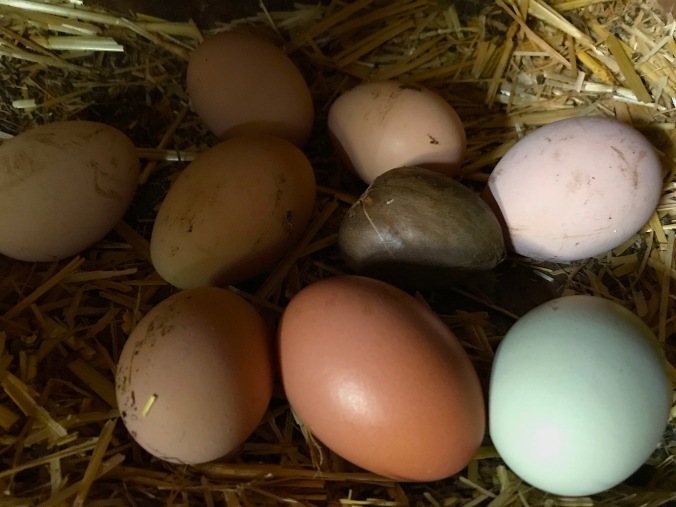
One of these things is not like the other. © Liesl Clark

So, don’t go and buy fake eggs. Please. Just use an avocado pit in your nest box. Deploy 5 of them if you’d like, and your egg-eater will get frustrated when the avocado pits won’t crack and produce an egg-licious mess in your laying box.

IMG_6870

© Liesl Clark

Enjoy your guacamole knowing your avocado pits can be put to use!

IMG_9812

New use for an avocado pit. © Liesl Clark

Purple Deadnettle Purple Smoothie

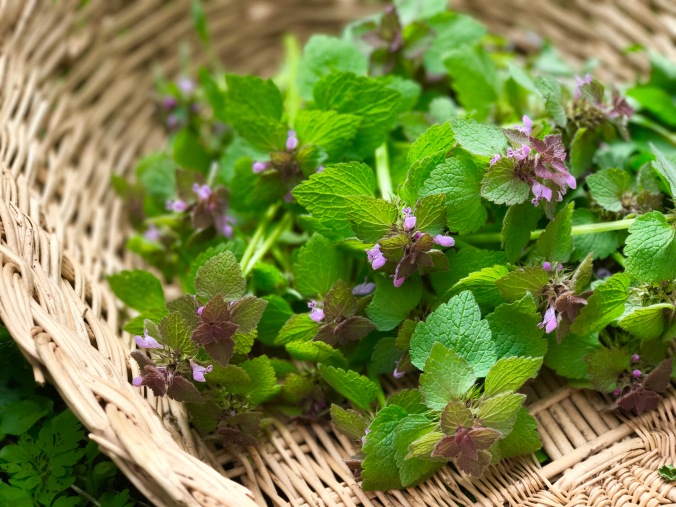
Purple deadnettle is my new favorite weed. At the Brooklyn Botanical Garden, they have a great description for this lovely purple fuzzy flower to pop up in early spring: “This common weedy plant is a member of the mint family and forms early groundcover mats, with fuzzy, spade-shaped leaves and delicate purple-pink flowers, a lovely addition to a spring weed bouquet.”

FullSizeRender 95

For years, I’ve pulled it out of my vegetable garden, and have given it to my happy hens who devour it immediately. But this year, I’m eating as many weeds as I can, that are within just feet of my front door. For this, purple deadnettle is your friend. It’s a superfood, with known anti-inflammatory properties! I always let it flower because I know it’s one of the first spring flowers the honey bees use for nectar and pollen. Purple deadnettle looks a little like henbit, which is also edible, so there’s little chance of you getting a stomach ache from this beauty.

FullSizeRender 94

So, in our bellies it goes, with morning or lunch smoothies, pestos, or atop our green salads. Here’s a quick recipe that’s our staple for most smoothies, and you can replace the fruit with any favorite fruit you have on hand or replace the purple deadnettle with kale if you no longer have any on hand:

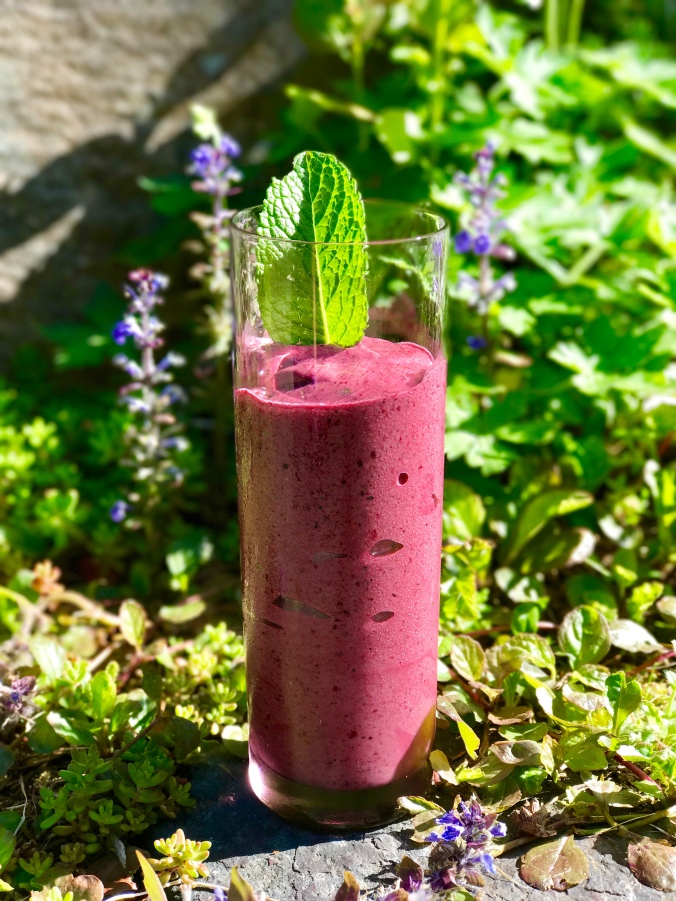
Purple Deadnettle Purple Smoothie

1 small bunch purple deadnettles, flowers and stems included

2 bananas

1 Cup coconut milk

2 Cups mixed berries (we love blueberries, marionberries, blackberries, and raspberries)

1 scoop of your favorite protein powder (I use Vital Proteins collagen)

FullSizeRender 92

That’s it! I throw a sprig of mint into our pretty glasses as garnish and the kids drink it down. When it ends up really thick, we use spoons and eat it like ice cream. Often, our bananas and berries are frozen, so this serves as a meal or an ice cream treat for the whole family.

Sticky Weed Cleansing Drink

You probably know this weed well, for its clingy tendencies. In the Northwest, we affectionately call it sticky weed. It comes in the door on our dog, our socks, and the backs of our sweaters. Also known as clivers, cleavers, goosegrass, catchweed bedstraw, or sticky willy, this little bugger with tiny hooked hairs that’ll stick to you better than velcro, now holds a special place in my kitchen culinary arts: I use it in a simple spring cleansing drink, thanks to the advice of a friend.

IMG_9069

The Kew Royal Botanic Gardens has this to say about its uses:

Galium Aparine — “The whole plant is edible, though not particularly tasty, and in China, for example, it is eaten as a vegetable. Its seeds can be roasted to prepare a sort of coffee substitute. It is also reputed to have a number of medicinal properties, having been used in traditional medicine (usually as an infusion) to treat kidney problems, skin disorders and high blood pressure among other ailments. Archaeological evidence suggests that it may have been used in this way for hundreds, if not thousands, of years. Cleavers is still used by medical herbalists today, although scientific evidence regarding its effectiveness is still lacking.”

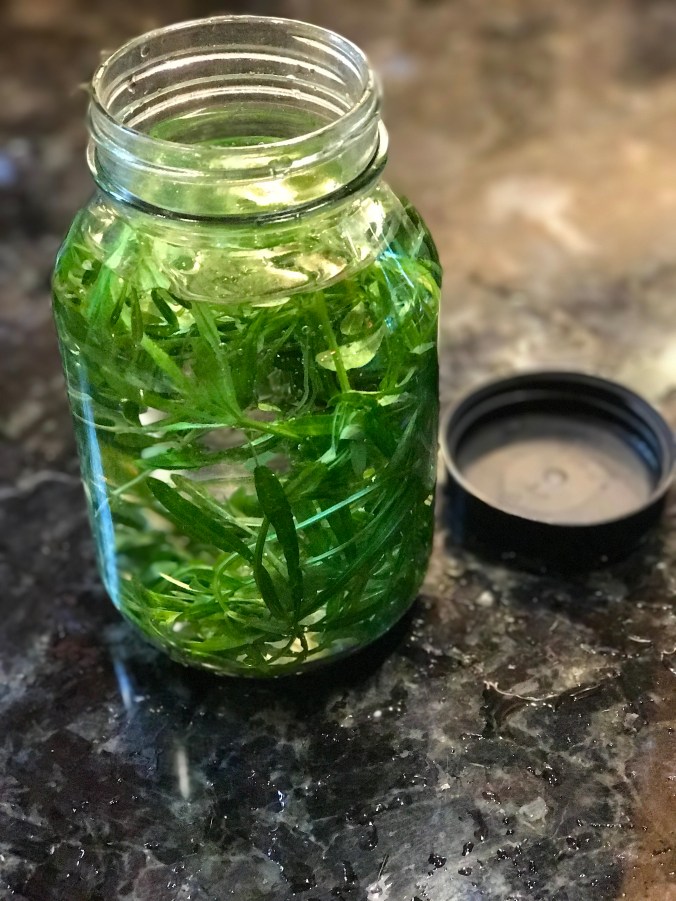
I use it as a spring “cleanse” that might be good for my kidneys but just tastes wonderful, and excites my need to get the most out of the plants around me. As I weed it out of my garden, I set it aside to be washed and then stuffed into a jar filled with fresh water and throw it into the fridge.

IMG_4607

Twenty-four hours later, we have a refreshing sticky weed infusion that tastes like spring green. It thickens the water a little, too, (or maybe I’m just imagining that) making it feel silky on its way down.

IMG_4716

Drink Your Sticky Weed © Liesl Clark


This Homemade Citrus Power Cleaner Works

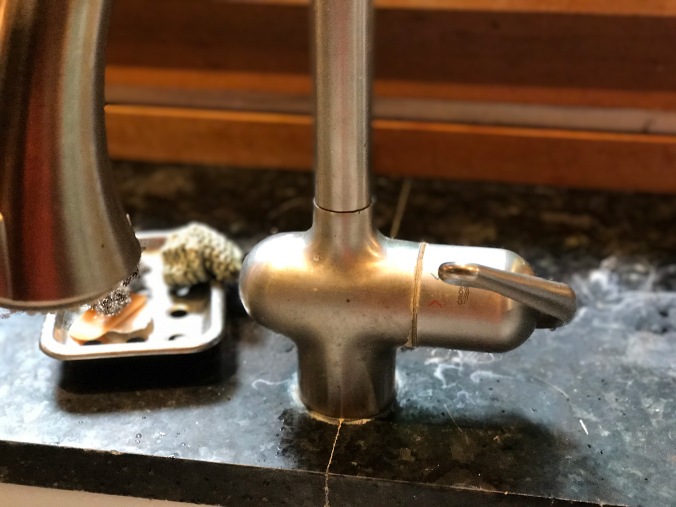
We have hard water in these parts, which means that whenever it sits around, like at the base of a water faucet, you get calcium/mineral buildup. Here’s what ours looked like a few hours ago. Ew!

IMG_6194

Thanks to some homemade citrus vinegar that I made last month, I now have a power cleaner that’ll cut through the boilerplate mineral deposits found around our sinks, shower, and bathtub.

IMG_3967

This mineral deposit is hard and sticks like glue.

First, to make the citrus cleaner, just throw your orange peels into a mason jar and pour in some distilled white vinegar to cover the orange rind. Keep adding orange peels until the jar is filled, adding vinegar to totally cover over the peels.

IMG_3687

Screw a lid on the jar, and let it sit for a month with all of the peels totally submerged. Remove the orange peels and the remaining liquid is your all-purpose citrus cleaner that’ll work wonders in your home.

IMG_4499

I dilute it with water 1:1 into a spray bottle and use it wherever I’m cleaning: countertops, windows, ovens and stoves, bathrooms. But the kitchen sink faucet was where I hit paydirt. This stuff cut through that mineral deposit and enabled me to get my faucet back to looking like new.

hardwater before after

Just spray the 1:1 solution on your affected area and let it set for a few minutes and rub off.

closeup before and after

I had to repeat this several times, but it eventually removed the white caked-on material.IMG_4494

IMG_5979

So the next time you eat an orange, just save those peels, stuff them into a jar and cover with white vinegar, adding more peels and vinegar until the jar is full. After a month, you’ll have a citrus cleaner ready for your toughest jobs.

How To Do A Classroom Waste Audit

By Liesl Clark and Rebecca Rockefeller

Conducting a classroom waste audit is a hands-on way for kids to learn how to reduce their waste at school. Whether kindergarteners or highschoolers, waste audits resonate with students of all ages because everyone handles trash on a daily basis. Zero waste in schools takes commitment from both teachers and students and we’d like to be your hub for learning the process and obtaining the tools necessary to make your waste audits a success. This simple guide is an easy resource to get you started with waste audits in your classrooms or schools in your community. If you have any questions or need any further resources, don’t hesitate to contact us at Trash Backwards, and the following video is to inspire you to get into classrooms, have fun, and teach students these simple steps to school waste reduction!

If you’re not a teacher, you’ll first need to obtain permission from the school to do your audit. Meet with the school’s principal or director and pitch the idea. If you have to get permission for a larger body, like a school board, here’s a sample letter you can edit to make the formalities easy for you.

Materials Needed:

1 Tarp for the floor or plastic table cloths to cover tables

1 Scale

2 Buckets with the tare weight written on their sides

Paper and Sharpies for making 2 charts

Small signs for “compost,” “recycling,” “reuse,” and “landfill.”

10 Simple Steps

1) Save 1 days’-worth of classroom trash, including food waste.

2) Tell your personal story about why you’ve discovered how important it is to reduce waste. You can do  a slideshow, showing the students pictures of their landfill, how a landfill (or incinerator) works, how far away it is, and how trash is transported there. We have a movie about how our children discovered plastics washing up on their beaches that you can download or play off the web here as a teaching tool, showing how kids can take action, learn where the ocean plastics are coming from, and what they can do about it.

3) Weigh your recyclables and trash separately.

4) Spread it all out on a tarp.

5) Have the students separate all items into discreet piles next to their appropriate signs: “Compost,” “recycling,” “reuse,” and “landfill.”

6) Teach recycling: Discuss what goes into your local recycling and help the students identify those items.

7) Start a composter, vermicomposter, or chicken bucket. Some classrooms or schools have composters or vermicomposters outside. If not, find a volunteer family that will take the organics home to their chickens or compost bin.

8) Teach reuse: Save items like Ziploc bags, rubber bands or paper clips that were in the trash but can be reused.

9) Weigh your newly separated piles of trash, compost, reuse and recycling.

10) Celebrate your results by making a graph so the students can see the change in landfill trash versus recycling and compost. The decrease in landfill trash will be surprising.

Follow-up activities include having the classroom write a manifesto for changes in behavior to create less waste. Suggestions might include some of the following:

1) Place pictures of recyclables on the recycling bins as a reminder to students.

2) Move a recycling bin near the paper towel dispenser (wet, clean paper towels can be recycled).

3) Start a compost bin, worm bin or a chicken bucket.

4) Start a reuse box as a place to put items that can be reused.

5) Start other recycling streams that don’t go in the recycling bin but can be taken to other recycling facilities, like plastic bags (local supermarket) and juice boxes (a local Terracycle brigade).

Please feel free to contact us with questions or needs. We hope to be your go-to school waste audit resource! And if you’ve conducted a waste audit yourself, do send us a note to let us know how it went.

DIY Taco Seasoning in Bulk

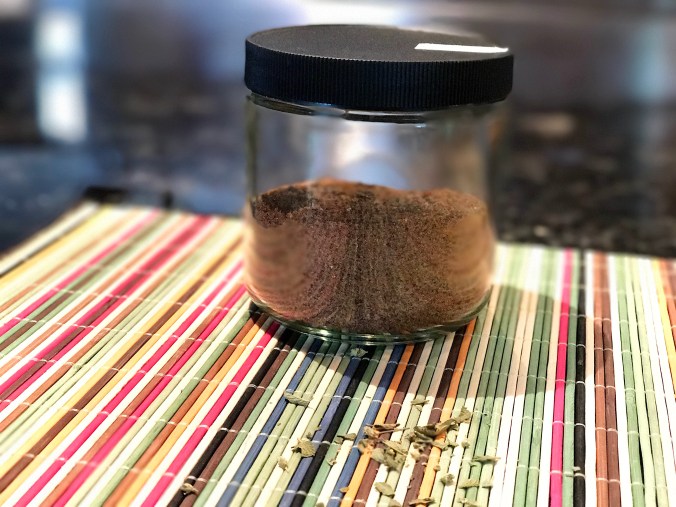
Buying taco seasoning is pricey and when you have the ingredients in your own home, why not just make a batch that’ll last you days. Your own seasoning is also lower in salt content. Here’s our family recipe that we’ve used for the past year, and sometimes the amounts of each ingredient change a little, based on just how much we have in the spice rack. We buy our spices in bulk, too, to save money, have a zero waste kitchen, and so we don’t accumulate a lot of those little plastic bottles.

IMG_3576

Taco Seasoning (makes about 1 2/3 Cups)

  • ½ Cup chili powder (we sometimes use speciality chili powders we find in Mexico. Go with your favorite!)
  • 1/3 Cup cumin
  • 3 teaspoons garlic powder
  • 3 teaspoons onion powder
  • 1 Tablespoon coarsely ground pepper
  • 2-3 Tablespoons ground coriander seeds
  • 2 Tablespoons paprika (sometimes we add smoked paprika)
  • 1 1/2 Tablespoons salt (feel free to add more if you like your seasoning salty)
  • 2 teaspoons red pepper flakes
  • 2 teaspoons oregano (we like Mexican oregano)FullSizeRender 83Enjoy!

Paper Bag Cast Iron Skillet Cleaner

We stopped buying paper towels years ago. Never really needed them.

And since we were eating mostly vegetarian meals, we rarely had the dilemma of what to do with a greasy cast iron skillet. Now that we eat bacon occasionally, because we’ve reintroduced a little locally-produced organic meat now and then, we have to contend with the leftover grease. We’ve used a few rags on the grease and just wash the rags, but that isn’t the best use for the rag.

And then, one day a week or so ago, I posted a dozen lunch-bag size bags to give away in my local Buy Nothing group. (I save these little bags whenever they somehow make their way into our house, and the kids use them when they go on school field trips.) A member immediately posted a comment explaining that he uses those thin lunch bags to sop up his bacon grease. It was an “aha” moment for me.

IMG_3974

Here’s what he wrote:

“If you have a new, or not-so-well-seasoned pan, a thicker bag will leave little micro fragments of paper. So generally, the smoother the pan and the finer quality of the bag, the better it works. Newspaper is completely unworkable because it’s such lo’grade.”

I decided to keep the bags, and now I have a small stash of little brown bags I can use to clean out my cast iron skillet when it gets a little too greasy. The thin bag is pretty darn absorbent.

IMG_3984

I throw in a little Celtic sea salt to scrub the bottom of the pan with the crumpled up bag, and the salt acts as a perfect scrubbing agent.

IMG_3986

No need to run soap and water over the well-seasoned skillet. And the pan is ready for its next job.

IMG_4001

The greasy bag goes into our next fire as fire-starter or we just toss it in our compost.

IMG_3996

Save those little bags for jobs like this!

Use Crayons For Dry Erase Boards

We ran out of dry erase markers and made a discovery. You don’t need to buy more of those plastic markers! Large crayons work just fine on dry erase boards. Simply use a soft cloth to wipe it off, with a little extra elbow grease.


Crayon going onto a whiteboard…..And crayon coming off the same whiteboard with an old sock eraser. This really does work, and it does wipe clean! Just sayin’.

How Toxic Is Your Garden Hose?

Think Twice About Your Garden Hoses And How Toxic They Might Be. Photo © Liesl Clark

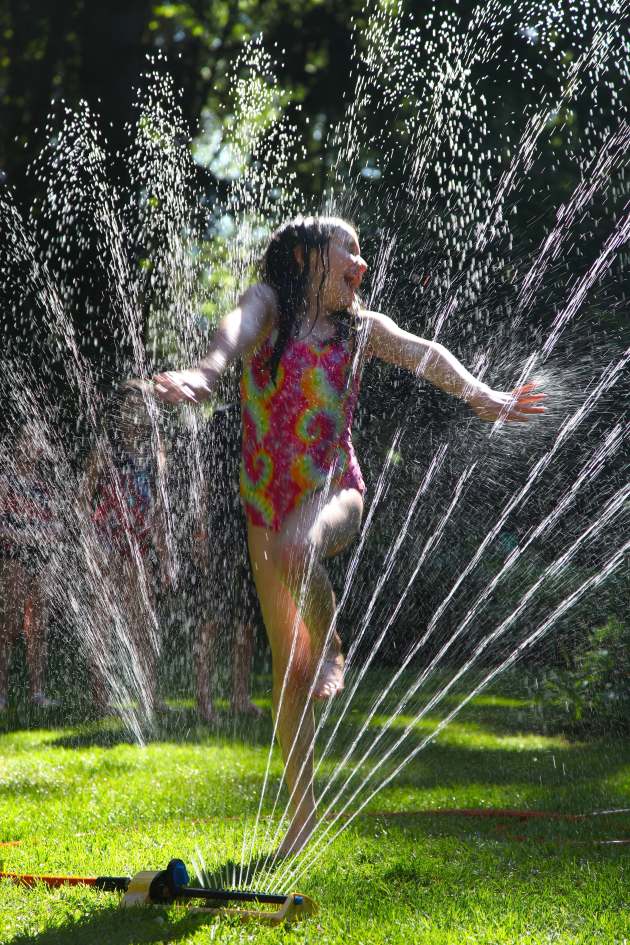
One of the cheapest, happiest forms of warm weather play for children is a garden hose with a sprinkler hooked up to it. For our children, it means hours of joyous play.

Sprinkler Fun. Photo © Liesl Clark

The challenge for us is the knowledge that most hoses are made of toxic chemicals and hence are full of pthalates and Bisphenol A. Both are known endocrine disruptors and if children drink from a hose their BPA levels will rise significantly.

Be Sure to Play in a BPA-Free Garden Hose Spray. Photo © Liesl Clark

Lead has also been detected in most garden hoses. It’s unknown what the effects are to the soil and plants, but what’s clear is that the next time we buy a hose we should be aware of studies on the chemicals hoses can leach and which hoses are safest. Here’s a 2016 study on the toxicity of hoses done by the Ecology Center.

Photo © Liesl Clark

We do have one PVC-free hose and that’s the one we use for kid water-play. In fact, we use it as often as possible, as we phase out our other old hoses. An irrigation project we’re longing to do is a hose-free drain system from our pond to the vegetable garden so we can skip the hose quotient altogether. No wonder our waters are full of estrogen-mimicking chemicals that are affecting indicator species like fish.

Photo © Liesl Clark

If you’re interested in phasing out your old hoses or reusing one that’s broken, we’ve seen them sliced lengthwise in small sections to be used as blade protectors for hand-saws, or used on the side of a garden shed for wall-art, or woven on an old chair to create some cool outdoor furniture.

But, for the purposes of watering our garden or for kid-play, from now on we’ll be seeking out BPA and lead-free hoses.

Use Your Bean Water!

Did she say bean water? Yes, bean water is how I refer to the leftover liquid after I’ve cooked beans in my slow cooker or pressure cooker. Every week, we do at least one pot of beans, to provide the staple ingredient (beans) for many meals for the family.

FullSizeRender 81

Dried beans, bought in bulk, are among the cheapest and most nutritious foods we can buy. Now, that weekly practice of ours has yielded several more meals that I had never thought of before — using the bean water to make wonderfully delicious dishes!

FullSizeRender 82

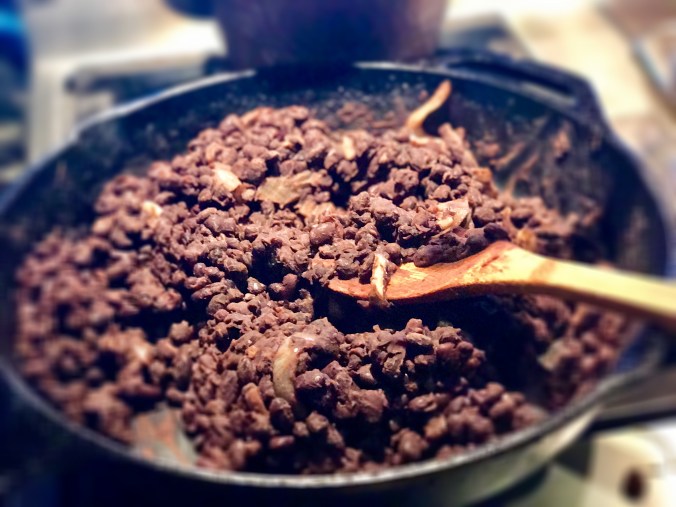
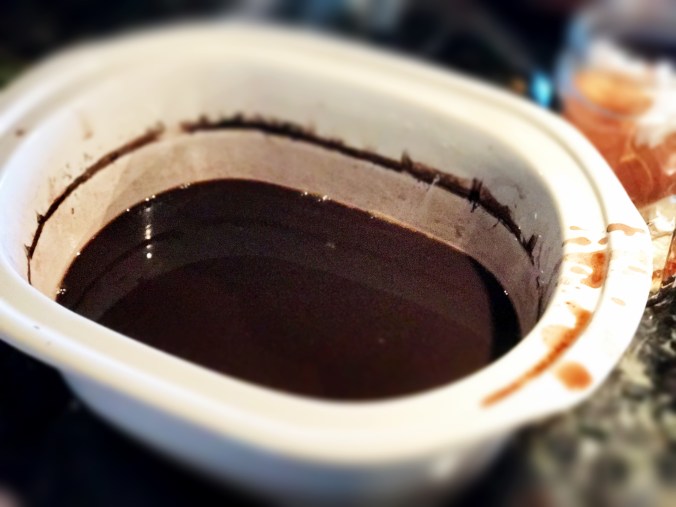
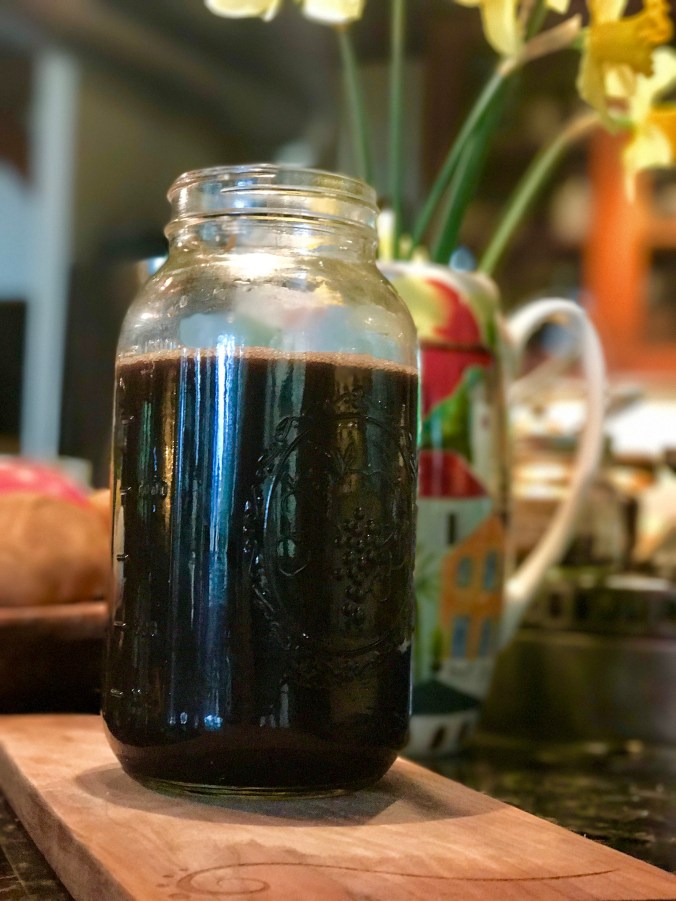
Here’s our black bean water, leftover after I removed the beans to make refried beans.

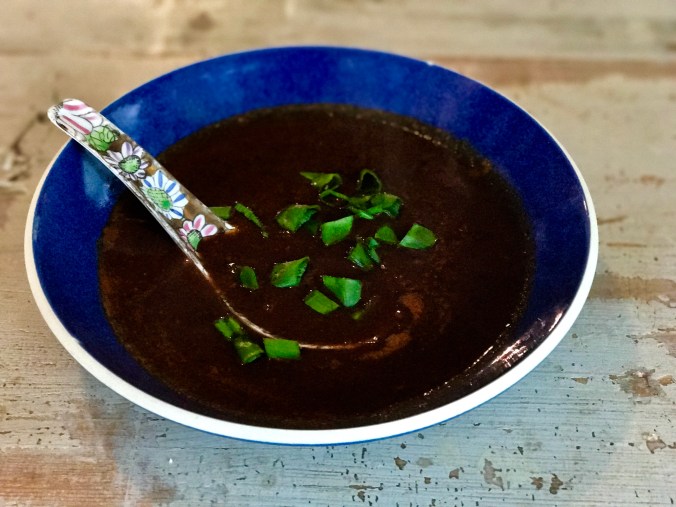
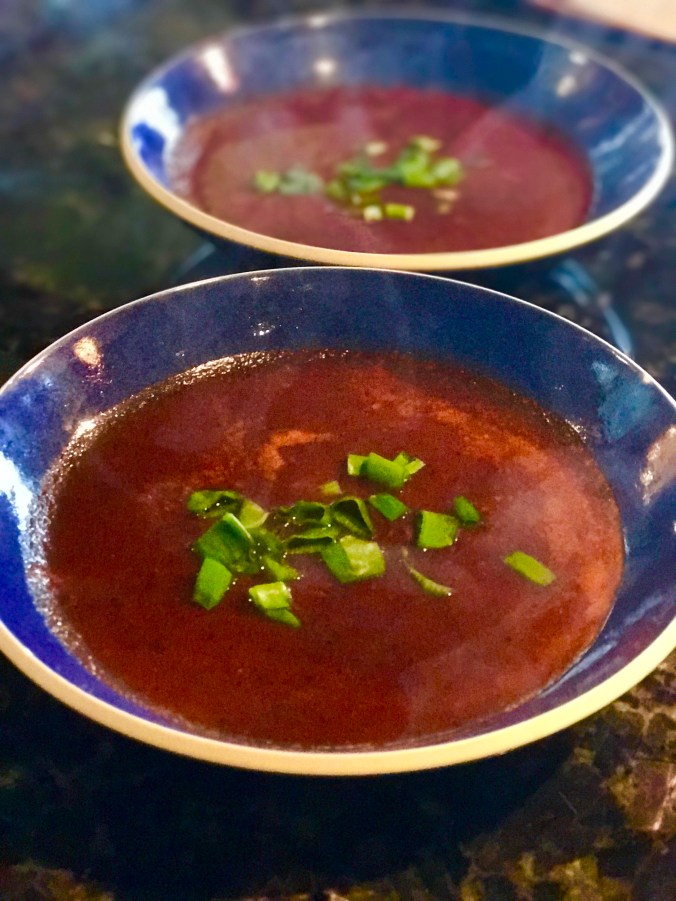
This week, our beans of choice were black beans, and thanks to this article, I saved the bean water and used it as the basis for a huge pot of Tarascan Bean and Tomato Soup. It’s a recipe I first started making in my 20s, because I wanted to find something to use up the bacon grease that I save.

FullSizeRender 79

We save our bacon grease for recipes and bird suet 

The soup takes on the flavors of the bacon and it’s absolutely delicious and Whole30 compliant.

FullSizeRender 77

Bean water can also be saved for use as a base in vegetable stock and in soups like minestrone. Seems there’s a bit of a craze out there for bean water, especially chick pea water, which has the official name of “aquafaba.” Chick peas, or garbanzo beans, can yield a liquid that is a great replacement for egg whites and even meringues can be made from them. So, get creative, learn about aquafaba, don’t pour your bean water down the sink. Use it up to flavor your favorite meals.

FullSizeRender 80

Behold, our bean water.

I’m feeling so very proud that the Tarascan soup which I love has 3 ingredients in it that many people would normally toss: bacon fat, vegetable scrap broth, and bean water.

Here’s the recipe for it, which is based on one found in my favorite Mexican cookbook, The Cuisines of Mexico, by Diane Kennedy.

Sopa Tarasca

4 Cups Bean Water (pinto beans or black beans)

2 Tomatoes or 8 oz Canned Tomatoes

2 Cloves Garlic

Half an Onion

4 Tablespoons Bacon Grease

1 Cup Vegetable Broth (or Chicken or Pork Broth)

Cilantro for garnish

Salt and Pepper

Blend the tomatoes, garlic and onion in a blender or Vitamix until a soupy puree. Set Aside.

Place the bacon grease in a soup pot and put the heat on high to melt it. Add the tomato mixture and mix by hand as it cooks for about 5 minutes. Gradually add the bean water and bring the soup to a boil, turn the heat down to medium and cook for another 8 minutes, stirring occasionally.

Add the broth and allow the soup to cook for another 10 minutes on low, until your soup reaches the thickness you’d like. Add salt and pepper to taste.

Serve the soup and garnish with cilantro, paprika, shredded cheese or sour cream to taste.

Enjoy!

FullSizeRender 78