Carefree Holiday Snowball Fun in Zero Waste Style © Liesl Clark
Some reliable sources say Americans produce 25% more waste over the year-end holidays than we do the rest of the year. I’m not surprised, given the household waste-management we’re undergoing this time of year. Our consumption, through gift giving/receiving and party-throwing, is at an all-time high.
What steps can we take to make this year a game-changer, reducing our impact at years’ end? Here are some easy zero-waste practices that should make you feel good:
- Recycle Your Live-Cut Christmas Tree: Most communities have tree recycling options available. Boy Scouts in some communities conduct drives to collect trees and chip them up into compost, for example. Other communities will allow you to put your tree in your yard waste bins.
- Reuse Your Live Christmas Tree: We throw ours in our brush pile and then cut it up for kindling once the wood has cured. But we’ve created a list of 15 reuses for your Christmas tree if you’re interested.
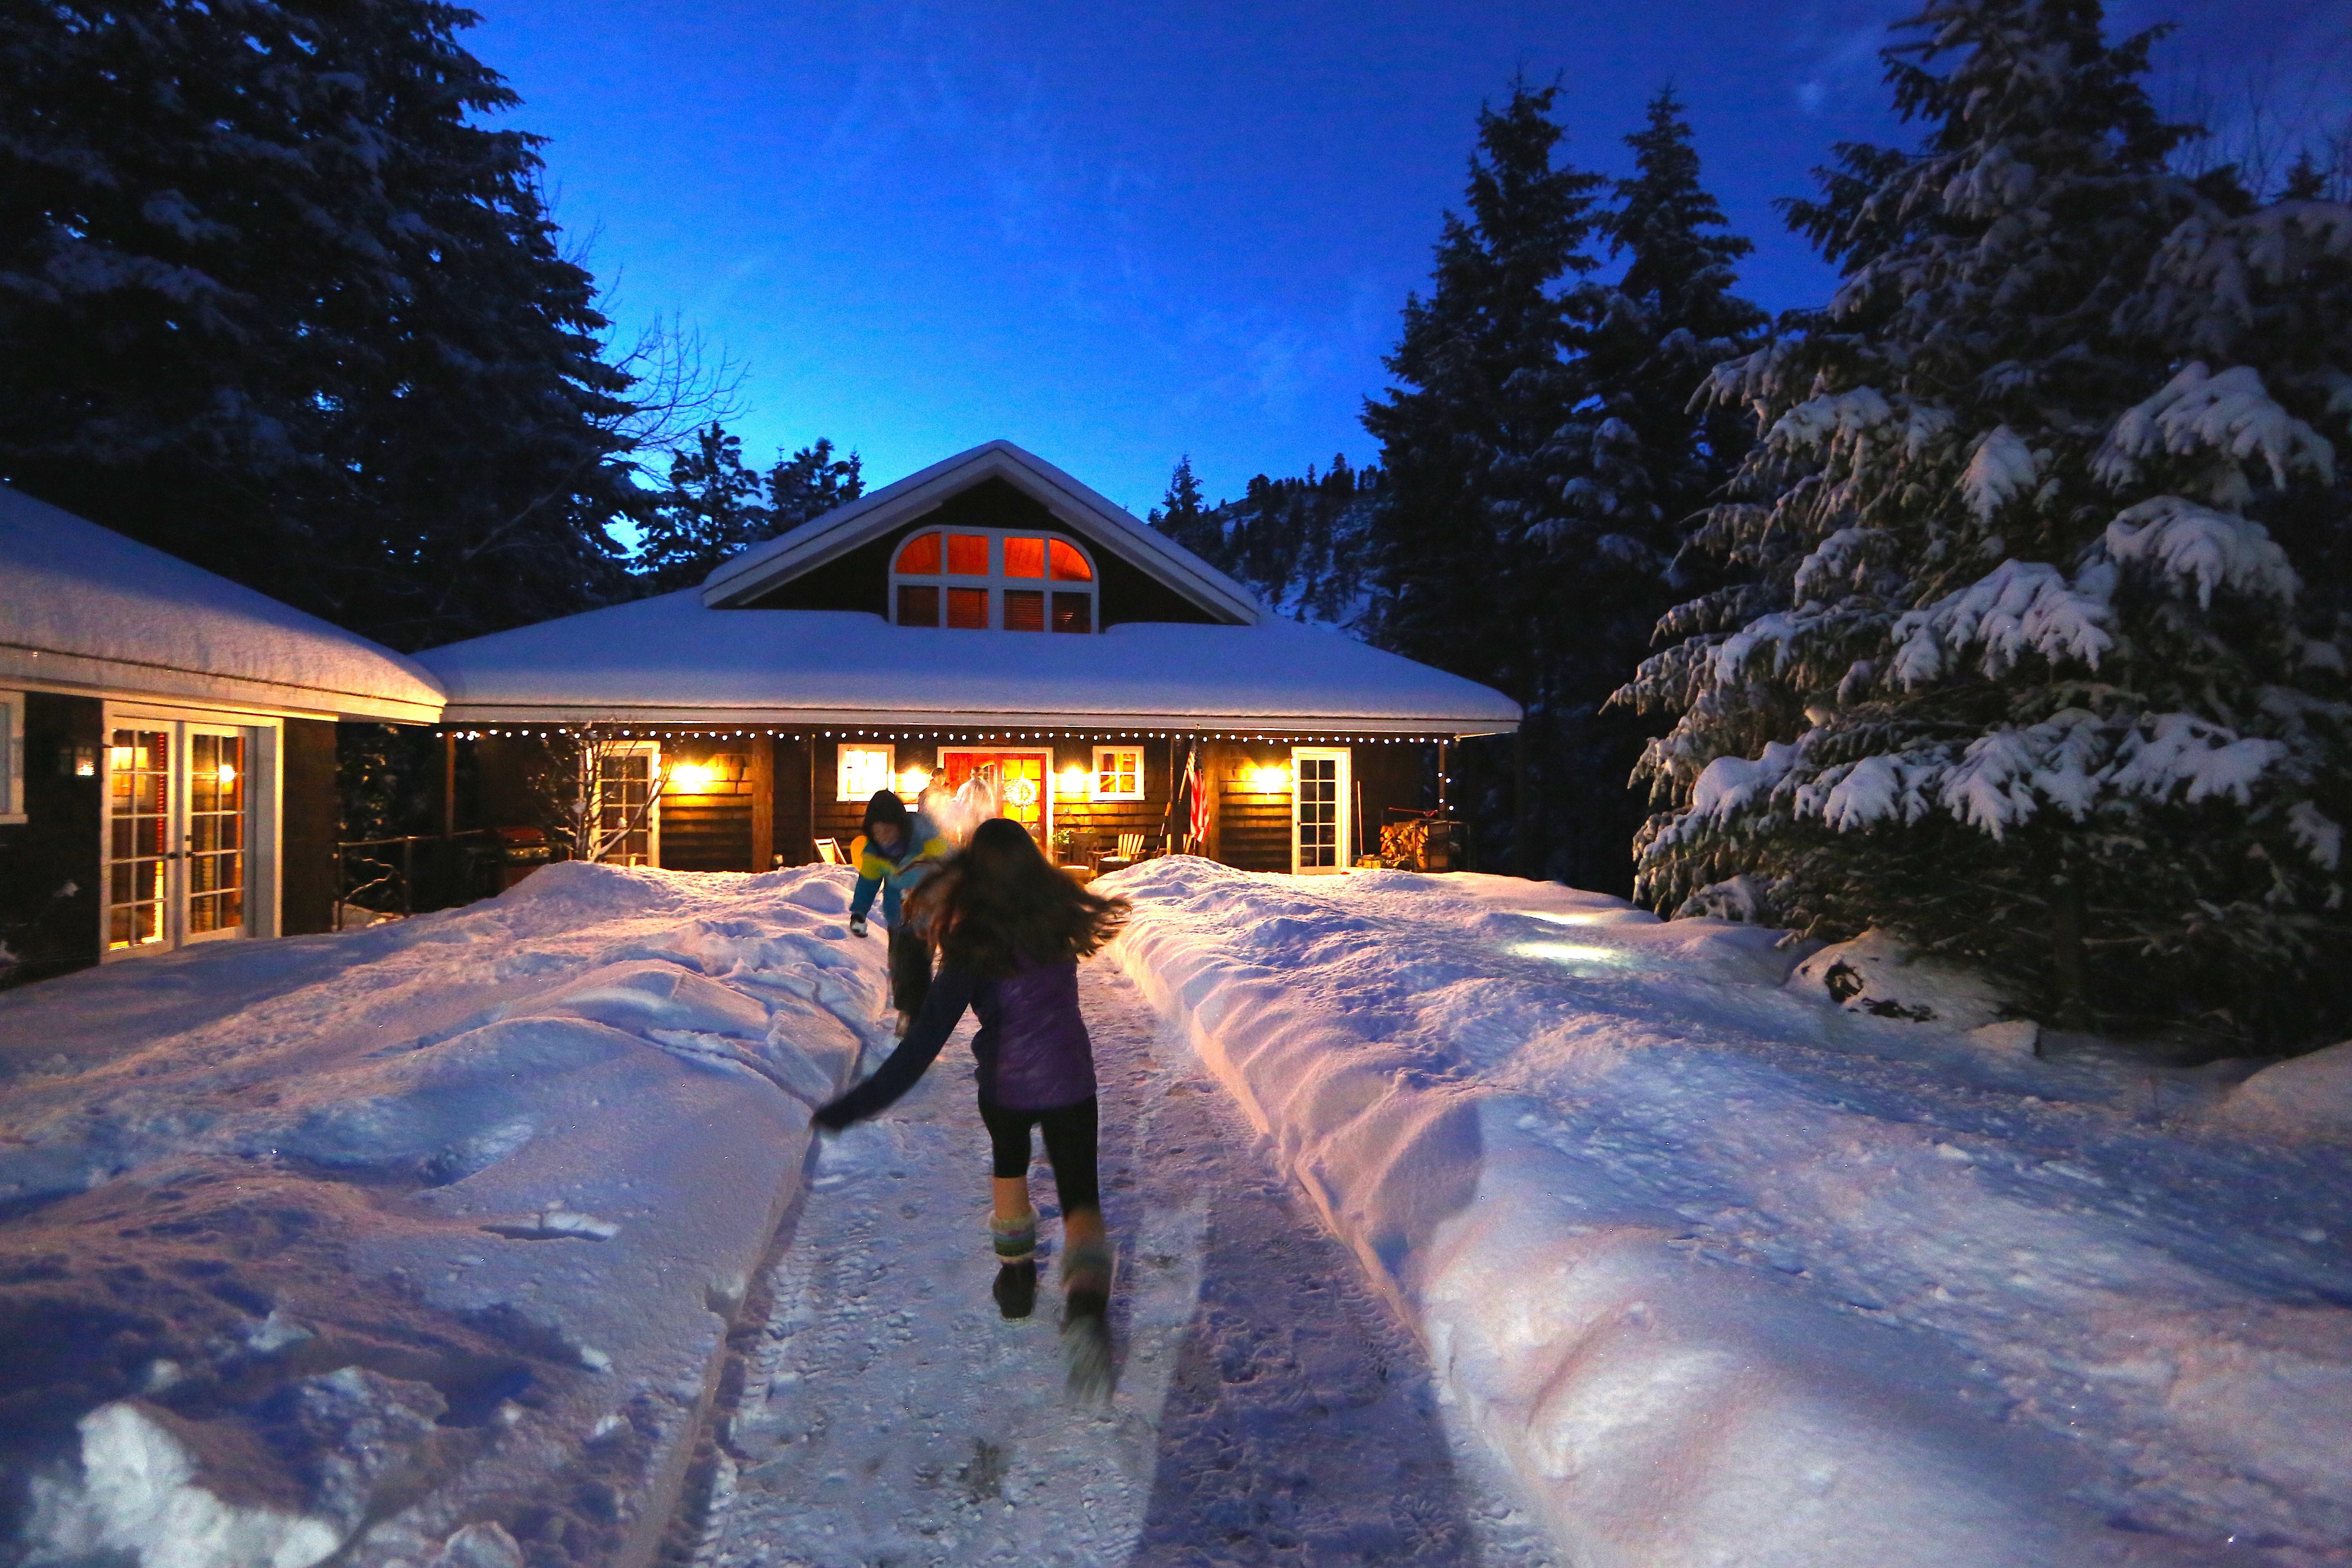
- Take a moment to turn off your power, enjoy a few hours of power disconnection with family for introspection and connection. We do this for an entire day and the appreciation for each other, and the magic of slowing down comes back into our lives.

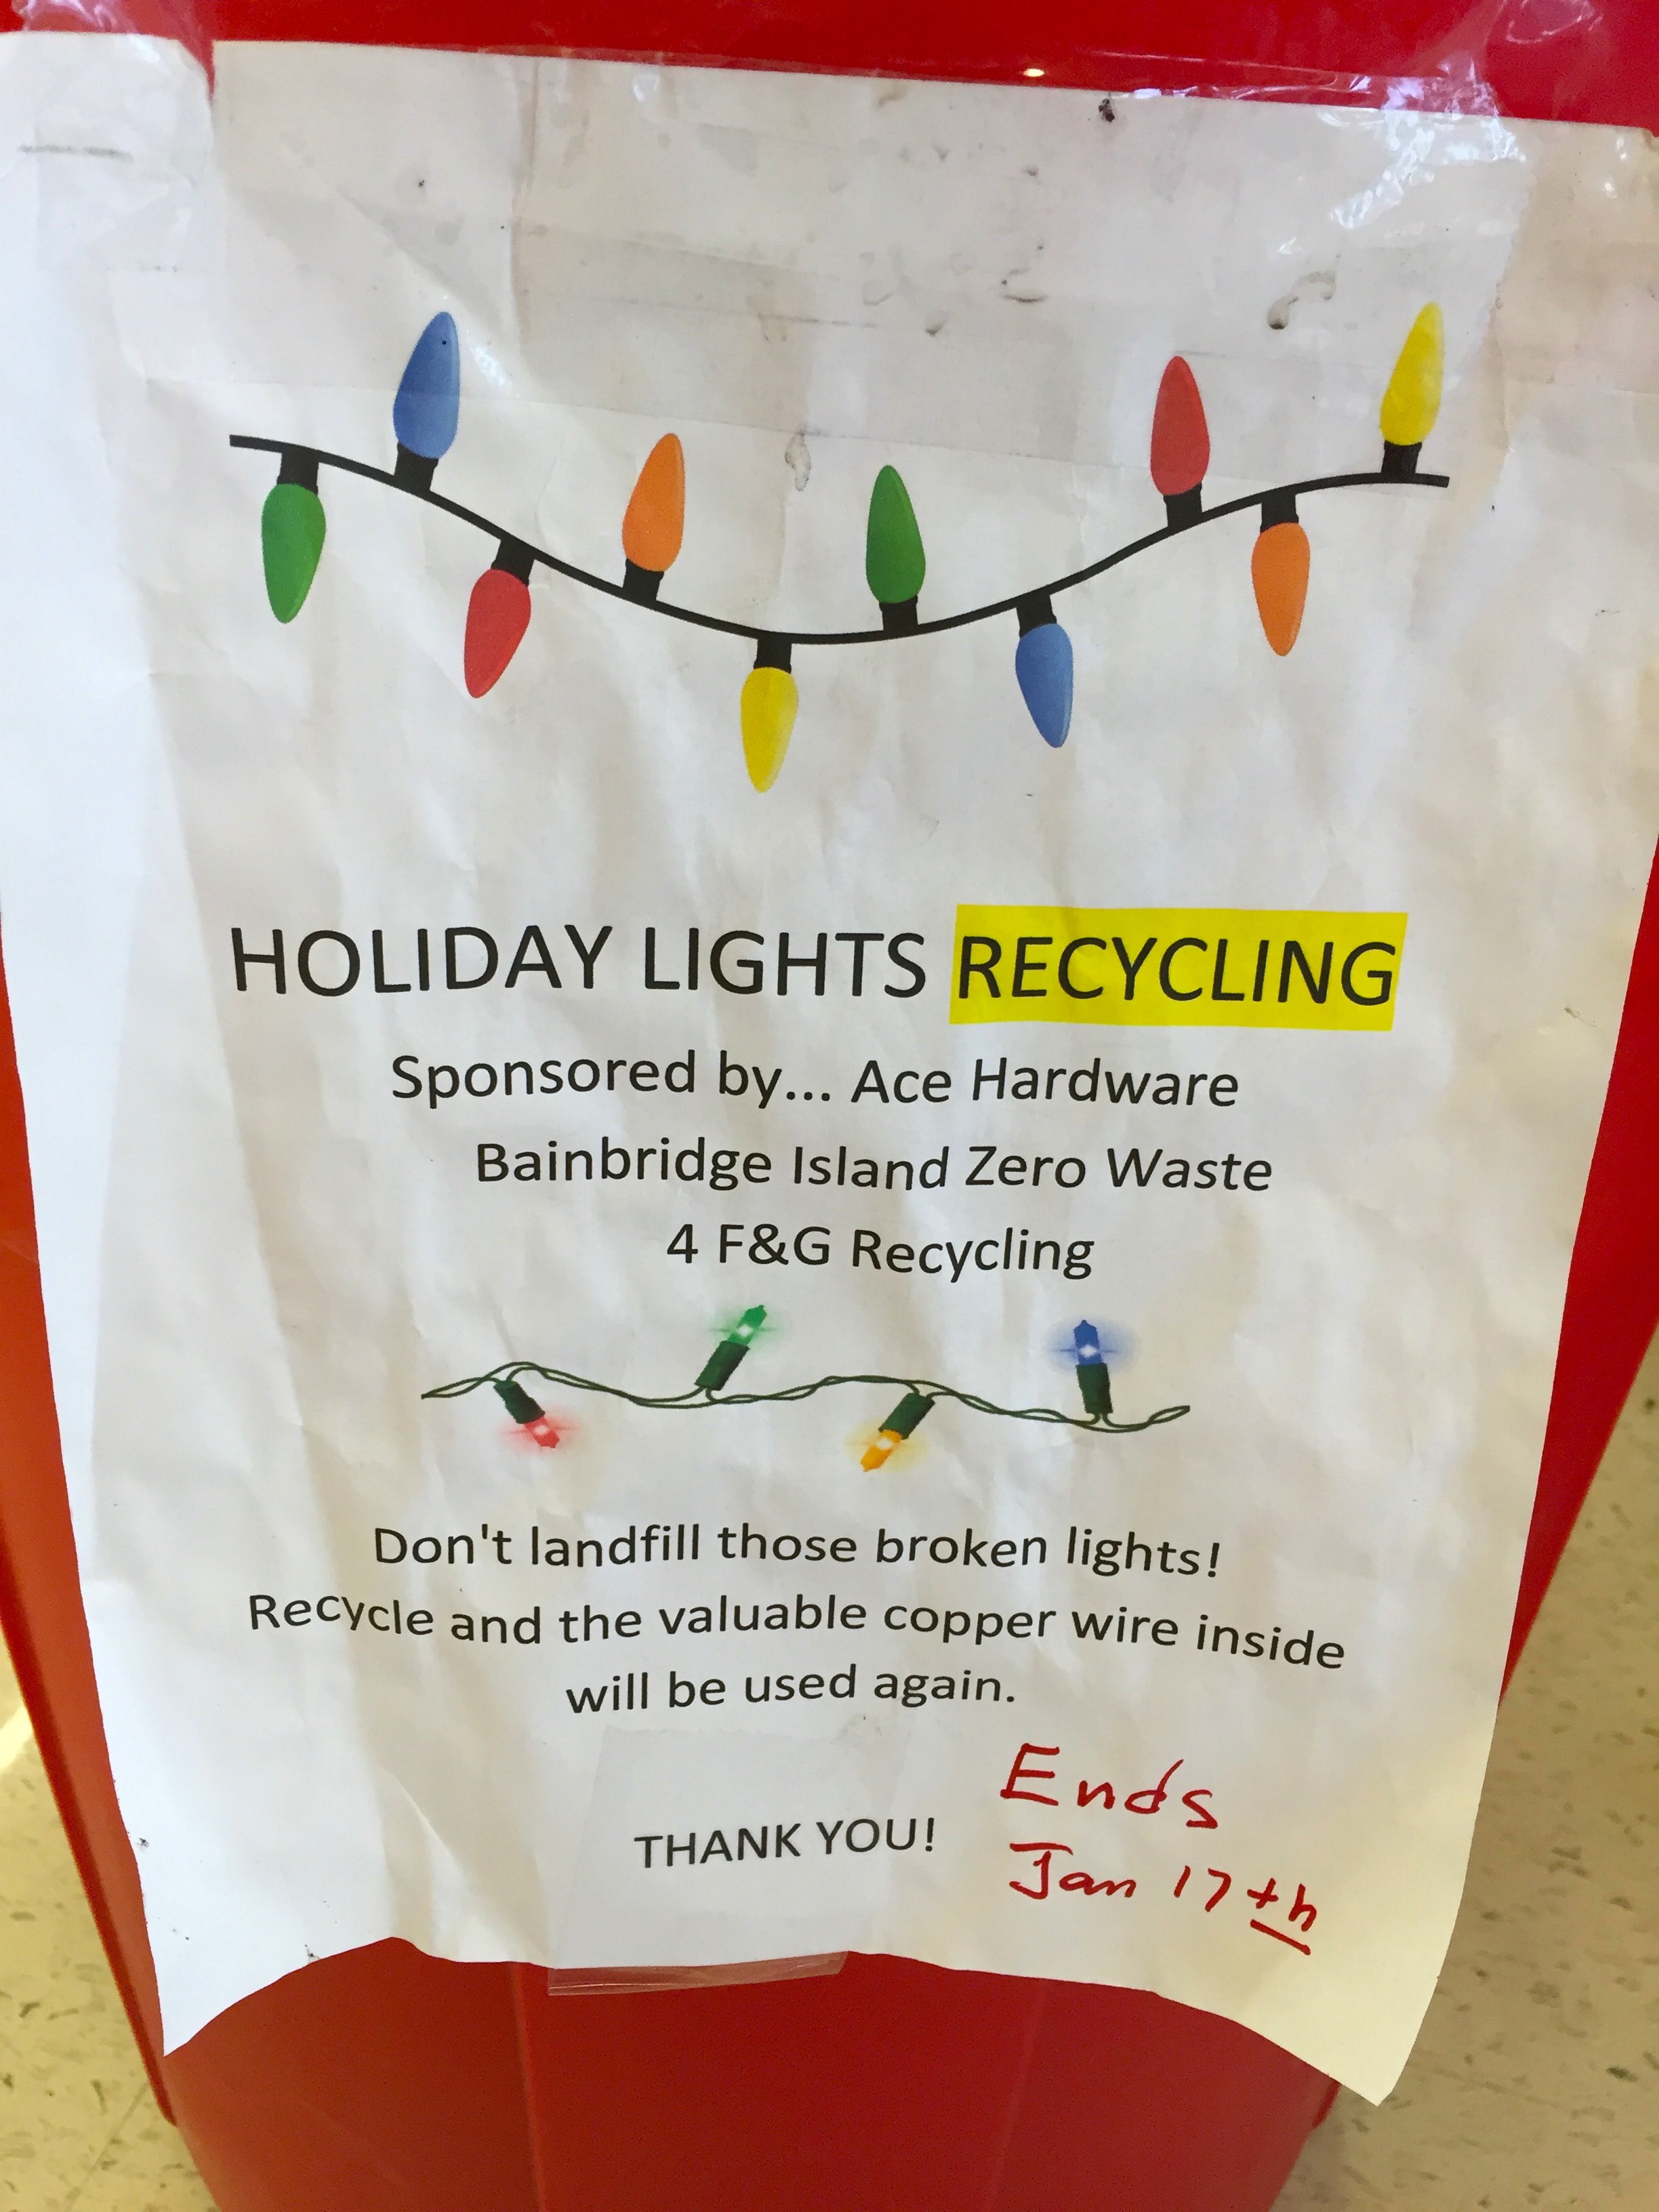
Ace Hardware is Doing Good Things in Our Hometown © Liesl Clark
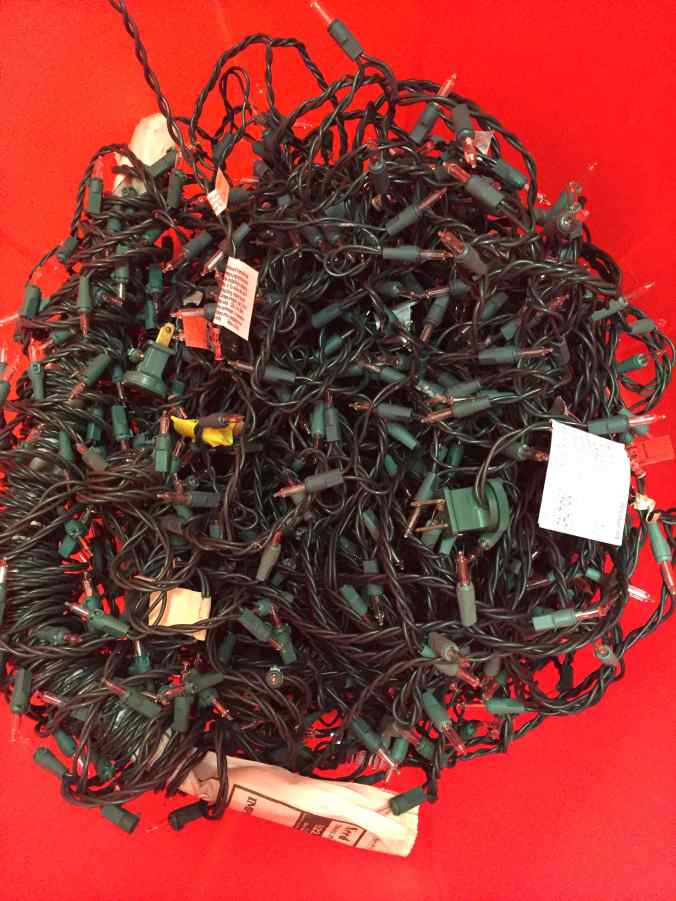
- Recycle your broken holiday/tree lights: When your lights stop working (and, sadly, these things are so poorly made their working life is not very long), don’t throw them away. Most communities have a local option for recycling string lights. Ace Hardware, for example, is our local drop point on our island. But if you can’t find a local venue, you can send your lights to Light Source, in Texas, where they sell used string lights for recycling and give the proceeds back to charity. Or, better yet, collect a few from friends and neighbors and send the tangled mess in a larger box so you know you’ve diverted more than your own from your waste stream. The Refining Company in Medford, OR also recycles holiday lights. Recycling string lights is a booming business in China and although the practices aren’t the most environmentally-sound, thousands of tons of string lights are kept out of our landfills. The Atlantic has a must-read article about the recycling of our string lights in China to mine out the copper wiring inside. After reading the article, I swore we’d never buy string lights again. We receive thousands of unwanted string lights at our local summer community auction, so our family retrieves a few of the unwanted strings from there each summer and use them until they stop working, which, sadly, isn’t very long.
- Stockpile your styrofoam and recycle or reuse: Styrofoam is the single most prolific plastic material found on our beaches. In some communities, it has been banned. If you received styrofoam as part of a gift this holiday season, consider yourself the future steward of this highly toxic material. Finding your local recycling option for year-round styrofoam stewardship is the single best thing you could do for the environment this season. In the Seattle area, for example, a free drop-off location in Kent is the place. In the meantime, ask your local zero waste group if there’s a nearby store, like Bay Hay and Feed on Bainbridge Island, that conducts drives to collect the stuff so it doesn’t end up in our waters.
- Save your Christmas cards for repurposing: You can always recycle the cards you get from friends in your paper recycling bin. But a fun activity is to cut off the side with the writing and save the card with its attractive artwork for future homemade gift tags. Some people use them to create wreaths for next year, too. And I found a pretty bunting idea for displaying them on your hearth.
- Save all ribbon for reuse: Ribbons are made of plastic and survive in our oceans unscathed for years. We’re always surprised to find ribbon from birthday balloons wrapped up in seaweed (they are also known to entangle baby seals, sea otters and sea turtles) and once we break them free from the wrack line debris, the ribbon is as good as new. Save the ribbon you receive on gifts and give the gift of life to our marine creatures by not buying more of it. If you reuse what you have, and receive in the future, you’ll never need to buy more ribbon again. Giving and receiving is cyclical like that.
- Find a spot to store re-usable tape: This is a true insider’s tip. There’s plenty of tape and stickers that will peel right off a bag or shiny package and it, too, can be reused. The trick is to have a convenient spot in your home where you keep it. My friend Rebecca puts hers on the side of the fridge for the kids to access easily (kids go through gobs of tape.) We put our reclaimed tape on the inside of a closet door where office supplies are kept. Family members know that’s the community tape dispenser. We haven’t bought new tape in months.
- Save what wrapping paper you can for reuse: You don’t need an explanation for this. It’s yet another way to see how reuse can save you money. Most wrapping paper can’t be recycled because of the materials used to make it. Composting or burning it, too, isn’t recommended because of the toxins involved. Because we are committed to not buying new wrapping paper, what do we use? We make beautiful cloth gift bags and give them to friends and family for reuse. We recycle our children’s art as wrapping paper. We use pretty cloth as wrapping paper in the Japanese style of wrapping. We keep items in their shipping boxes and decorate the boxes with ribbon we’ve found on our beaches or plastic marine debris we’ve recovered as a reminder of our mission in the first place. These packages below are how our children creatively wrap their gifts in found items from our home or the beach:


10) Pass on your unwanted faux tree through The Buy Nothing Project or give to Goodwill: Thousands of plastic trees end up in the landfill after the holidays. These aren’t meant to be single-use items. If you need to get rid of yours, pass it on to Goodwill, sell it on Craigs List, or Buy Nothing it.
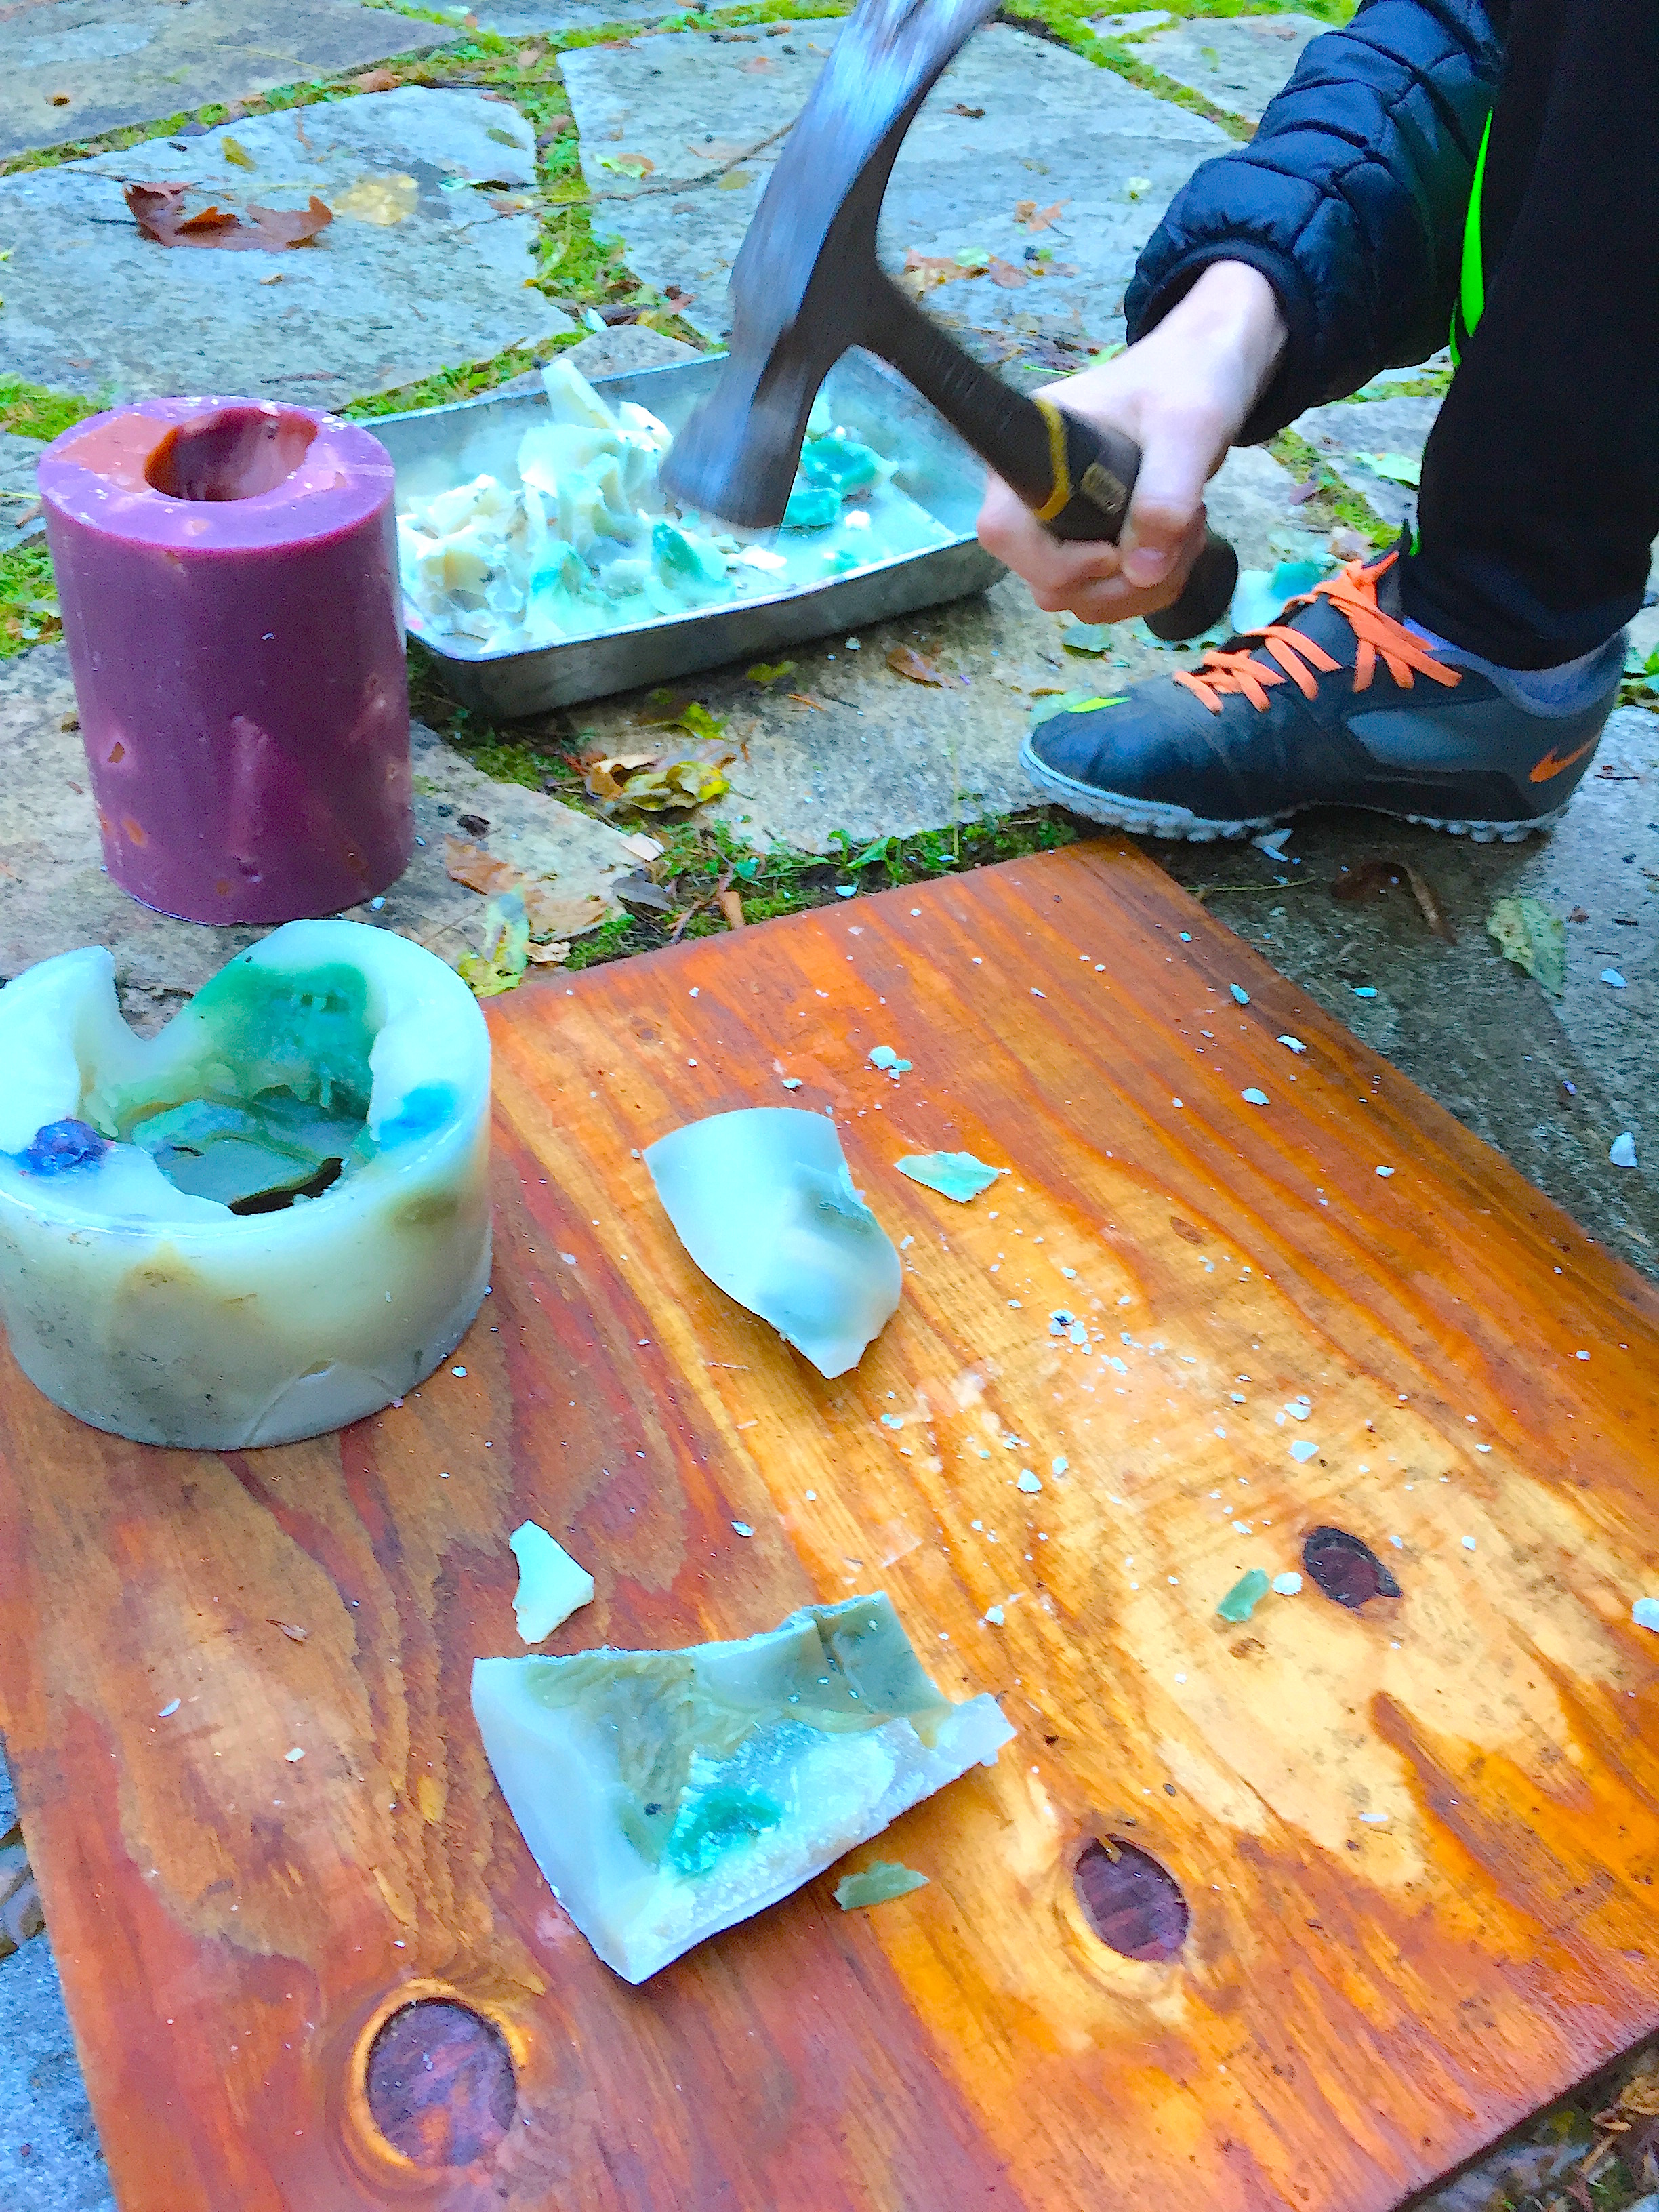
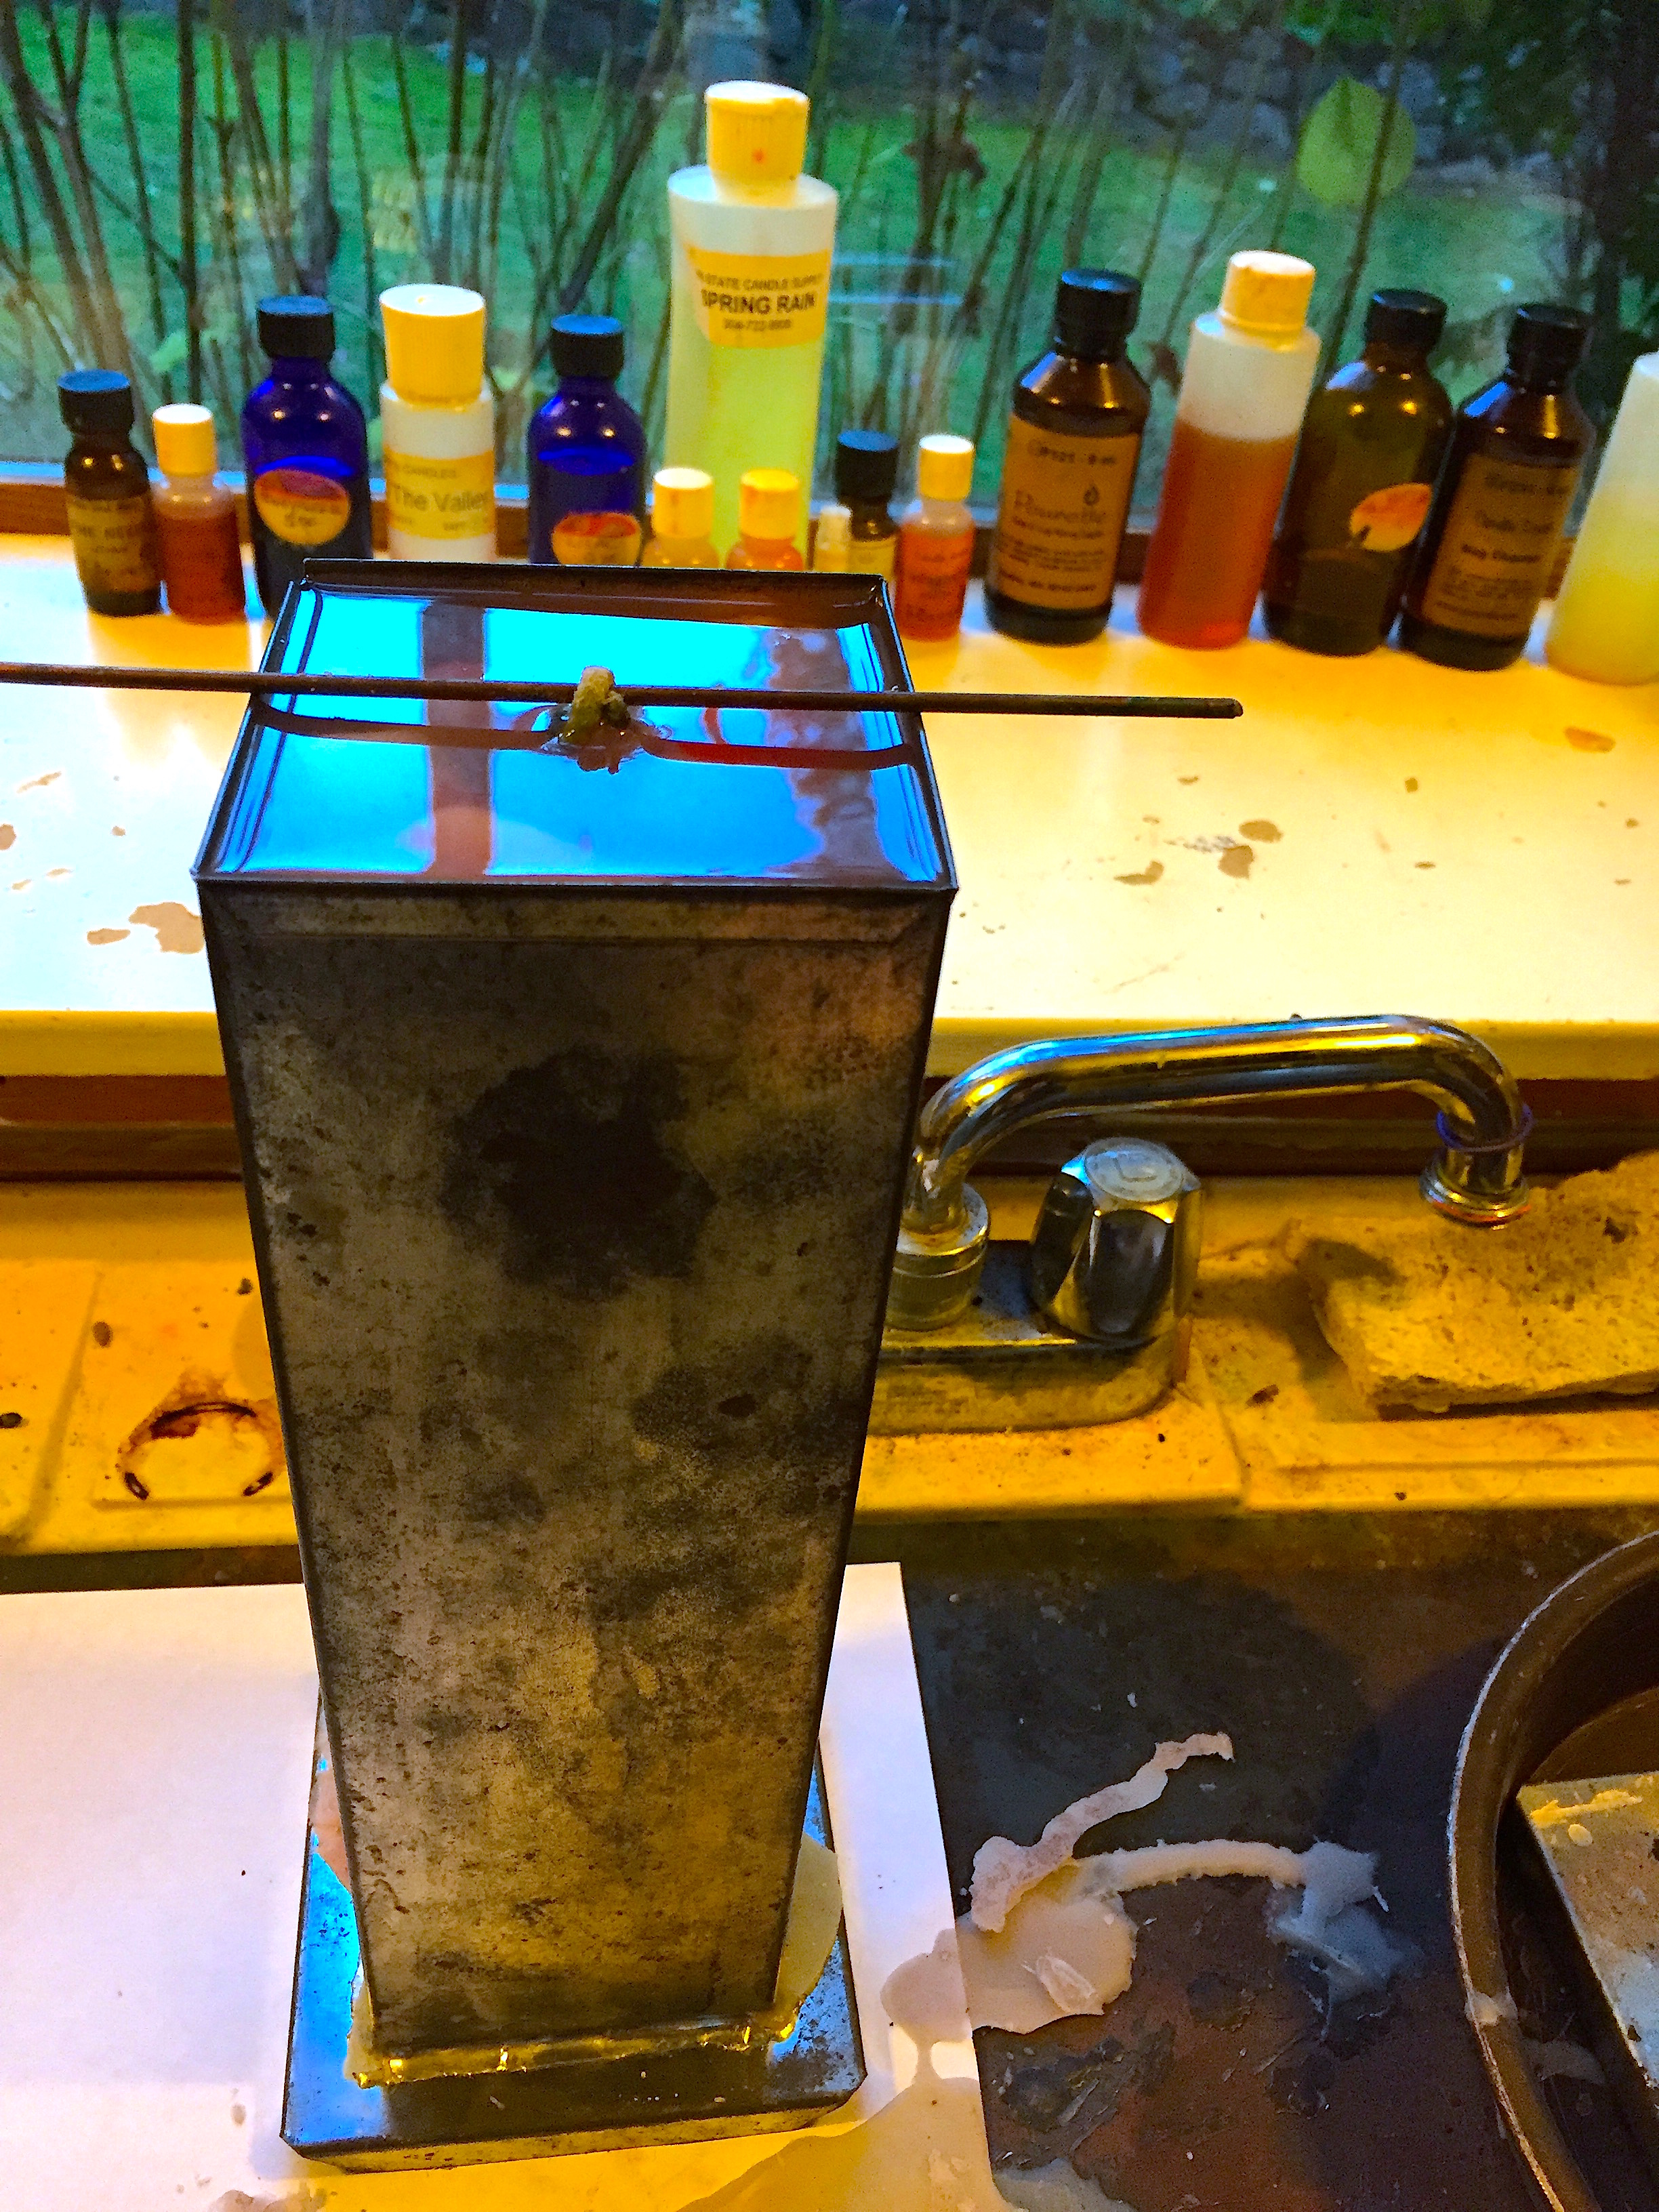
11) Don’t throw away your unwanted or broken items or toys: One of the single-most satisfying activities you can do with your family is create a workspace where you can repair the items you received over the holiday that were made to break within the first 6 months’ (or sometimes 6 hours) of use.
Send us your stories of what broke, and how you fixed it! We’re looking for inspiration from you, stories about how you defied the odds and came up with a smart solution to repair or repurpose an item so it could be diverted from a landfill and have a new life.
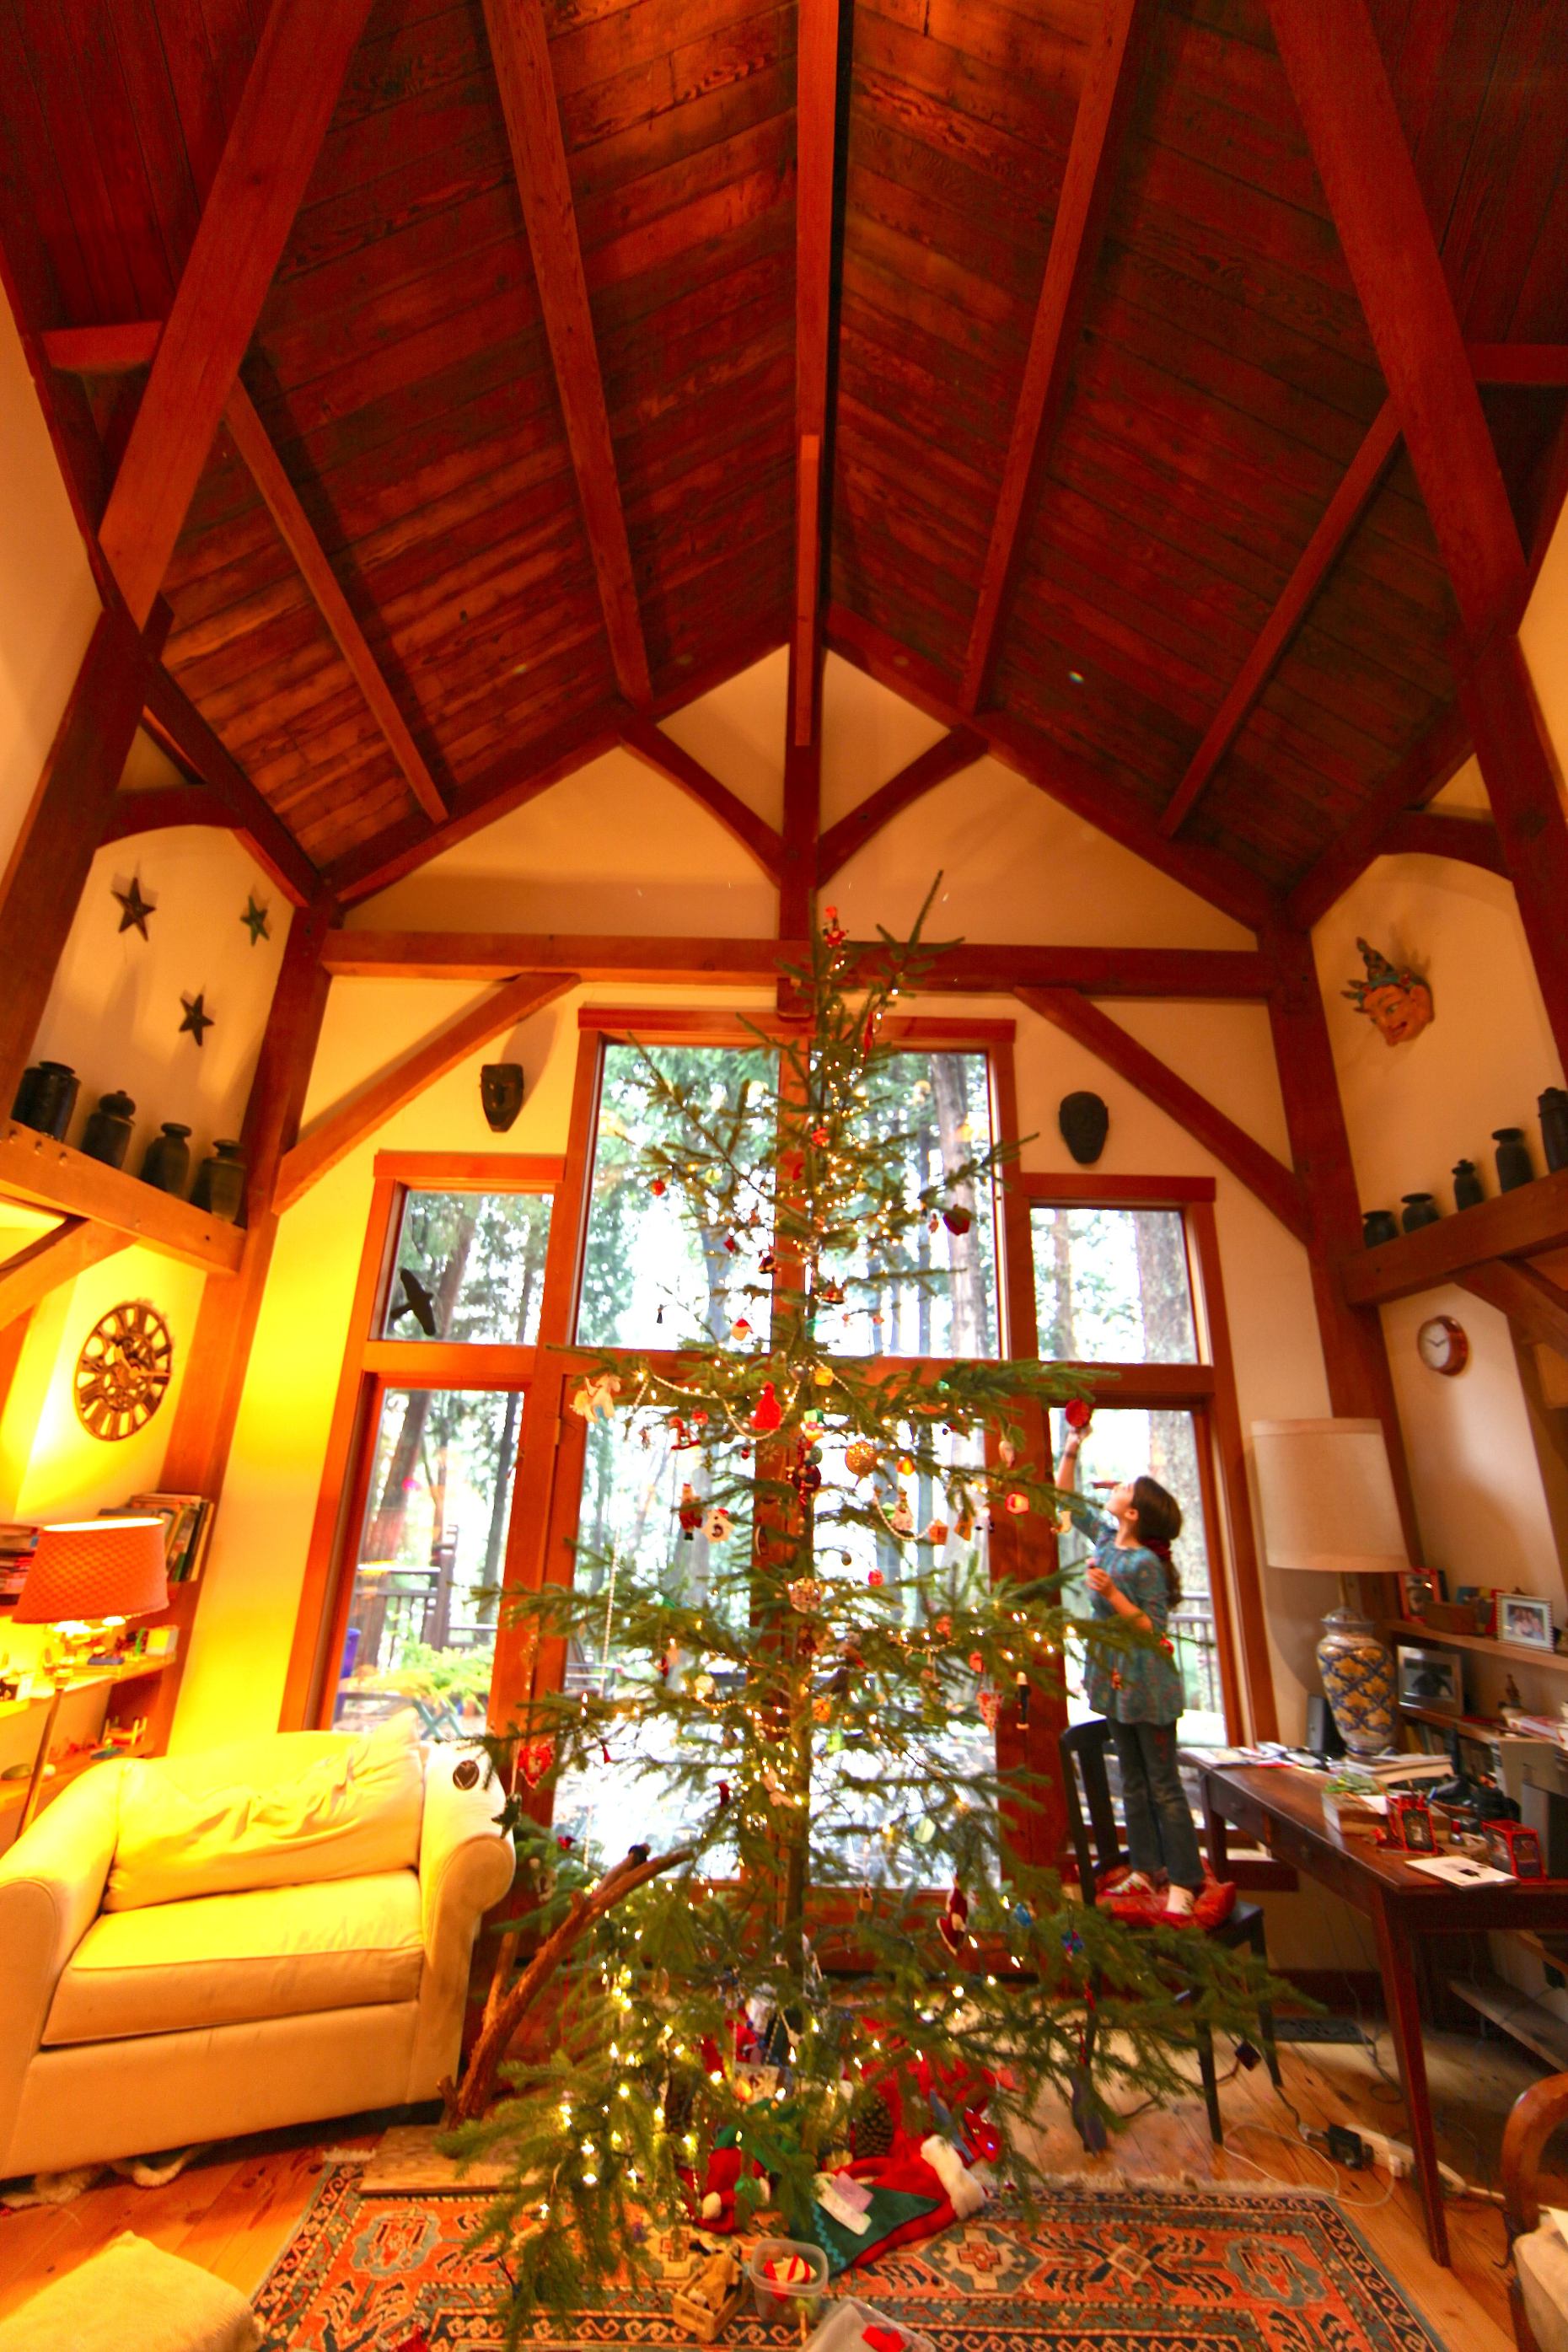
12) Thank your tree: And finally, a special thank you movie in tribute to the pesticide-free, sustainably grown US Forest Service tree we weeded from the dense thicket on the tree-laden slopes of the Olympic National Forest: