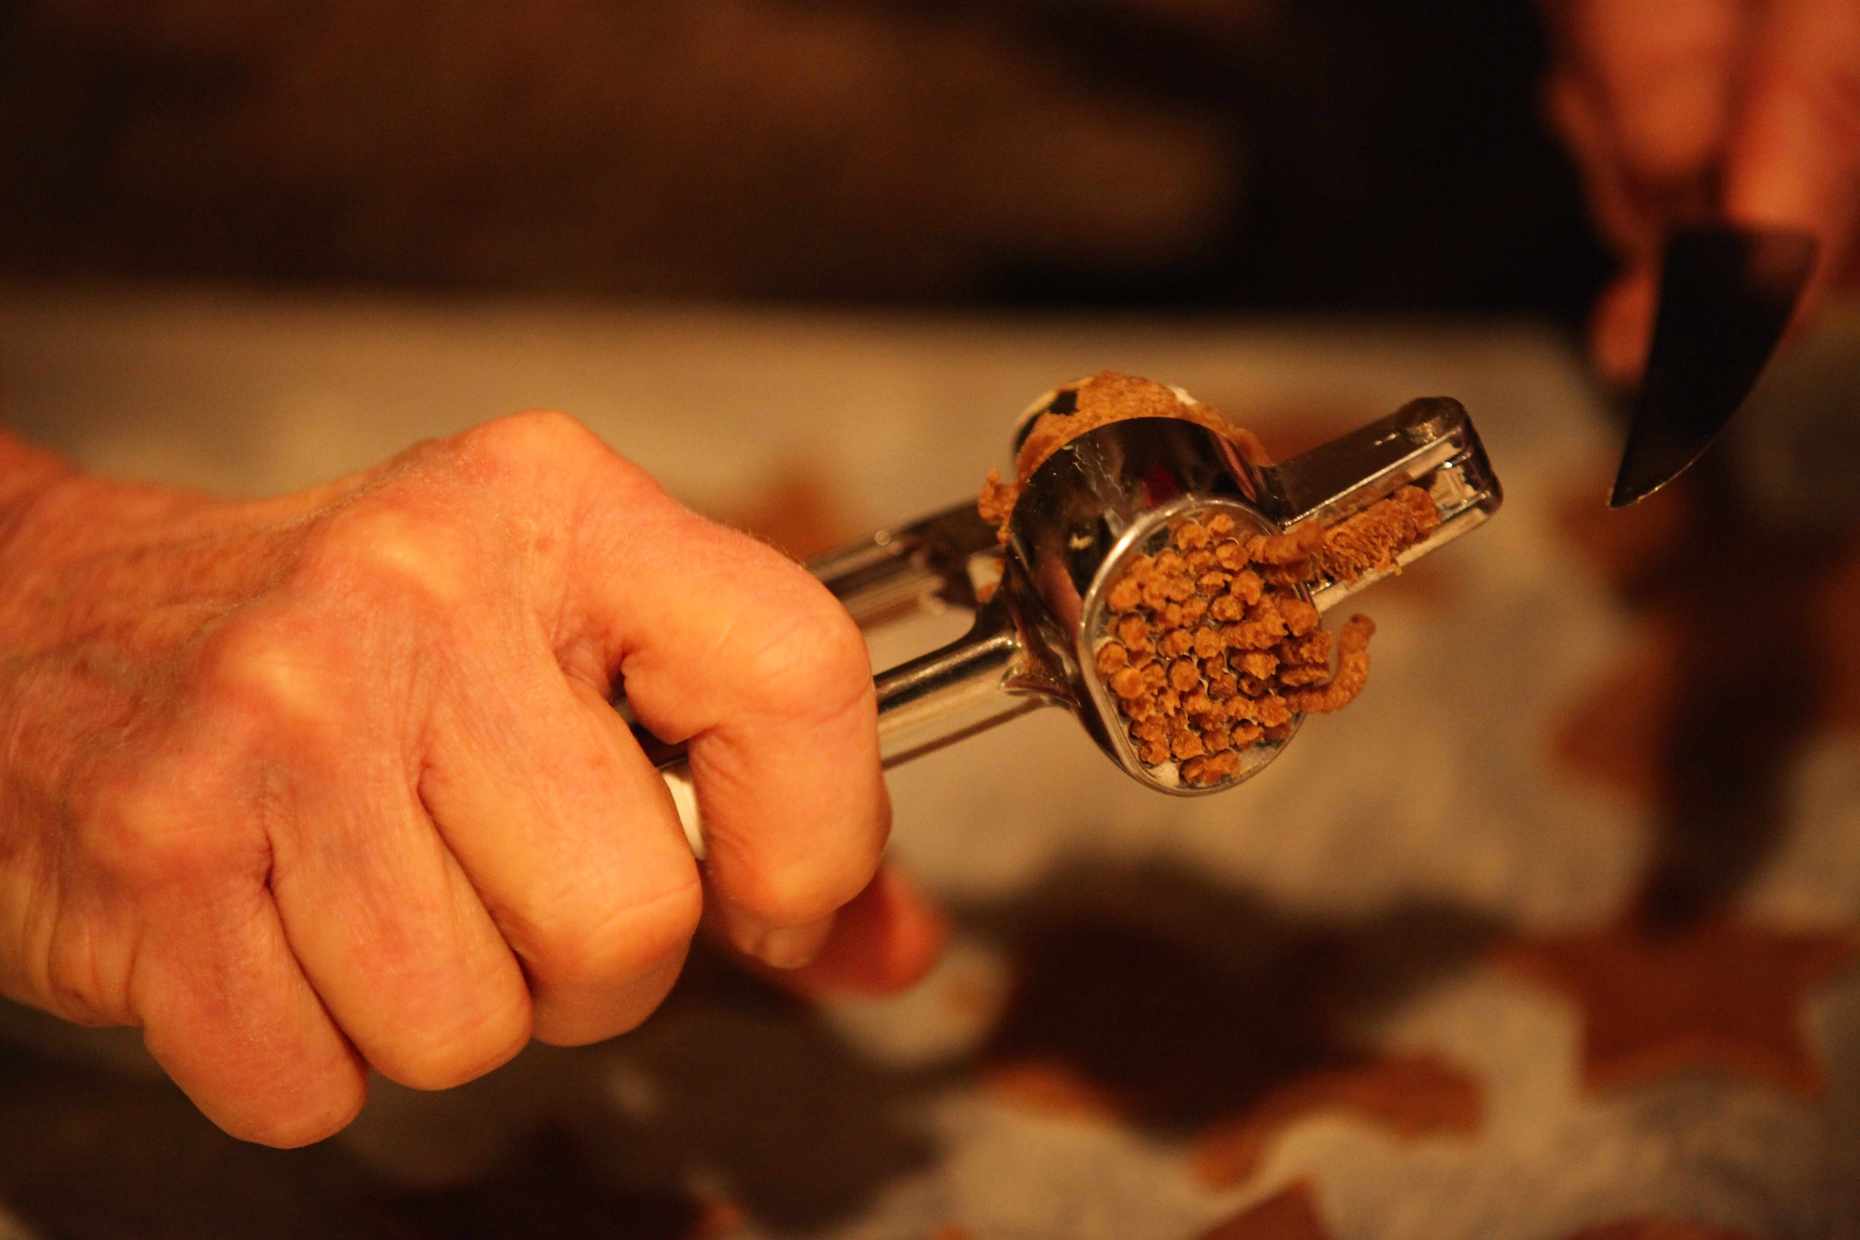
25 Wondrous Things to do With Your Coffee Grounds. Photo © Liesl Clark
We all love our coffee here in the Northwest, but where I live, on Bainbridge Island, we love our coffee grounds perhaps even more. Nowhere else will you see farmers, home gardeners, landscapers, and vermiculturists fighting over the grounds produced by local cafes. Let’s face it, coffee grounds and plants go well together. I can assure you they’re all using them for #2 and #3 below as coffee grounds fertilizer and worm food, but the other 23 uses are also worth looking into. Some might even surprise you:
1) Turn Your Hydrangeas Blue: Hydrangeas can be blue or purple depending upon your soil Ph. Acidic soil begets blue hydrangeas. Coffee grounds, when brewed, are acidic. Use them as a top dressing on the soil around your hydrangeas, making sure to scratch the coffee grounds into the soil and you’ll enjoy blue bursts of color. I prefer purple, but my soil is acidic anyway, so we get blue.
2) Feed the Worms: We have a worm bin and those squirmies tend to thrive on 80% coffee grounds 10% eggshells and 10% dried leaves.
3) Coffee Grounds in Your Compost: Everyday, we use our coffee grounds as fertilizer. Most people put them in their compost along with their kitchen scraps. They’re a great source of nitrogen, potassium, calcium, magnesium, and sulfur.
4) Coffee Grounds Provide Shine to Your Hair: I haven’t tried it, but word is out that if you work some wet grounds into your hair they’ll help create a beautiful shine. They’ll also give you some great brunette highlights. Cover up the grays? Let us know.
5) Coffee Grounds Construction Play: This homeschooling family uses coffee grounds for play with small construction vehicles. The grounds are an interesting replacement for sand or dirt.
6) Coffee Grounds Abrasive Dish Scrub: Use grounds as your scrubbing agent for dirty dishes. I’m serious. When we ran out of scrubbies one day, I just used some grounds to get a scrambled egg pan all cleaned up. It’s like when you’re camping and use sand as your dish-cleaning abrasive.
7) Deodorizer: If your freezer or fridge are smelly and you can’t find the source, put a bowl or 2 of dried coffee grounds in there and the grounds will absorb the odors. Add vanilla for a different scent.
8) Facial Scrub: Just apply slightly wet coffee grounds to your face and exfoliate. Coffee grounds are found in some skin care products. I haven’t tried this yet, but I think my daughter and I will try it on our next natural spa day and post the results.
9) Furniture Scratch Remover: Cover up furniture scratches by rubbing them down with wet coffee grounds that match your furniture’s color. I’ve done this and it works!
10) Easter Egg Dye: Dye your eggs with coffee grounds for a pretty rust brown color. “But they’ll just look like our brown eggs,” you might say. Nope, this brown color is really pretty and looks great when you use it on eggs that have had crayon designs drawn on them.
11) Ant Repellant: Ants don’t like coffee grounds. Sprinkle them along their path. We do this under our deck where the ants live and it really bugs them. (See what I did there?)
12) Coffee Grounds Body Scrub: Scrub them over your body as a gentle exfoliant. But be sure to cover your drain with a mesh drain catcher or towel.
13) Drain Cleaner: If you dilute them and let them go down the drain every once in a while, they reportedly make an excellent drain cleaner.
14) Tool Cleaner: Coffee grounds can help clean up your tools as an abrasive rub and gunk remover. I love this one. While my husband is away, the kids and I are going to do some tool cleaning.
15) Coffee Ground Fossils: Here’s a great tutorial for making cool fossils or pretty imprints with the kiddos.
16) Ice Remover: Use grounds to “salt” your icy sidewalks. Then take your shoes off before treading on your fancy carpets.
17) Blueberry Food: Save your grounds in a bucket all winter long, then make a soup to cast the lot over your blueberries. They love coffee grounds! Spruce and evergreens do too.
18) Dust Buster: Another fave of mine — Sprinkle over your fireplace ashes when cleaning them out to dampen down the ashes.
19) Seed Spacer: Add dried coffee grounds to your tiny seeds like carrot seeds when sowing as they help spread out your seed dispersal when doing it by hand.
20) Slug Repellant: Some slugs are reportedly coffee ground haters. Not ours. But I don’t want to deter you from trying to put a ring around your favorite slug-devoured plants. You don’t likely have enormous slugs like we do that’ll slime their way through a fire pit filled with ashes. They don’t call them banana slugs for nothin’.
21) Mosquito Larvae Killer: I can’t verify this one either but some people say if you pour some grounds into your puddles it’ll kill mosquito larvae. Hmmmm….kill? Doubt it.
22) Vintage Wood Stain: Here’s a simple wood stain recipe using coffee grounds. Good luck.
23) Cockroach Trap: This Old House has an interesting-looking coffee-bait roach trap for you.
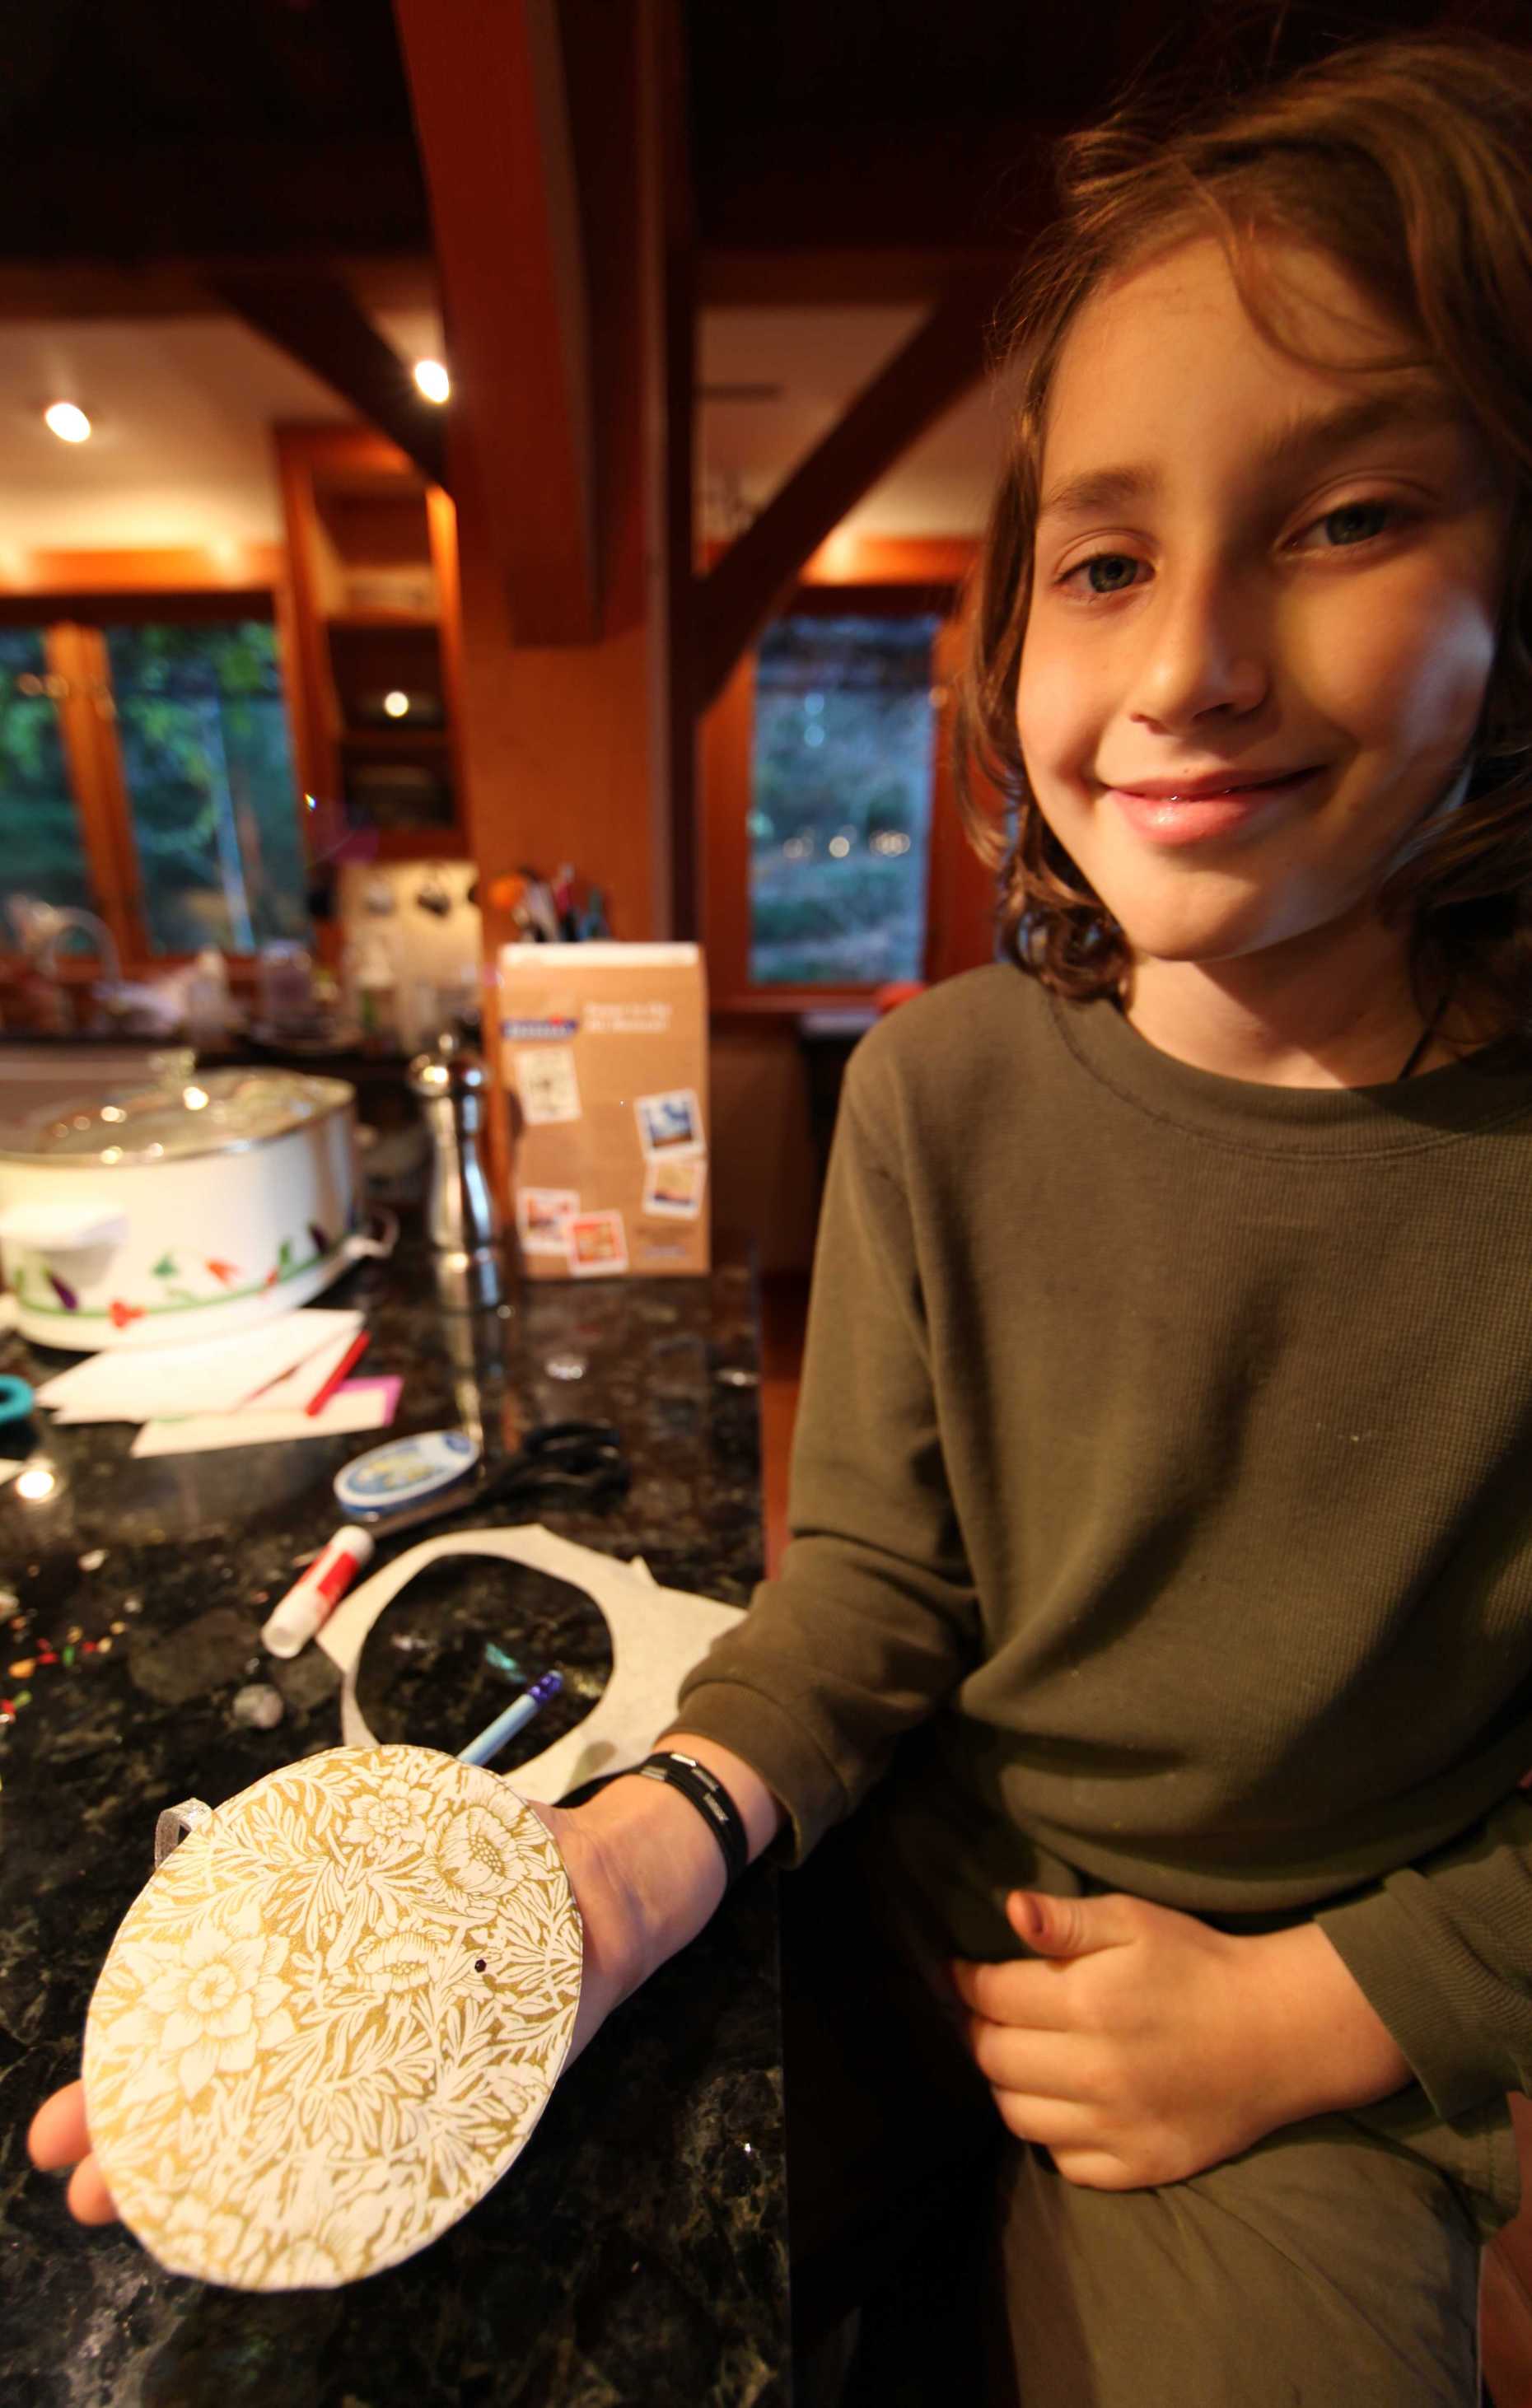
24) Treasure Map Paper: Dip some blank white paper into a bowl or sink-full of grounds and some water. Pull it out and let it dry. Then have fun with your map-making.
25) Cat Repellant: Cats apparently don’t like coffee grounds so you can put them around your spots (like your sand box?) where you don’t want cats to, um, do what they do in dirt.
Don’t stop at 25!
26) Meat Marinade: Add a teaspoon of coffee grounds to your steak marinade and impress your favorite coffee lover.
27) Secret Brownie Ingredient: If you’re the boss, add a few grounds to your brownies to give everyone (not for kids!) a boost at work.
Lastly but definitely our favorite, my friend Rebecca’s Grandma Inge’s best coffee grounds reuse tip is to put a bowl of grounds in the car to keep you (and the car) refreshed and perky throughout the day.
How do you use your grounds?