Every year a few pieces of trash are pulled out of our bin and gleefully turned into ornaments for the tree. Call it a family tradition for waste-minded children. This year, we started with a couple of CDs that I have been meaning to drop off for recycling at Green Disk in Seattle. But then I noticed how shiny the discs are and got an idea.
Shiny CD Ornament
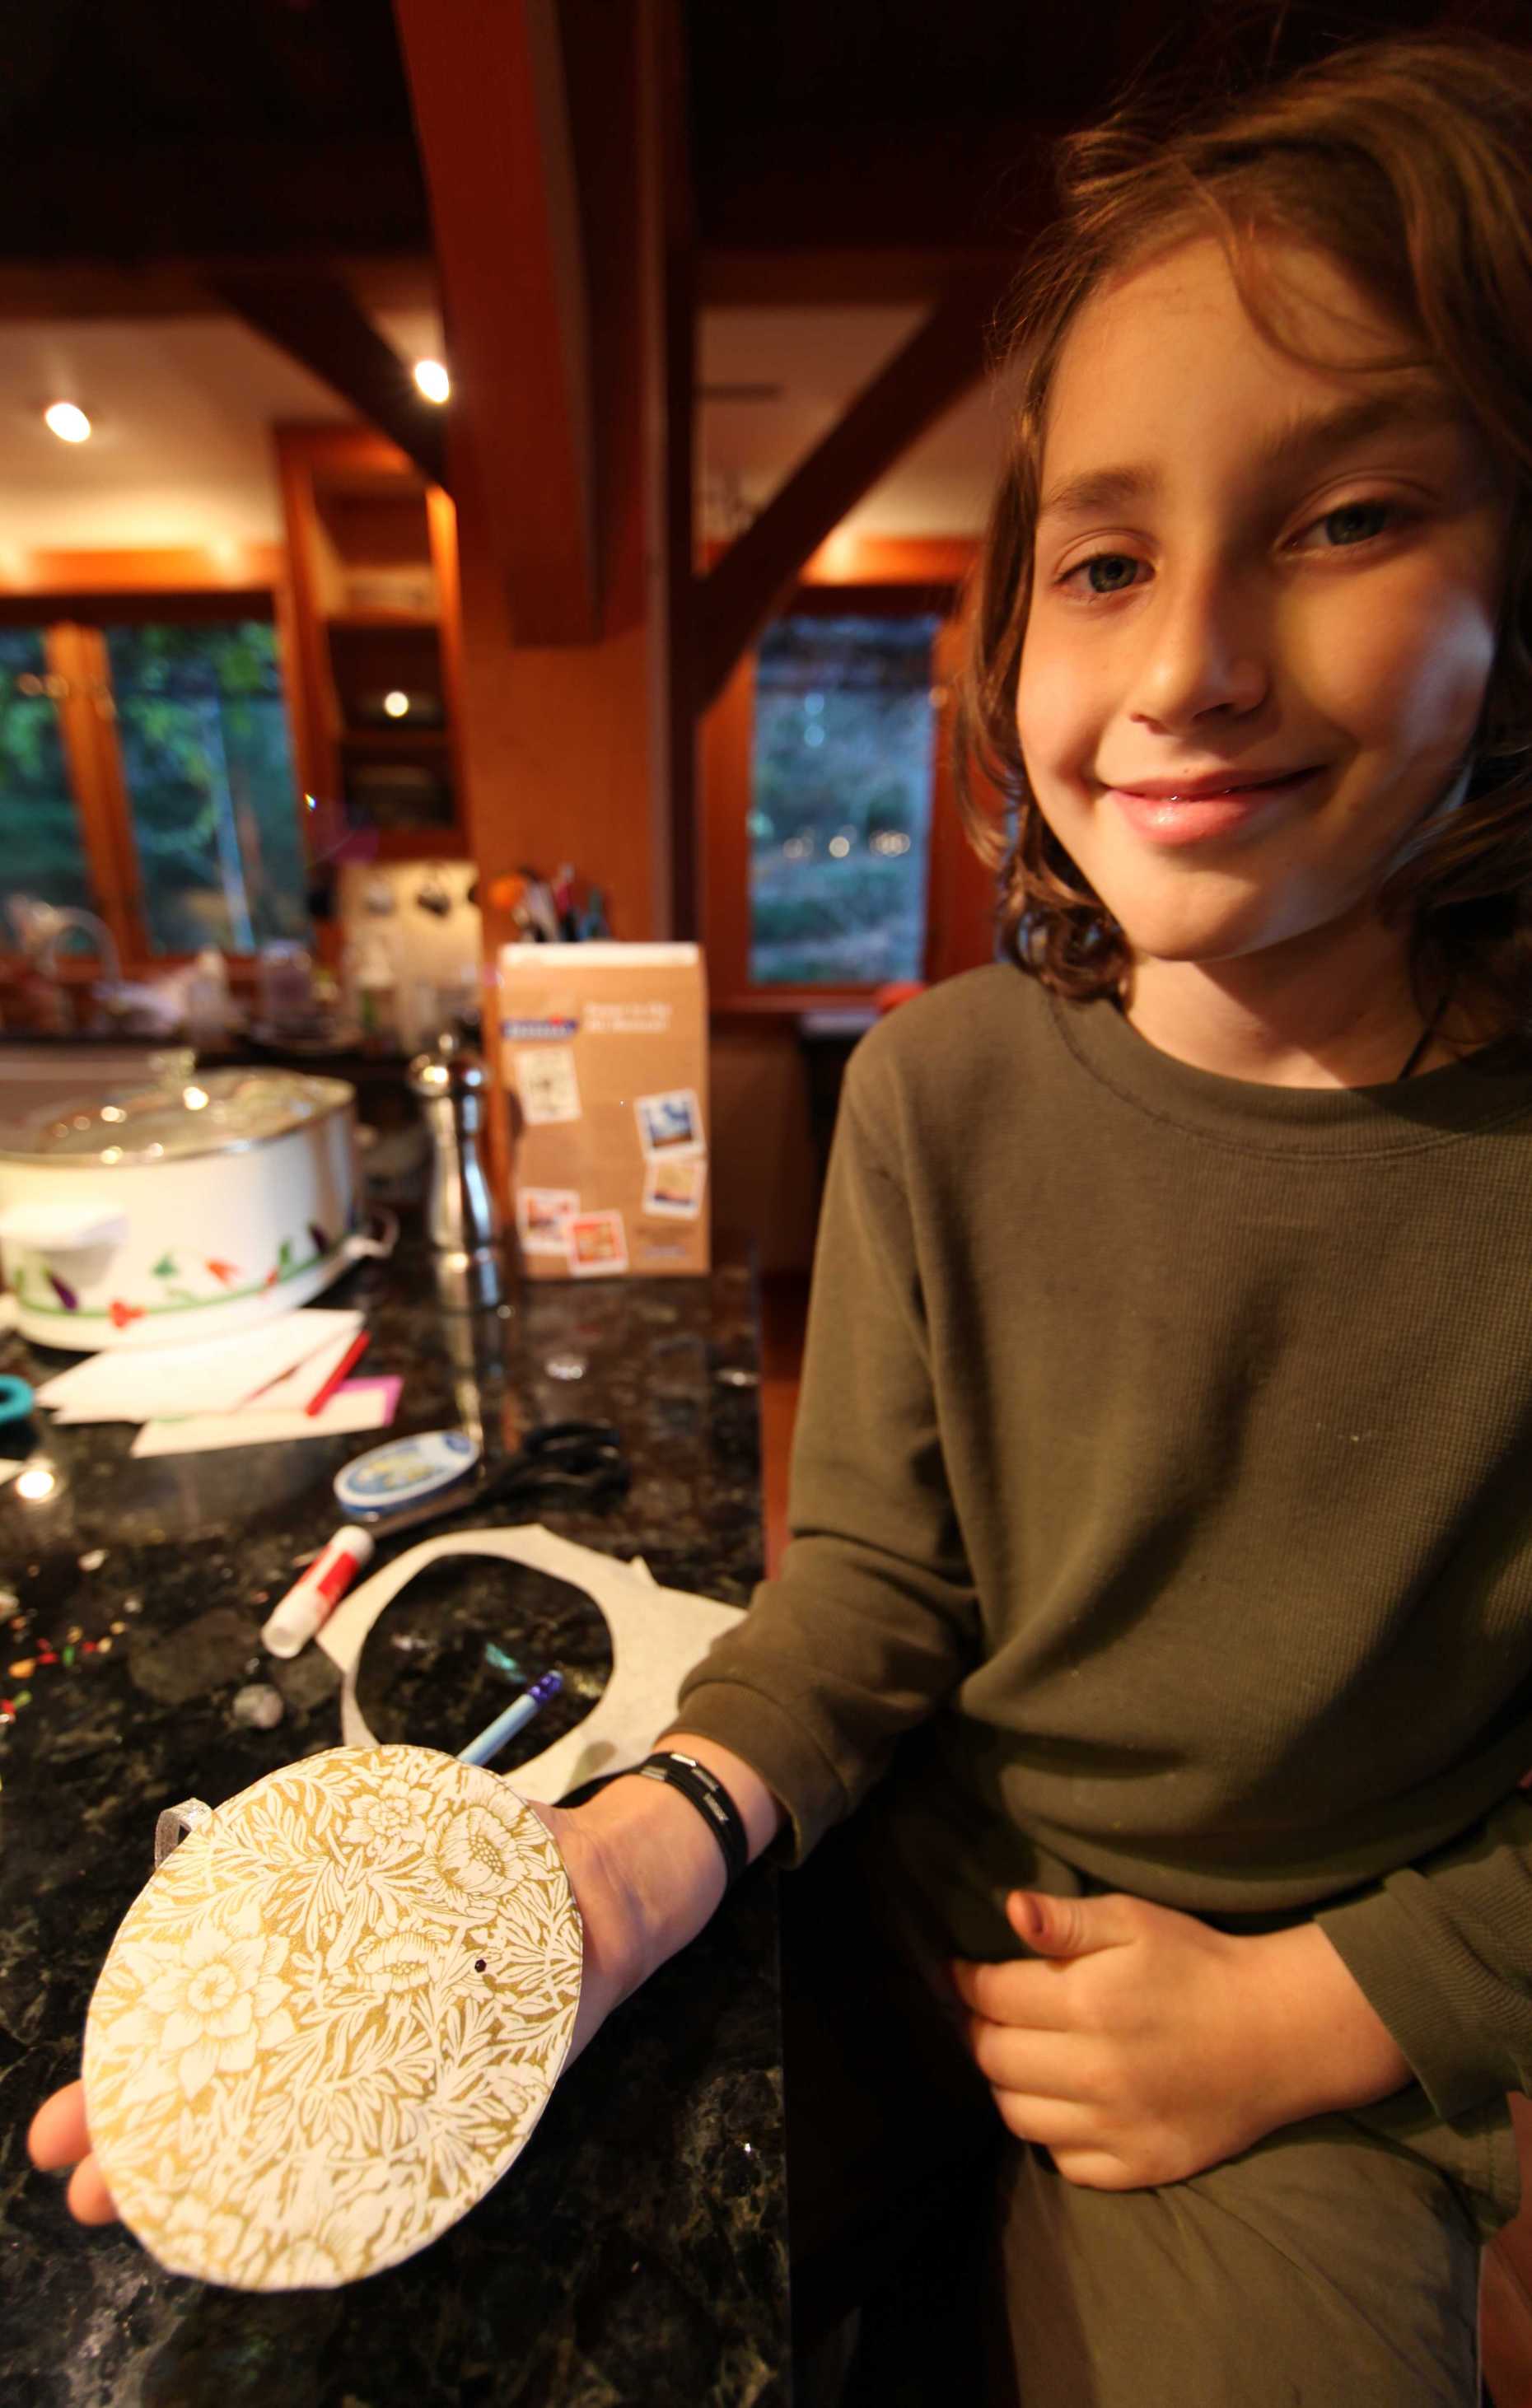
Take some pretty scrap paper (even wrapping paper will do) and have your kids trace a circle around the edges of your CD and then let them cut the CD-sized circle out. Glue the pretty paper to the non-shiny side of your CD, but be sure to glue a little looped ribbon as an ornament hanger at the top. We also glued some tin foil over the hole in the middle so the CD looks like a perfect shiny circle with no hole.
Then, get out your glitter glue or puffy glue and let the kids make designs on the shiny surface. My children love symmetry so they both tried to create symmetrical patterns on 4 sides of the CD.


Done!

Scrap Paper Star Ornament
This one is almost as easy. First, we pulled some paper out of the trash that had printing on one side and white on the other. We threw it in the printer and went to our favorite paper craft site, The Toymaker. This site, created by artist Marilyn, is full of fantastic fold-able paper toys that are perfect for small hands. We’ve made gift bags, small puppet theaters, animals, toy airplanes, perfect building blocks, and gift boxes using the beautiful hand-drawn designs on this lovely site. For the 3D star ornament go to the Christmas page and scroll down to the star.

Print out your template for a fold-able star from Marilyn’s downloadable PDF file. Her templates are all free and very easy to understand.

Next, cut out strips of scrap paper! We used colorful tissue paper we got from a freecycler so that we could still see the PDF template through the tissue.

Glue your tissue to the star in any design you’d like. Simply cover your PDF printout with colorful paper scraps. Next, cut out your star template.


Start folding along the dotted lines (Marilyn indicates which folds are “mountains” and which are “valleys” and where to put glue.) It’s really easy!

Your finished star took about 15 minutes to make.


