I Wrote A Book

From a young age, I’ve dreamed of writing a book. I think I had a small inkling of what that book would be about, so my internal voice has been slowly writing it since I was about 7. I recall wishing I could start a movement where people didn’t have to spend their hard-earned money on the things they needed to live. I wanted to start an everything store where all things were available for free, like cinnamon bread and my own book that I wrote that might help solve people’s problems with money. It was early idealism during a time when I first came to understand there were “haves” and “have-nots” in the world, painful inequities that touched people deeply. But I never truly believed that one day I’d be given the opportunity to write a book, bound together as an offering of ideas lived, and made final. Now that I have a book coming out in a matter of days, one co-written with by my friend, Rebecca Rockefeller, the launching of it is, admittedly, bittersweet. Somehow, we’ve written a book that’s near-impossible to sell

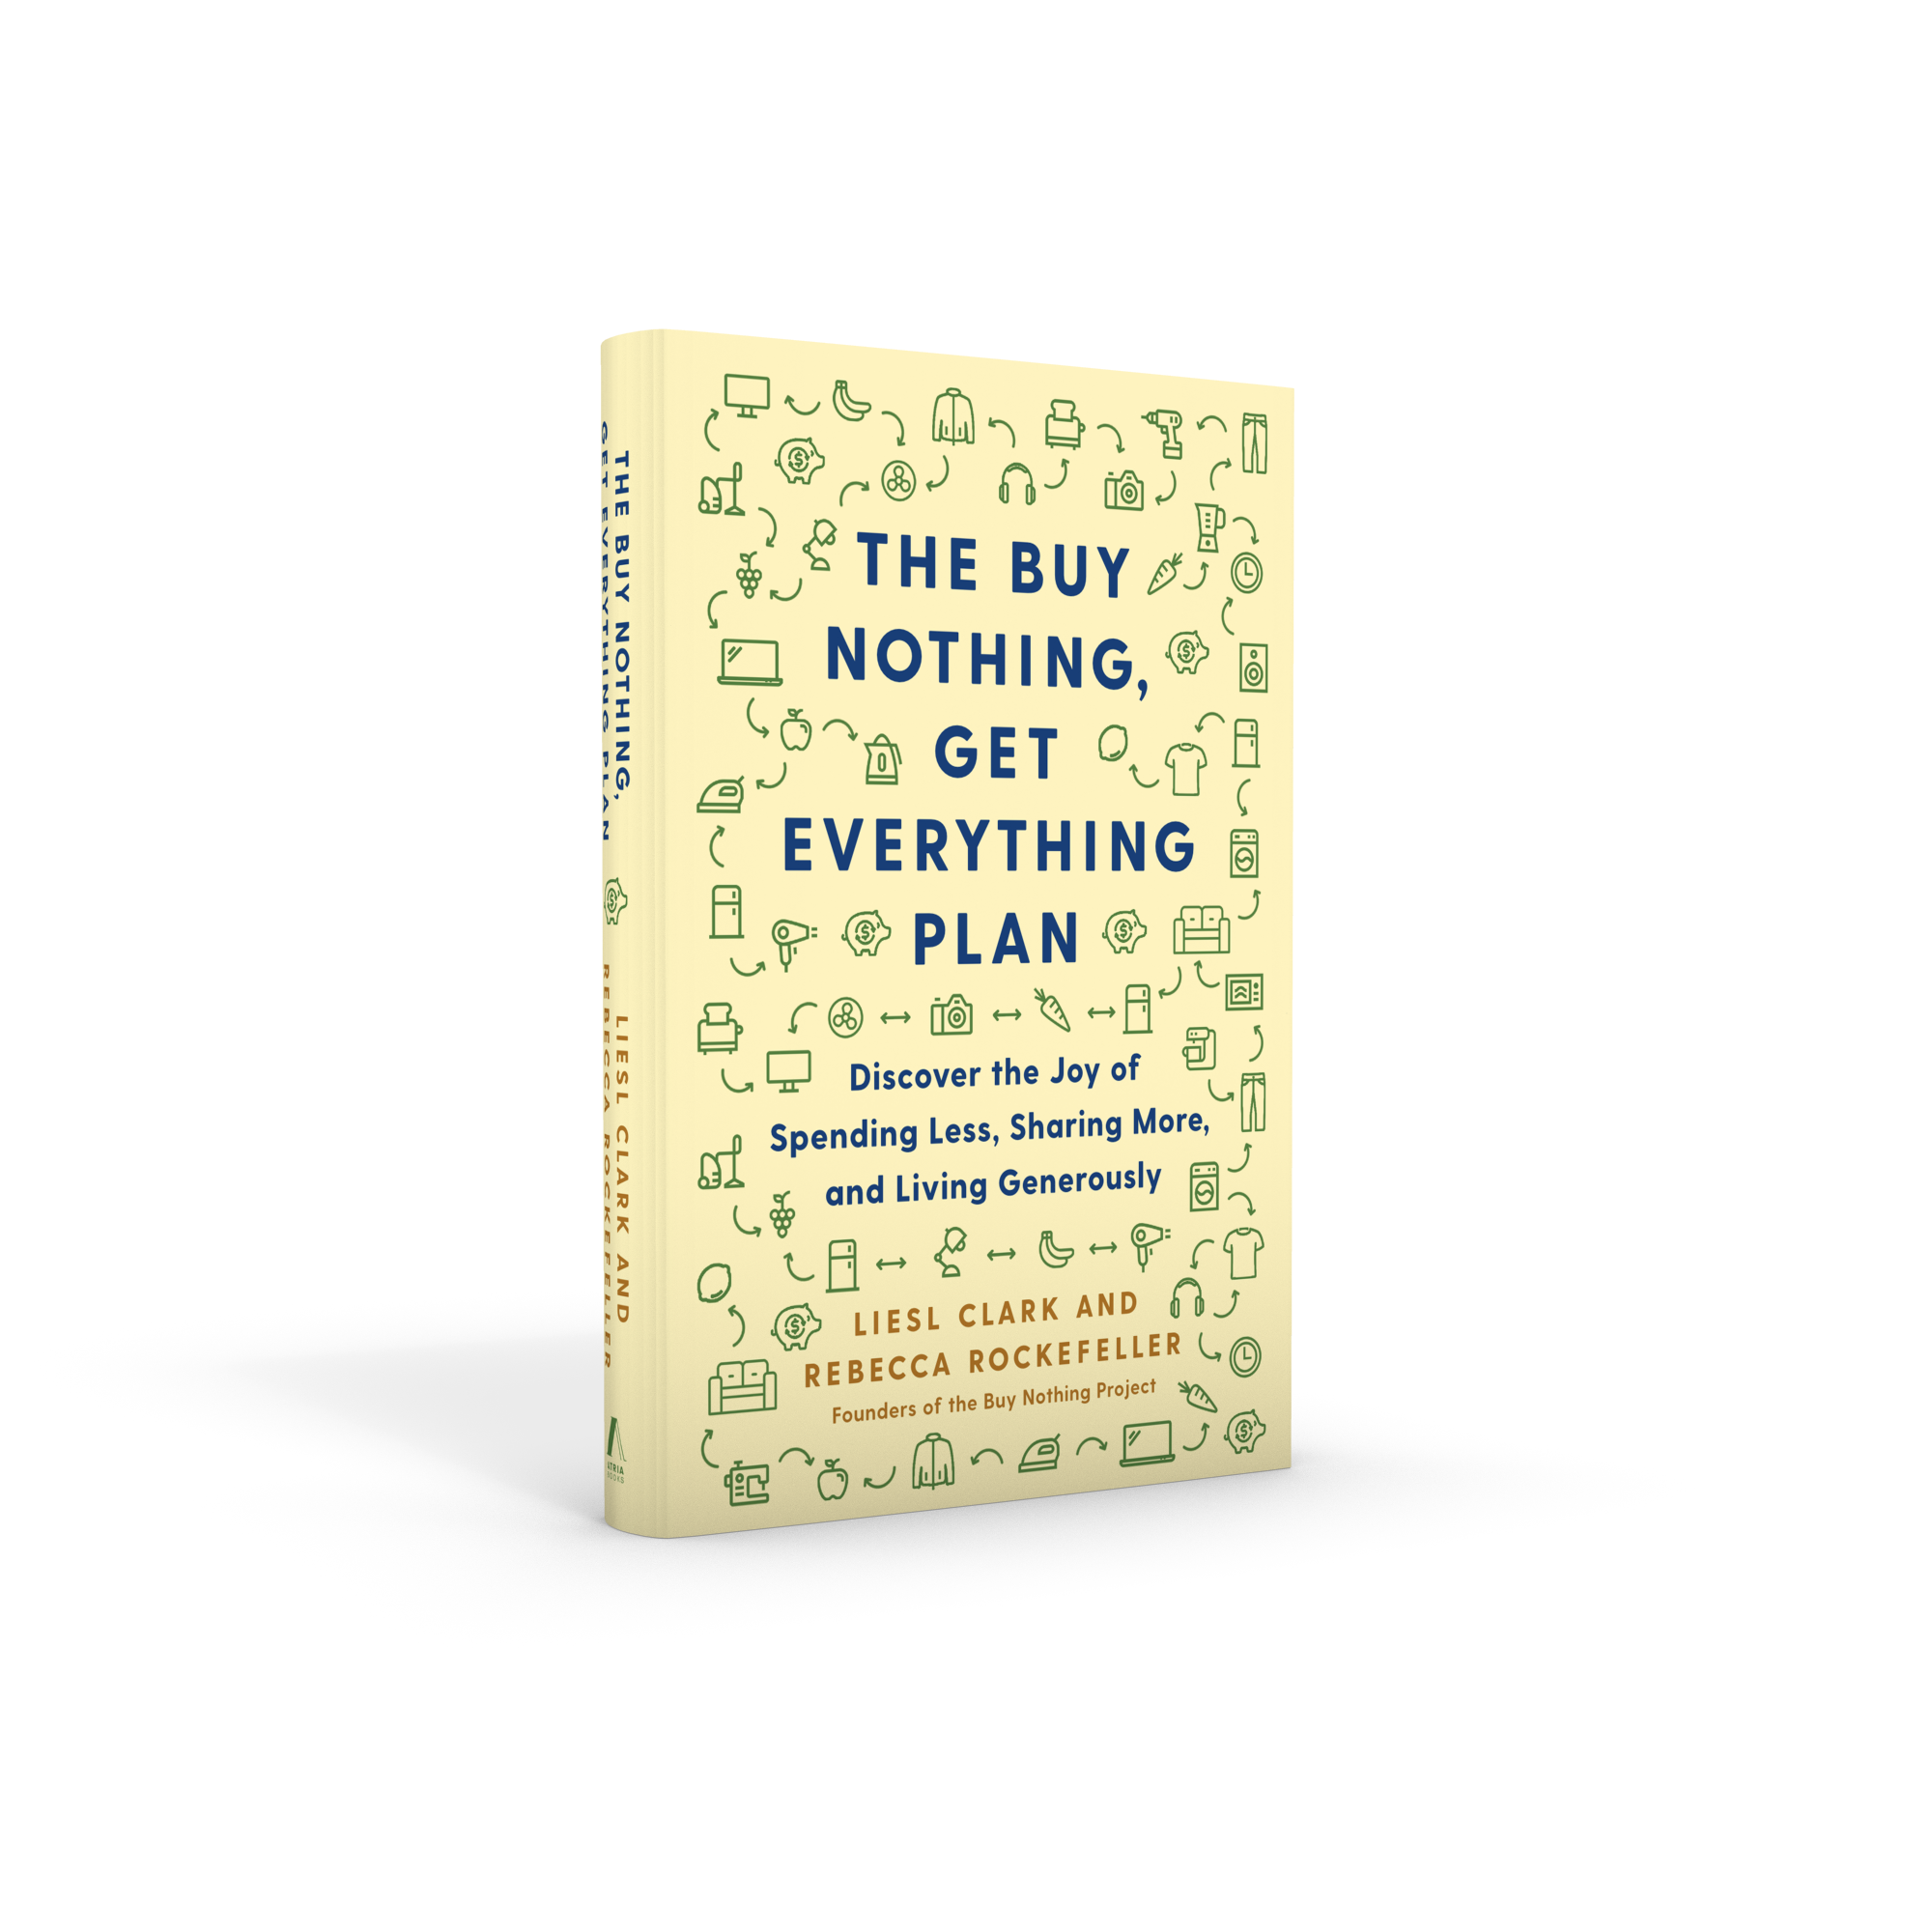
The Buy Nothing, Get Everything Plan, with its oxymoron of a title, is an intentional book, a challenge to buy less and share the bounty around us, seeking to further spark a movement Rebecca and I started with the Buy Nothing Project network of local gift economies. Over 6,000 of them have sprung up all over the world with nearly 1.5 million participants. We want to show people how our reliance upon buying things can be turned upside-down if we rely more upon our neighbors, our own ingenuity, and the abundance of our own goods and services we can share in our communities instead. There are ways to Buy Nothing while getting just about everything you want and need.

Our book is due out in bookstores on April 14, 2020, and ironically most bookstores are now shuttered due to orders from our governors and the much-needed imperative to stay home due to COVID-19. The in-person book tour we set up with 9 booksellers along the US West Coast including Seattle, Tacoma, Portland, Oakland, San Francisco, Los Angeles, and San Diego has been cancelled, with the hope that these independent booksellers will host us in the future. Nothing is more important than stopping this virus from spreading further and that means staying at home.

We may call it “social distancing” but what we’re all actually doing is physical distancing while social connecting, weaving our inter-personal connections even tighter, tying people all across the globe together through our simple humanity. By way of virtual creativity, people are now sharing their expertise for free, through videos shared online, via Zoom gatherings, on their Facebook feeds, over YouTube, through emailed newsletters, every way they can. From free therapy sessions, workouts, yoga classes, cooking classes, and how to-fix-it tutorials, we’re creating a worldwide shareocracy that’s non-commercialized and offered freely from the heart. Our book is literally about this, a blueprint for sharing of ourselves in times of peace so we can be prepared for times of chaos.

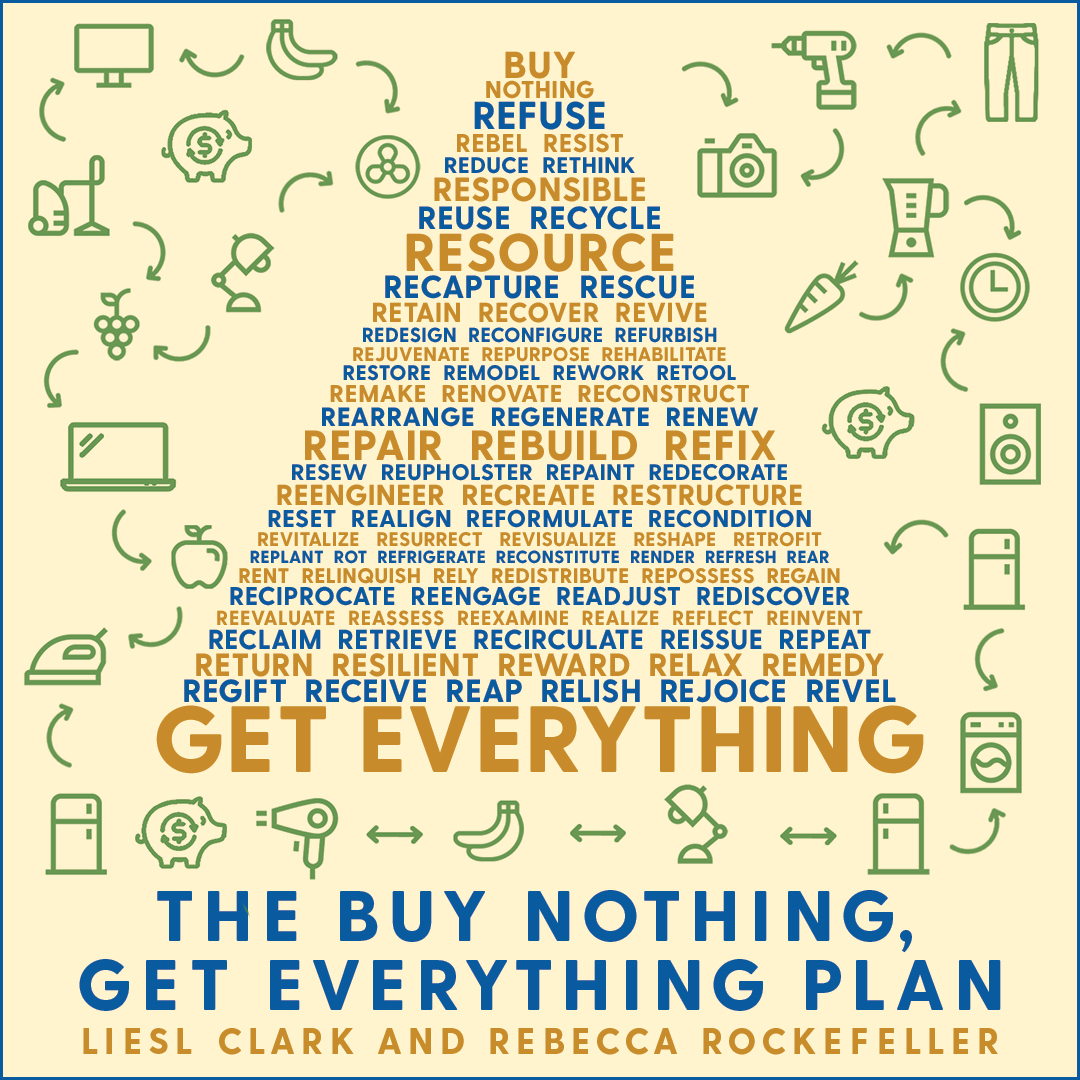
We had no idea the chaos would come so soon. The more we establish these systems of connection with one another, the more we’re capable of achieving en mass, for the common good, in honor of our community, ourselves, and also the environment. But now it’s imperative we take these steps for our very survival. The less we go to the store, the safer we are. The more we can make-do with what we have at home, the more we can reuse, repair, and repurpose, the less we have to run to the store. Stretching what we already have in our homes to meet our needs is not an act of austerity, it’s one of resilience, and we believe that resilience can be had without suffering.

Much of my blogging here, and the conversations we’ve had in the comments and through email, has inspired this book, coming from a desire to simplify and reuse what we already have in abundance surrounding us, rather than going out and buying new. I do hope, ironically, that you’ll – yes – buy the book and read it – feel free to share it – and participate in our call to action to find daily ways for us each to share more and live generously.

DIY Freezer Bags

We never buy freezer bags and I’m on a mission to help people see that they’re entirely unnecessary. In the category of plastic bags in general, please don’t ever buy them!

Most of our freezing is done in glass jars. Roasted pumpkin, for example, goes into a large mouth glass jar with a few inches left at the top to account for expanding liquid when it freezes.

But what about things that really don’t need to be put in jars, like berries and bananas and pre-made burritos? Enter the DIY freezer bag. I’m feeling sheepish even writing about this, because I know most of my friends already do this. If you’re going to freeze your goodies for more than a month, be sure to use a very sturdy bag. Simply reuse another thick bag!

FullSizeRender 76

We get frozen cassava tortillas, for example, and frozen berries when we run out of our own, and simply save those self-sealing bags to reuse as freezer bags for our own food.

FullSizeRender 75

A DIY Freezer bag, Ahem, is Just a Reused Freezer Bag.

And, if you run out of those, double up on regular self-sealing bags that you’ve saved. By using two, you’ll extend the freeze-life of your perishables. Simple! If you don’t have ziploc-style bags, just ask for them in your local Buy Nothing group. People will gladly share the ones they typically throw away and you’ll never have to buy those bags again.

IMG_2950

Don’t Buy Freezer Bags. Just Double Up on Your Reusable Self-Sealing Bags.

Buy Nothing Boxing Day

Boxing Day, traditionally, was a thing in Britain’s Victorian era. Boxes were left out in front of churches for people to donate gifts for the poor. It was also the day when servants of the super-wealthy were given a chance to observe Christmas with their families. Hard-working domestic employees were handed boxes of gifts to give to their loved ones. Tradespeople, too, were thanked on Boxing Day with boxes filled with gifts for services well done.

boxingday.jpg

A true Boxing Day is a day filled with small acts of kindness. 

In essence, Boxing Day historically is a day to commit small acts of kindness. Today, we can continue the tradition in less class-structured ways and offer boxes of gifts to our neighbors by posting them in our Buy Nothing groups.

Over the holidays we often acquire gifts that might not be to our liking. It’s the thought that counts, right? Once you’re over that warm-and-fuzzy feeling of gratitude for your gift, yet realize you just won’t ever wear it, or eat it, or use it in any way, why not simply regift it on Boxing Day?

willa-in-box2

Willa loves Boxing Day © Liesl Clark

In a gift economy, we gain increments of social capital by giving and also receiving with grace. So when we have excess to give, especially on Boxing Day, offering it up to our communities in a transparent fashion, where all can see, is a way of raising our worthiness for future gifts. It also raises the overall wealth of the community since one more item will remain within the materials economy of the neighborhood: an item that might be re-gifted later, or might free-up up its owner to spend more money locally. The more we share within our own communities, the greater our communal wealth. So, get out your boxes and share your bounty. Your neighbors will be thankful, and you’ll earn yourself a little hit of dopamine to go with your added giver clout.


Unstuff Your Holidays And Share

Our kids know to not get us “things” as gifts over the holidays. We’ve worked hard to demonstrate that consuming less at holiday-time means less hassle of managing a household of stuff for the year to come. But, how can we take this one step further and try to bring-about a community-wide movement of buying less “stuff” and consuming what is already around us? I’ve found one way to do this: Get proactive, find the perfectly-shareable things that are out there, and help jumpstart collaborative consumption, i.e. sharing what’s already in our midst.

When I was a little girl, I had dreams of owning a shop and offering everything for free. I wanted to take money out of the bargain and let those who truly needed a loaf of bread simply have it, no strings attached. I imagined the happy faces when my clientele would realize they could take it home, along with the freshly ground peanut butter and handmade jellies. I didn’t have a business plan for this sort of shop, of course, but I knew it would thrive somehow. What I didn’t know then was that I was dreaming of a gift economy. Experience now tells me it works, and it can be a huge success.

IMG_5545, Photo © Kim Scott-Olson

Six years ago, my friend Rebecca and I started a local free food gathering that happened every Saturday morning before the farmer’s market. Gardeners would bring extra produce they’ve grown and home cooks would offer fresh baked and canned goodies. We’d see grass fed beef being shared, vegetable seedlings, and locally-caught crab at our gatherings. Everyone would bring a basket and take home their fill of produce, fruit, flowers, and other consumables. Participants departed enriched by the offerings and the knowledge that their food bills would be much less that week. A sharing economy is joyful. It brings neighbors together to share their bounty and eat locally-grown, caught, and foraged foods.

Bainbridge Bounty-Share, Photo © Liesl Clark

Taking this successful model of collaborative consumption further, Rebecca and I wanted to help take the burden of buying out of the holidays. What if we opened a “Buy Nothing, Give Freely Gift Boutique?” The idea is truly simple: Every family has, for example, toys their child outgrows and most are made of plastic. Or perhaps families have clothing, jewelry, kitchen items that they never use. Why not offer them up to others in exchange for free goodies that you might be able to give to family members or friends?  I tend to have excellent toy karma. So, we have plenty to keep 10 families happy for years. So every autumn, I start boxing up our unwanted toy bounty in preparation for the free gift boutique.

A Free Gift Boutique Makes Christmas Shopping Easy and Fun

We also have an arrangement with a local school that conducts a gift boutique for their students. When their shop (of donated gifts) closes, they want to get rid of the nice housewares and toys quickly so we pick up those boxes of goods and add them to our mix so kids and adults can browse for gifts for family members of all ages. Some families come with toys and items to share in the shop and others come simply to gather much-appreciated gifts. All are welcome.

The holiday boutique idea is a one day, once-a-year event and pure joy to see the happy faces and thoughtful children as they think of everyone in their family they’d like to find a special something for.

Free Frames! Photo © Kim Scott-Olson

Free Housewares, Photo © Kim Scott-Olson

Free Housewares, Photo © Kim Scott-Olson

We took this idea about a thousand steps further and created The Buy Nothing Project, which has grown into a worldwide social movement of hyper-local gift economies set up in communities all over the globe. At last count, we have well over 1500 groups and we’re approaching 200,000 members. We’re like Freecycle, but our emphasis in on community-building.

Free Toys For All Ages, Photo © Kim Scott-Olson

Yet, this year I didn’t have the time to host a holiday boutique here in our home, so I collected the items from the school, had my kids go through their toys, and I purged things from our housewares, and we’ve simply been offering them up to the community through our local Buy Nothing group. A truck-load of items that I got from the school has been given away, with only 1 box left for Goodwill. Families are so happy to receive items to relieve the burden of gift-buying, and perhaps free up some funds to spend locally.

My reasoning is this: If we all just take our perfectly-usable unwanted things to Goodwill, we’re removing those items from our community wealth. If we continue to share them with our neighbors, offering up what we no longer need or use, our community  benefits in small but measurable ways by buying less stuff in general and saving that money to spend nearby: in a local restaurant or shop, for travel and exploration, for concerts and exhibits, for education. Over the holidays, there’s so much right here in our neighborhoods that’s shareable. The key is to seek those items out, and divert them away from the landfill or anonymous charity, and circulate them throughout the community again and again. I’m warmed by seeing my children’s dollhouse gifted 5 years later to yet another family. These things last many lifetimes, and sharing them sends a message to manufacturers that we don’t need to make so many, especially of they’re well-made.

img_6948

So, I look at our “stuff” as a community asset. Things we should keep circulating around our neighborhoods, for reuse, so we don’t go out and buy the same things over and over, producing the mountains of waste we see heading each week to the landfill. If we change the way we handle our stuff, add sharing into the picture, we can make a huge impact on our planet. In fact, each gift, in our original Buy Nothing Holiday Boutique, had a printed reminder of where the gift came from, the benefits of a gift economy, and the responsibility we each have as stewards of each item, ensuring that it stays in our materials economy, and not in our landfills or oceans, for a long time hence.

The Virtues of a Circular Economy, Photo © Kim Scott-Olson

Doll House Haunted House

It was a dark and stormy night…(yes, we get plenty of these in the Pacific Northwest) and a couple of innovative kids created a mini haunted house from items they found in boxes and toy collections. They wanted to create something to play with but also to put on display outside the front door, without purchasing anything new. This haunted doll house is now a treasure, simply because they transformed a few everyday items and found some seasonal ones to add to the ambiance. The key is: Buy nothing and craft a cool Halloween decoration.

Here’s how this easy rainy-day project can quickly come to fruition for you, too:

1) A dollhouse will need to be your centerpiece.

2) Then, a glow-stick-style flashlight that glows a flourescent green will need to be procured from a closet. Or, use a regular flashlight and use some green plastic sheeting as a gel for your light.

3) Tiny plastic bugs must be curated out of your vast collection of creepy crawlies.

4) Next comes a search for white yarn scraps you might have thrown in the waste basket but thought better of. These will serve as cob webbing.

5) And finally, any tiny otherwise useless Halloween bits and bobs you’ve accumulated from previous years will make your mini haunted house’s yard art especially intimidating. If you don’t have anything, just ask for them on your local Buy Nothing group.

6) Put on some scary mood music (Pandora can be great for that), and let the mini doll-style Halloween fun begin.

What no-buy, no-waste Halloween ideas have you crafted up?

How To Fix Dead Ballpoint Pens

I promise, I haven’t gone off the deep end. I hate to throw things away that don’t need to be tossed, and most pens that stop writing can be fixed in a matter of seconds.

Fix Those Pens

We had a few hundred pens to test after having collected them from boxes bound for a dumpster. Sure, we had saved them from the landfill, but did they work? Most did, but the 30 or so that wouldn’t write just needed a little nudge. The roller ball was locked in place by dried-up ink from lack of use and we decided to put an age-old remedy to the test. If you put the tip of a ballpoint pen in a flame for a second or two it heats up the ball and gets it moving again.

Moving parts are all that’s needed when you know there’s still ink in that pen. Here’s how we did it. This ain’t rocket science:


I had 2 excellent lab testers to do the job. The result? Thirty pens saved! And, why do we do this? Because we find too many plastic pens out in the environment, on our beaches, sides of roads, sidewalks. Every time we go to the beach or to town, we find pens.

Papermate Washed Ashore at Point No Point, WA © Liesl Clark

Paper Mate Washed Ashore at Point No Point, WA © Liesl Clark

I don’t think I’ll ever need to buy a pen again. They’re everywhere, and most are made of plastic so they’re here to stay, forever. Let’s try to fix the ones that don’t work and give them a second, third, and fifth life if necessary. And when all the plastic pens have been used up, we can start buying one special metal pen a year, like my husband does. He carries it with him and uses it religiously, because it’s his one pen, his favorite pen, meticulously made, and ready for him to write beautiful things because it’s well made and doesn’t dry up so easily.

Easy DIY Hair Detangler

DIY Detangler Before and After. Photo © Liesl Clark

Detangle yourself from purchasing unnecessary hair products when the secret to getting difficult-to-brush curly or coarse hair tangle-free is oil and water. We’ve learned this secret the hard way. With a daughter who loves her hair long, but doesn’t love to brush it, we end up with tangled dreadlocks in a matter of hours. And sleeping on them makes the tangles multiply.

Rather than buying yet another bottle of detangler, we came up with the perfect solution. Put some of your favorite oils in some water in a pretty bottle that has a spray pump on the top of it. That’s the secret! An attractive bottle, oil and water.

Our detangler bottle is an old Aveda bottle. Photo © Liesl Clark

Be sure to shake the bottle before spraying it on your hair. We take the added step of doing the major detangling when her hair is wet. It seems to ease the pain for our 10-year-old who won’t let me near her locks with a brush.

What oils to use?

We simply looked in our cabinet and found some delicious-sounding massage oils and have used those. The key is to choose an oil as a base and then add a few drops of essential oil for a soothing scent.

These are our favorite oils to use as a base:

Coconut oil (heated up)

Avocado oil

Apricot oil (this was a bottle given to us from our women friends in the village of Kagbeni in Nepal, they use it on their hair daily)

Olive oil (then add a favorite essential oil)

Jojoba oil

Sweet almond oil

Possible essential oils to use:

Geranium oil

Lavender essential oil

Rosemary

Chamomile

Peppermint

Grapefruit seed extract

Round up your favorite oils to mix with water for a DIY detangler. Photo © Liesl Clark

Start with a 5:1 ratio of water to oil and, depending on how thick your hair is, you might want to increase the oil part of the equation. For our daughter, we’re comfortable at 3:1.

As her Daddy says, “Goodbye Buffalo Soldier Girl!” — at least for this week.

Let us know how your water and oil hair detangler goes, in the comments below!

25 Uses for Silica Gel

The Many Uses of Silica Gel. Photo © Liesl Clark

The Many Uses of Silica Gel. Photo © Liesl Clark

Silica gel is one of those little-understood materials. Although the little silica gel packets say “Do Not Eat, Throw Away” that doesn’t mean you have to follow this misguided advice and think the little gels are poisonous. You’ve likely unknowingly put some in your mouth already or rubbed it all over your body as it’s used in some toothpastes and also exfoliants. They’re a non-toxic inert desiccant that will dry out anything they sit near. Their uses are many and hence it’s worth thinking twice about throwing them away. I collect them and share them in my local Buy Nothing group every 6-13 months with artists and others who praise their worthiness for reuse.

The Carolina Poison Center has this to say about silica gel:

“The gels are a form of silicic acid, which is similar to sand. Silica gel is non-toxic, meaning that it is not poisonous if eaten. The package says “DO NOT EAT” because (1) it is not food, and (2) it could be a choking hazard.”

The ASPCA also deems it nontoxic, usually producing only mild stomach upset, which typically resolves with minimal to no treatment for your pet.

So, now that we’ve determined it’s not a poison to be avoided, we’d like you to not throw it away because those little packets are useful! Silica gel can be reused over and over again and has some excellent applications in the home and office.

This list will go from the most obscure reuses to the most common:

1) If you have trouble keeping your car windshield from fogging due to moisture trapped in your car, place a couple of silica packets on the dashboard and they’ll go to work for you.

2) Put a silica gel packet inside your halloween pumpkin to stave off the mold.

3) Extend the life of your razor blades by placing silica gel packs in an airtight container with silica gel.

4) Throw in your ice skating bag to help keep the blades from oxidizing.

5) Store a few with your fishing gear, especially dry flies.

6) Fight mold! Stash silica packets in the damp corners of your home.

7) (My favorite.) Use silica gel packets as tiny throw pillows for your doll house. If you cover them with scrap fabric, all the better.

8) Use a little in your kitty litter. Your commercial kitty litter manufacturer does.


9) Put packets of silica gel in with your silverware. It slows down the tarnishing process.

10) Place them inside your camera cases, with lenses, to keep your equipment dry.

11) Put silica gel in with your boxes of stored photos and slides to preserve them longer.

12) Your down jackets and down sleeping bags will benefit from a few packets of silica gel to keep moisture out.

13) Put a few packets in with your garden seeds to keep them dry.

14) Stash a packet or 2 with your jewelry to prevent tarnishing

15) All keepsakes in the attic in boxes can benefit from a few silica packets nearby.

16) Keep a couple packs in the pockets of your luggage to keep your clothes and travel items dry.

17) Silica gel and dried flowers are excellent friends.

18) Store them with your electronics.

19) If you have video tapes, DVDs or old audio cassettes, silica gel would be welcome nearby.

20) If you think your silica gel has been exposed to a lot of moisture, you can put them in a 150 – 200 degree oven for a few minutes to dry them out and restore them to functionality again.

21) If you still have silica gel packets hanging about, pass them on to a receptive neighbor through your local Buy Nothing group. Share them, so no one ever has to actually buy them.

22) Use them with your kids to teach about volume. Here’s how one science teacher writes: “I use them in science class. The students love playing with the silica balls when they swell up with water. We measure how much water they can absorbe by measuring them when they are dry then measuring again after a few hours.”

23) When your cell phone falls in the dink, place several packets in a ziplock bag with your wet phone. Leave for 12-24 hours and check for signs of any remaining condensation on lenses, etc. You may just save your cell phone!

24) Another reader tells us that if you put your hearing aid in a ziploc bag overnight with silica gel it can help to keep the moisture out of the hearing aid.

25) Melita tells us they’re a huge help with dirty diapers: “I tape them to the top of the rubbish bin I put nappies in. It absorbs the smells. Every week I change them over. Works a treat!

Don’t stop at 25!

26) Put them in an airtight container with your leftover nori. It’ll keep your nori crisp, not gummy.

27) If you have trouble with dampness in our under-sink cabinet, causing all sorts of damage or the dishwasher powder box to get damp and clump up. Silica gel to the rescue! Throw some packets in with your dishwasher powder.

If you have more reuses for these little packets, please share them here.

Trash To Treasure Christmas Ornaments

Every year a few pieces of trash are pulled out of our bin and gleefully turned into ornaments for the tree. Call it a family tradition for waste-minded children. This year, we started with a couple of CDs that I have been meaning to drop off for recycling at Green Disk in Seattle. But then I noticed how shiny the discs are and got an idea.

Shiny CD Ornament

Take some pretty scrap paper (even wrapping paper will do) and have your kids trace a circle around the edges of your CD and then let them cut the CD-sized circle out. Glue the pretty paper to the non-shiny side of your CD, but be sure to glue a little looped ribbon as an ornament hanger at the top. We also glued some tin foil over the hole in the middle so the CD looks like a perfect shiny circle with no hole.

Scrap Paper Glued to Backside of CD with Ribbon for Hanging Ornament

Then, get out your glitter glue or puffy glue and let the kids make designs on the shiny surface. My children love symmetry so they both tried to create symmetrical patterns on 4 sides of the CD.

Starting in the Middle

Finished CD Ornament

Done!

Finished CD Ornament, His.

Scrap Paper Star Ornament

This one is almost as easy. First, we pulled some paper out of the trash that had printing on one side and white on the other. We threw it in the printer and went to our favorite paper craft site, The Toymaker. This site, created by artist Marilyn, is full of fantastic fold-able paper toys that are perfect for small hands. We’ve made gift bags, small puppet theaters, animals, toy airplanes, perfect building blocks, and gift boxes using the beautiful hand-drawn designs on this lovely site. For the 3D star ornament go to the Christmas page and scroll down to the star.

Free PDF Printable Star Ornament at TheToymaker.com

Print out your template for a fold-able star from Marilyn’s downloadable PDF file. Her templates are all free and very easy to understand.

Cut Your Pretty Scrap Paper Into Strips

Next, cut out strips of scrap paper! We used colorful tissue paper we got from a freecycler so that we could still see the PDF template through the tissue.

Felines Like Ornament-Making, Too

Glue your tissue to the star in any design you’d like. Simply cover your PDF printout with colorful paper scraps. Next, cut out your star template.

Cutting Out the Star

Cutting Out the Star 2

Finished Star Cut-Out. Now Ready For Folding.

Start folding along the dotted lines (Marilyn indicates which folds are “mountains” and which are “valleys” and where to put glue.) It’s really easy!

Folding a 3D Star

Your finished star took about 15 minutes to make.

Star Girl

Finished Scrap Paper Star Ornament

What are you making this year for your tree?