In our house, Christmas is a special time to create things together and follow traditions we’ve established since our children were born. There are so many wonderful projects to undertake together: Wreath-making, gingerbread house constructing, ornament crafting, cookie baking, tree-finding, gift-making, creative wrapping, card-garlanding, and candle-making. Every day our activity advent-ure calendar is filled with yet another family-bonding event that makes this time of year so alluring. I try my best to use this special time as a model for the rest of the year. The lessons learned from these projects spill over to the new year and beyond as we work together to create outdoor garden and play spaces, grow our own food together, and transform everyday things back into useful items for our household.

Felted wool elf hats are easy for children to make. Photo © Liesl Clark
Elf Hats: If you have an old wool sweater, either green or red, felt it and then have the kids craft little elf hats. They’re really easy to sew together and embellishing them with your saved-up scraps of fabric, ribbon, bells will make them a permanent part of Christmases to come.
Edible Zero Waste Snowmen: If your children are having a Christmas gathering or a party at school, they can contribute to the party by making zero waste snowman treats! How are they zero waste? We buy the candies from our supermarket’s bulk bin, the marshmallow bag can be recycled with plastic bags, the baking cups are compostable (and the box recyclable), the sprinkles container can be recycled, the toothpicks are compostable, and the toothpick box can be recycled with our paper.

Little Marshmallow Snowmen, A Zero Waste Treat Handmade by Kids
We love these little snowmen because they’re fun to make and appeal to the nut-free gluten-free crowd. We use our favorite vegan marshmallows, Dandies, which are smaller than traditional marshmallows.

Marshmallow Stacking is Fun, Photo © Liesl Clark
First thread 3 marshmallows through a toothpick leaving the end of the toothpick sticking out. Next, place a spice gumdrop on the snowman’s head for a hat, spearing it with the toothpick tip. Use another toothpick to poke eyes and buttons into the marshmallows. Press jimmies or sprinkles into the holes for eyes and buttons. Break the toothpick in half and place them in as arms for your snowmen and women.

Enough for the Entire Class, Photo © Liesl Clark
Use some paper baking cups (stack 2 together so they’re sturdy enough for small hands) to hold your snowpeople in a bed of organic jelly beans — just enough to make any child’s mouth water.
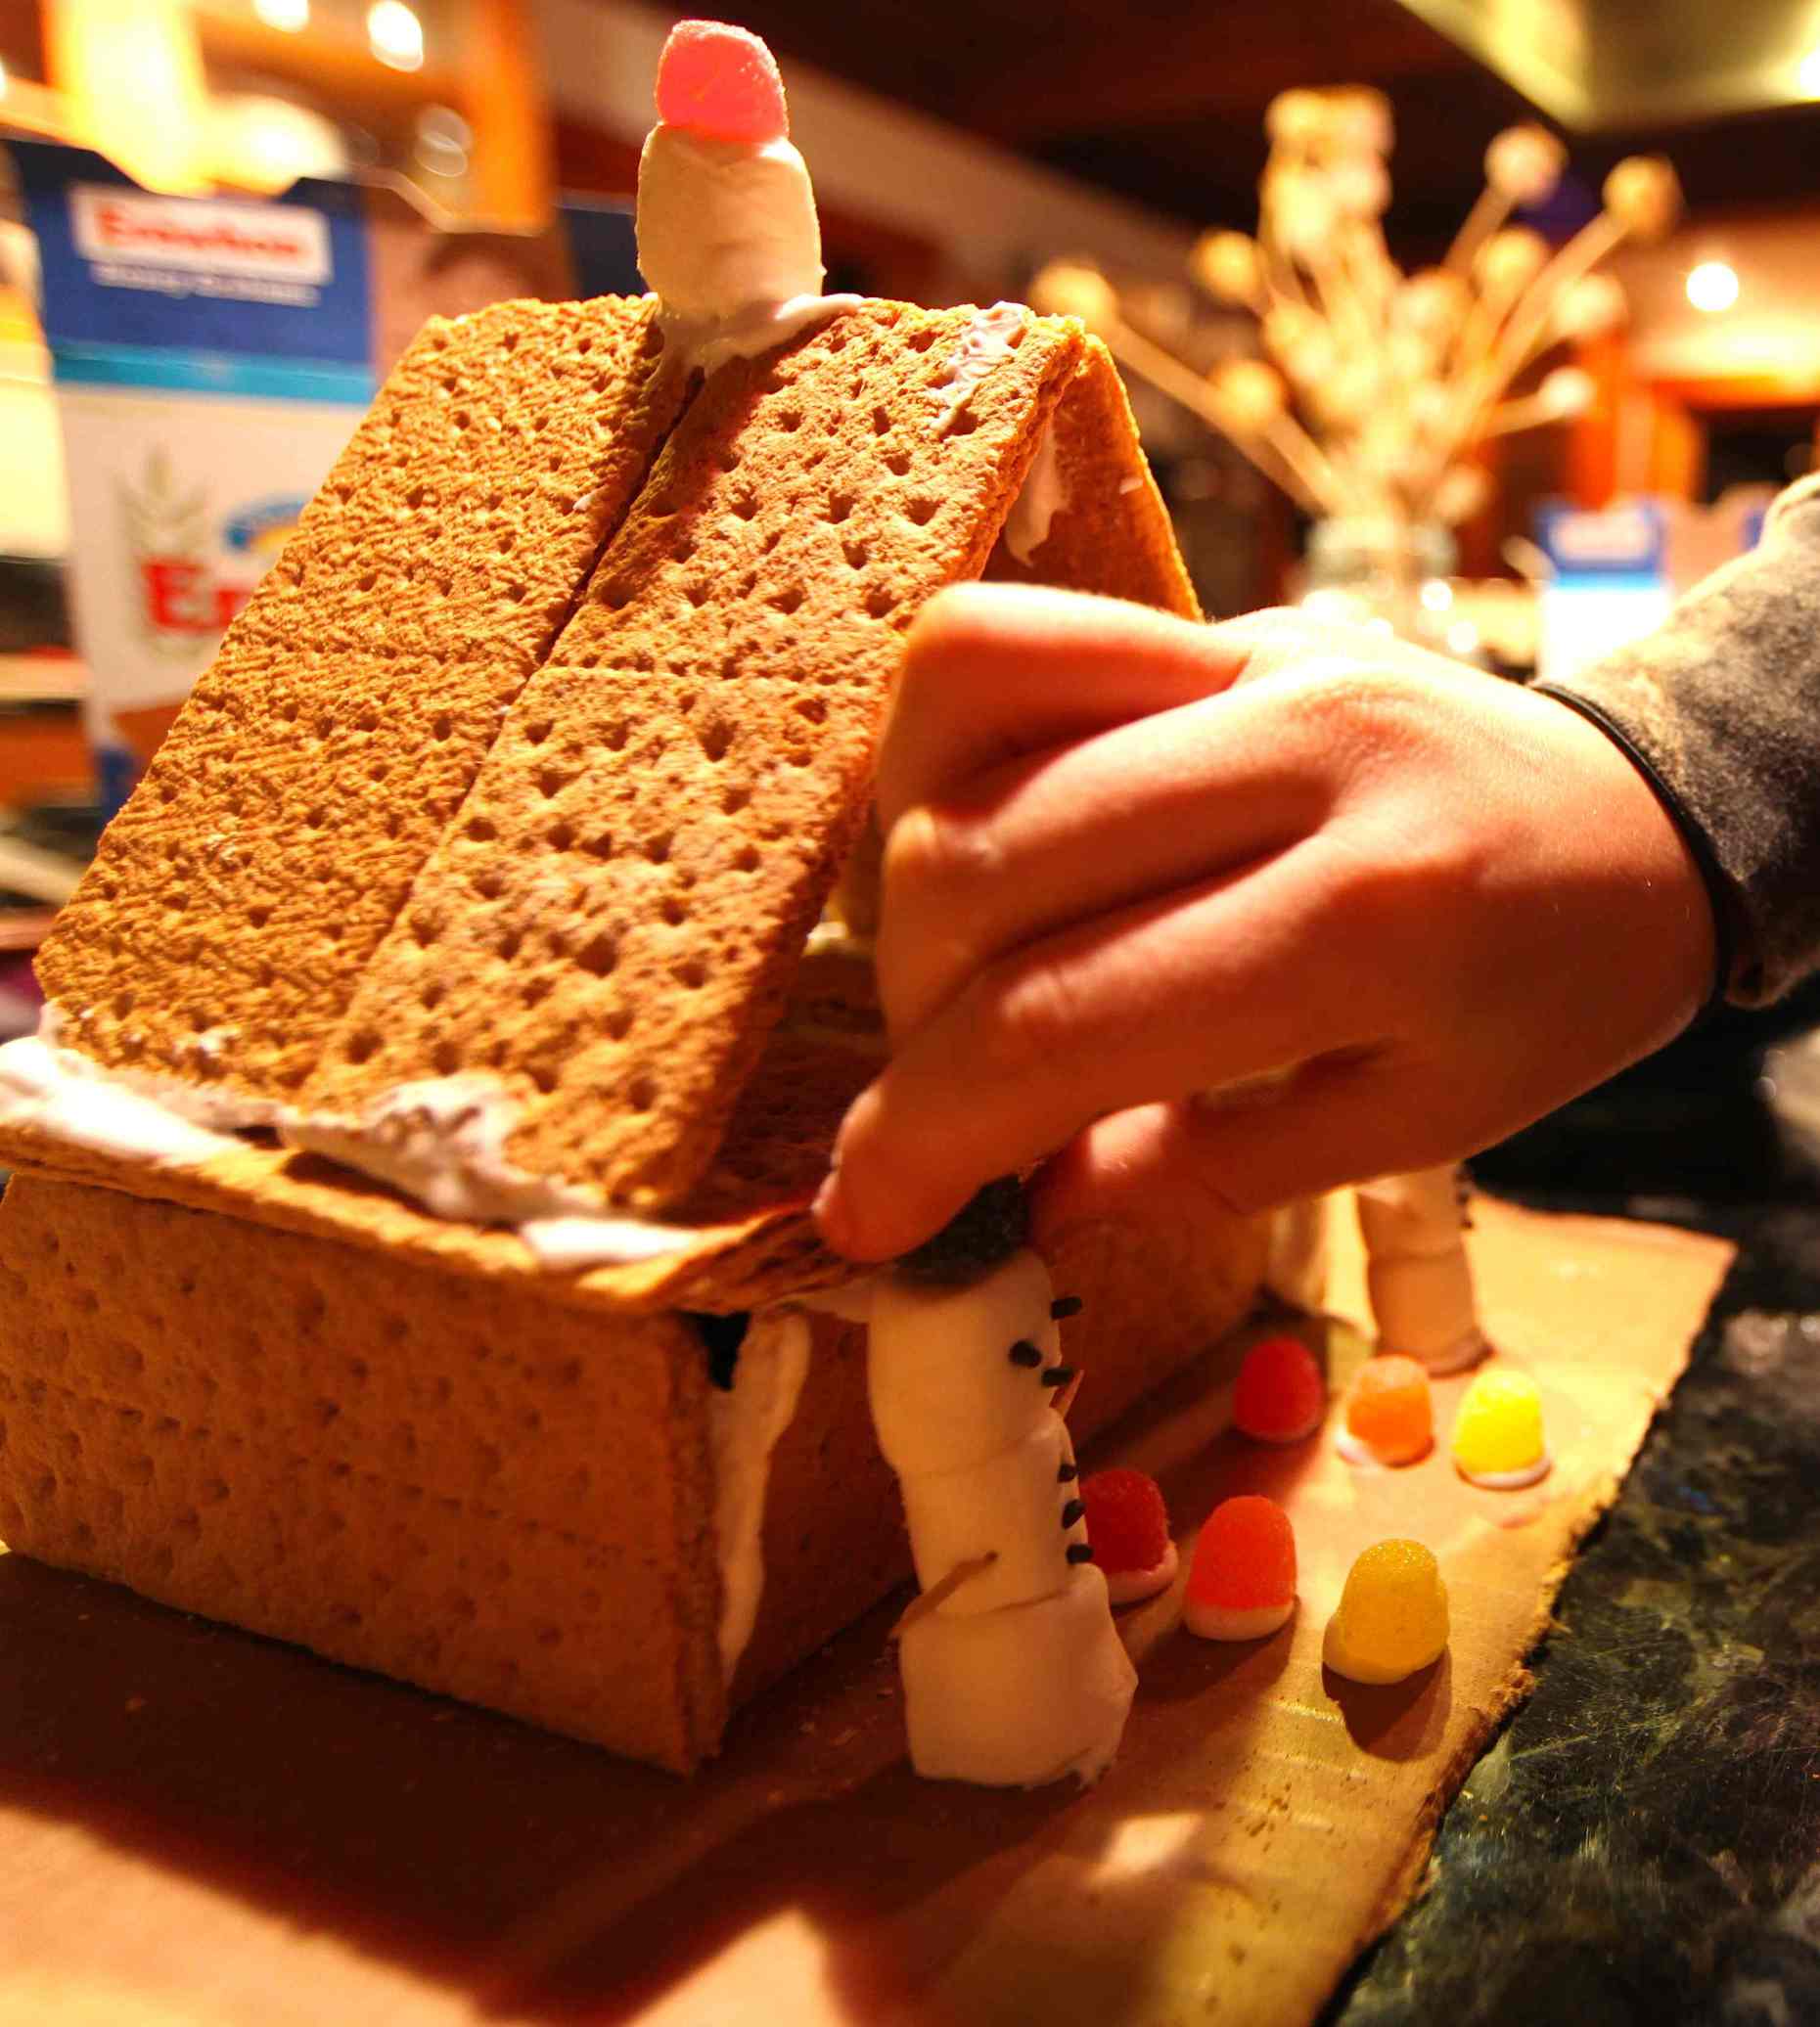
Graham Cracker Gingerbread Houses: Another zero waste edible we love to create are our holiday graham cracker gingerbread houses. With the leftover jelly beans, gum drops, snowmen and some powdered sugar and graham crackers, we were able to build little houses for display on the dining room table.
Handmade Christmas Magic, Photo © Liesl Clark
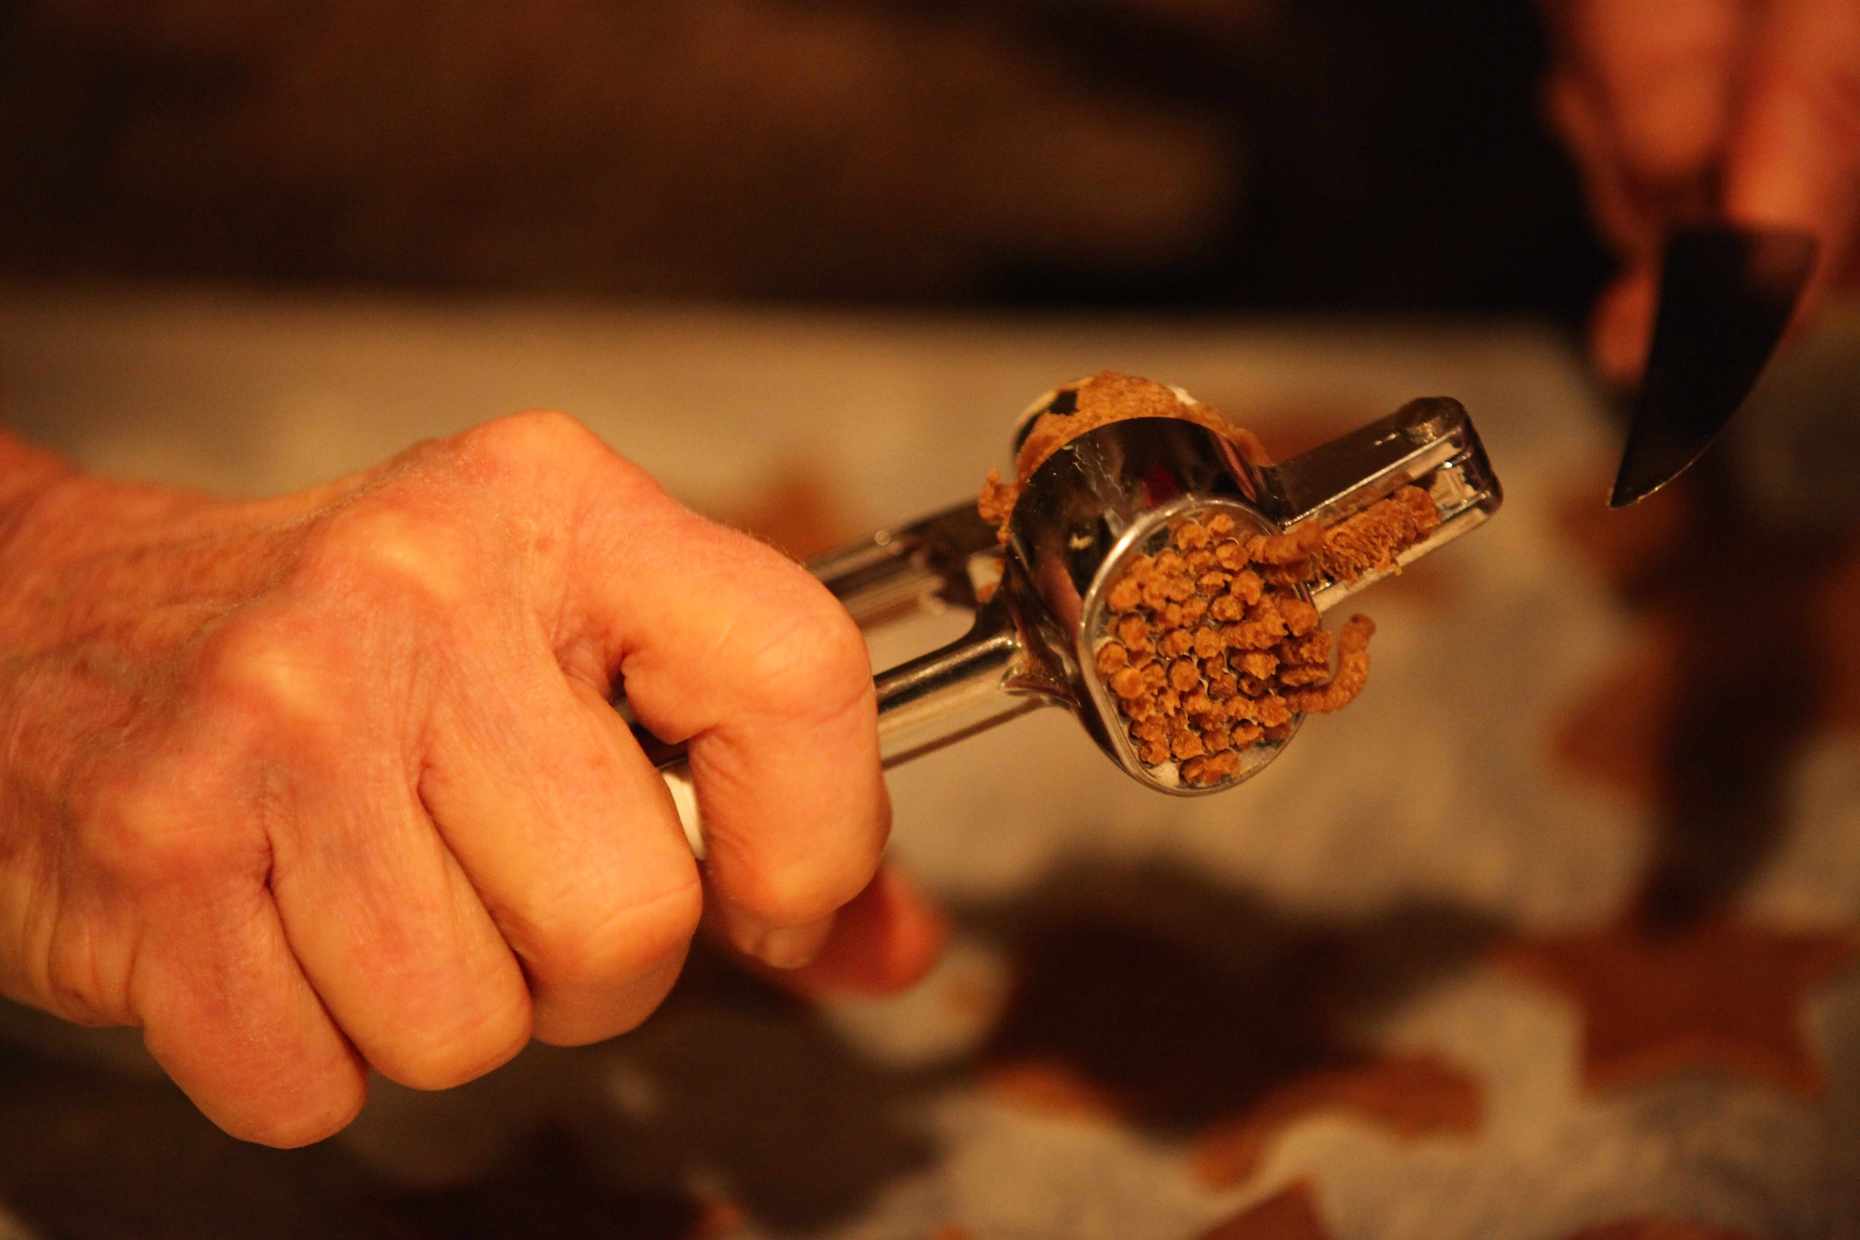
The key is to have good “sugar glue” by making your own royal icing. I had a cup of powdered sugar, some cream of tartar and an egg in the hen house so we were able to whip up the icing and the rest was our own hands.

Cottage Construction Zone, Photo © Liesl Clark

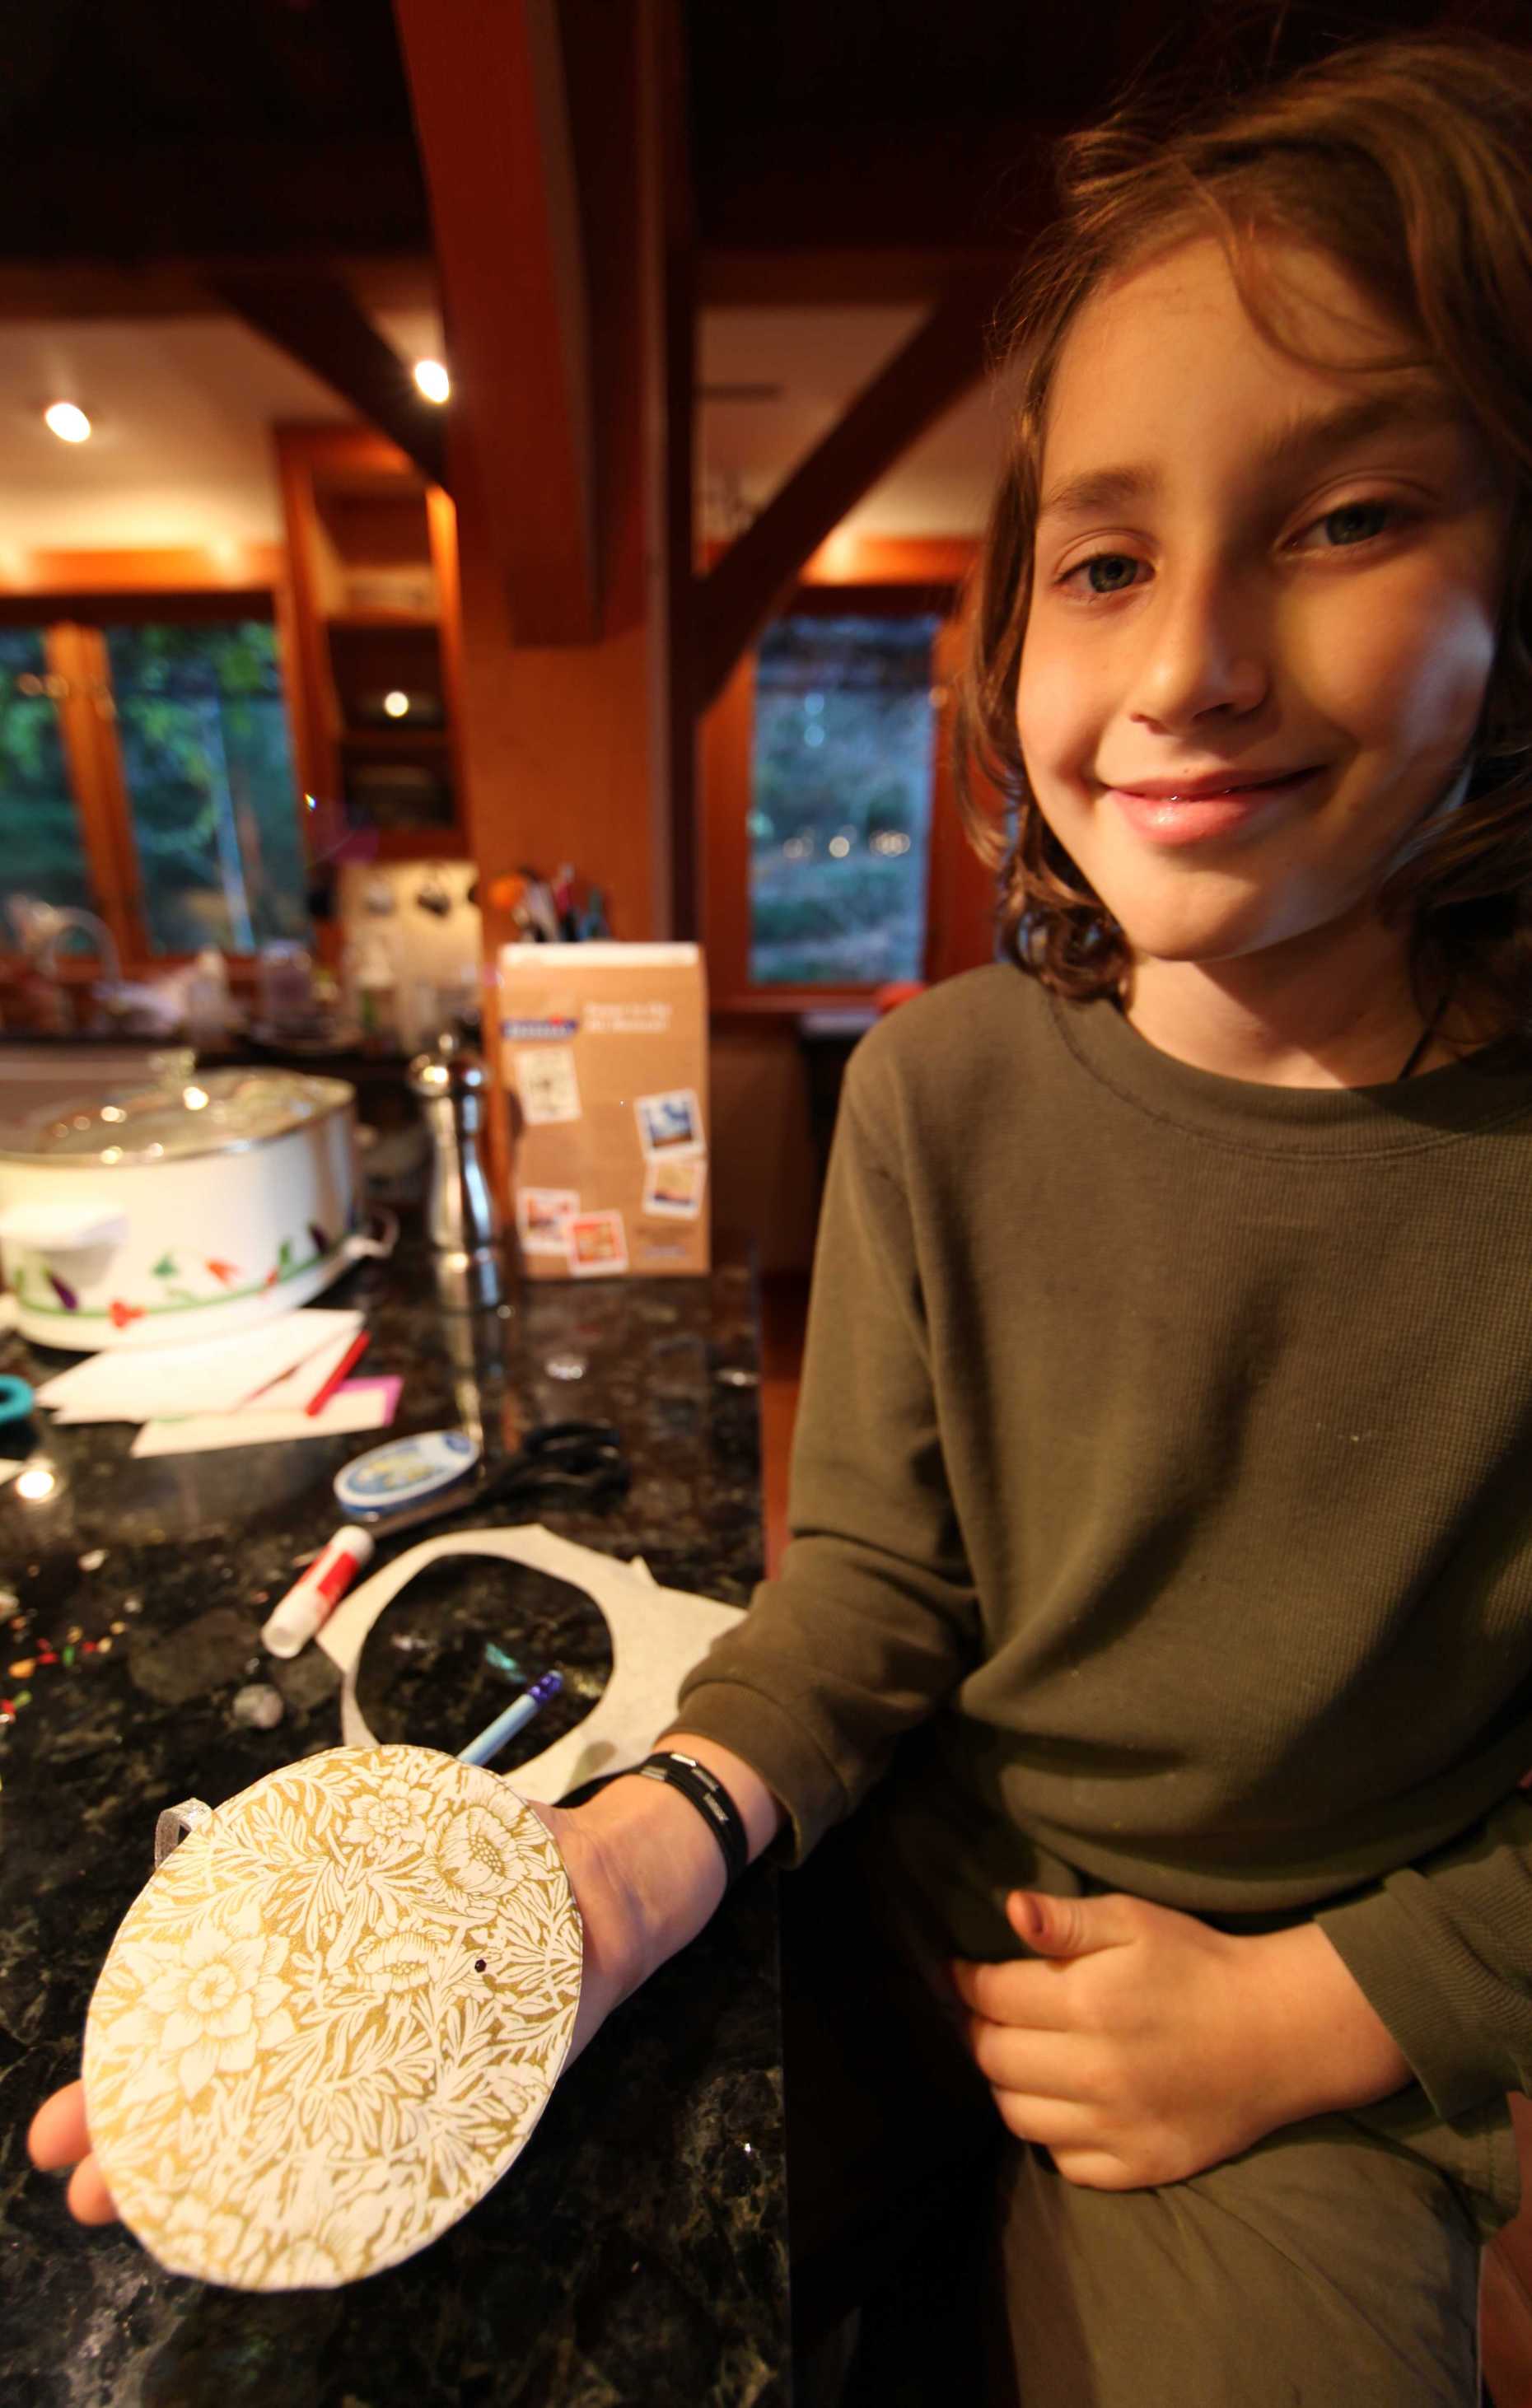
All on a Fancy Cardboard Platter